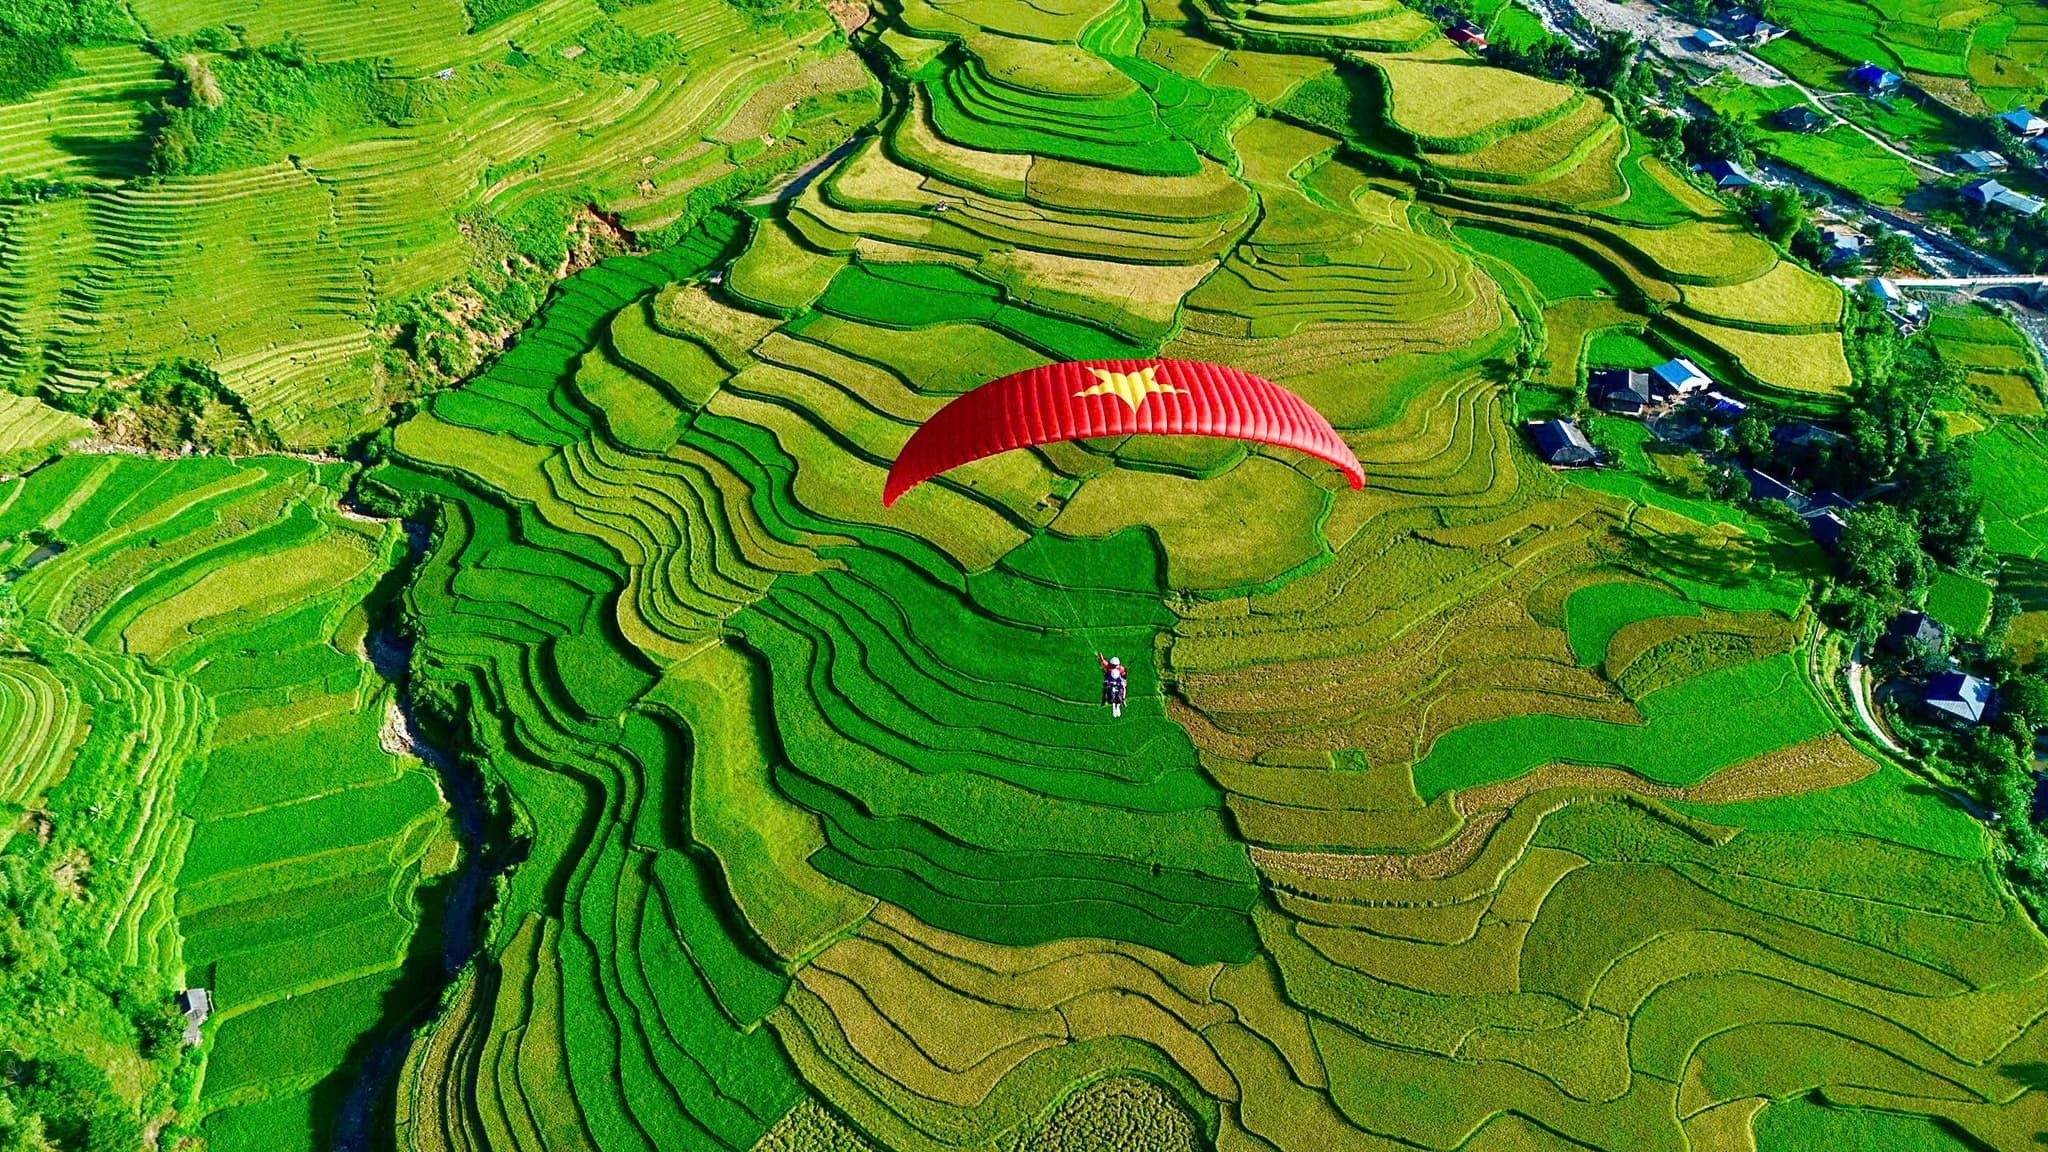
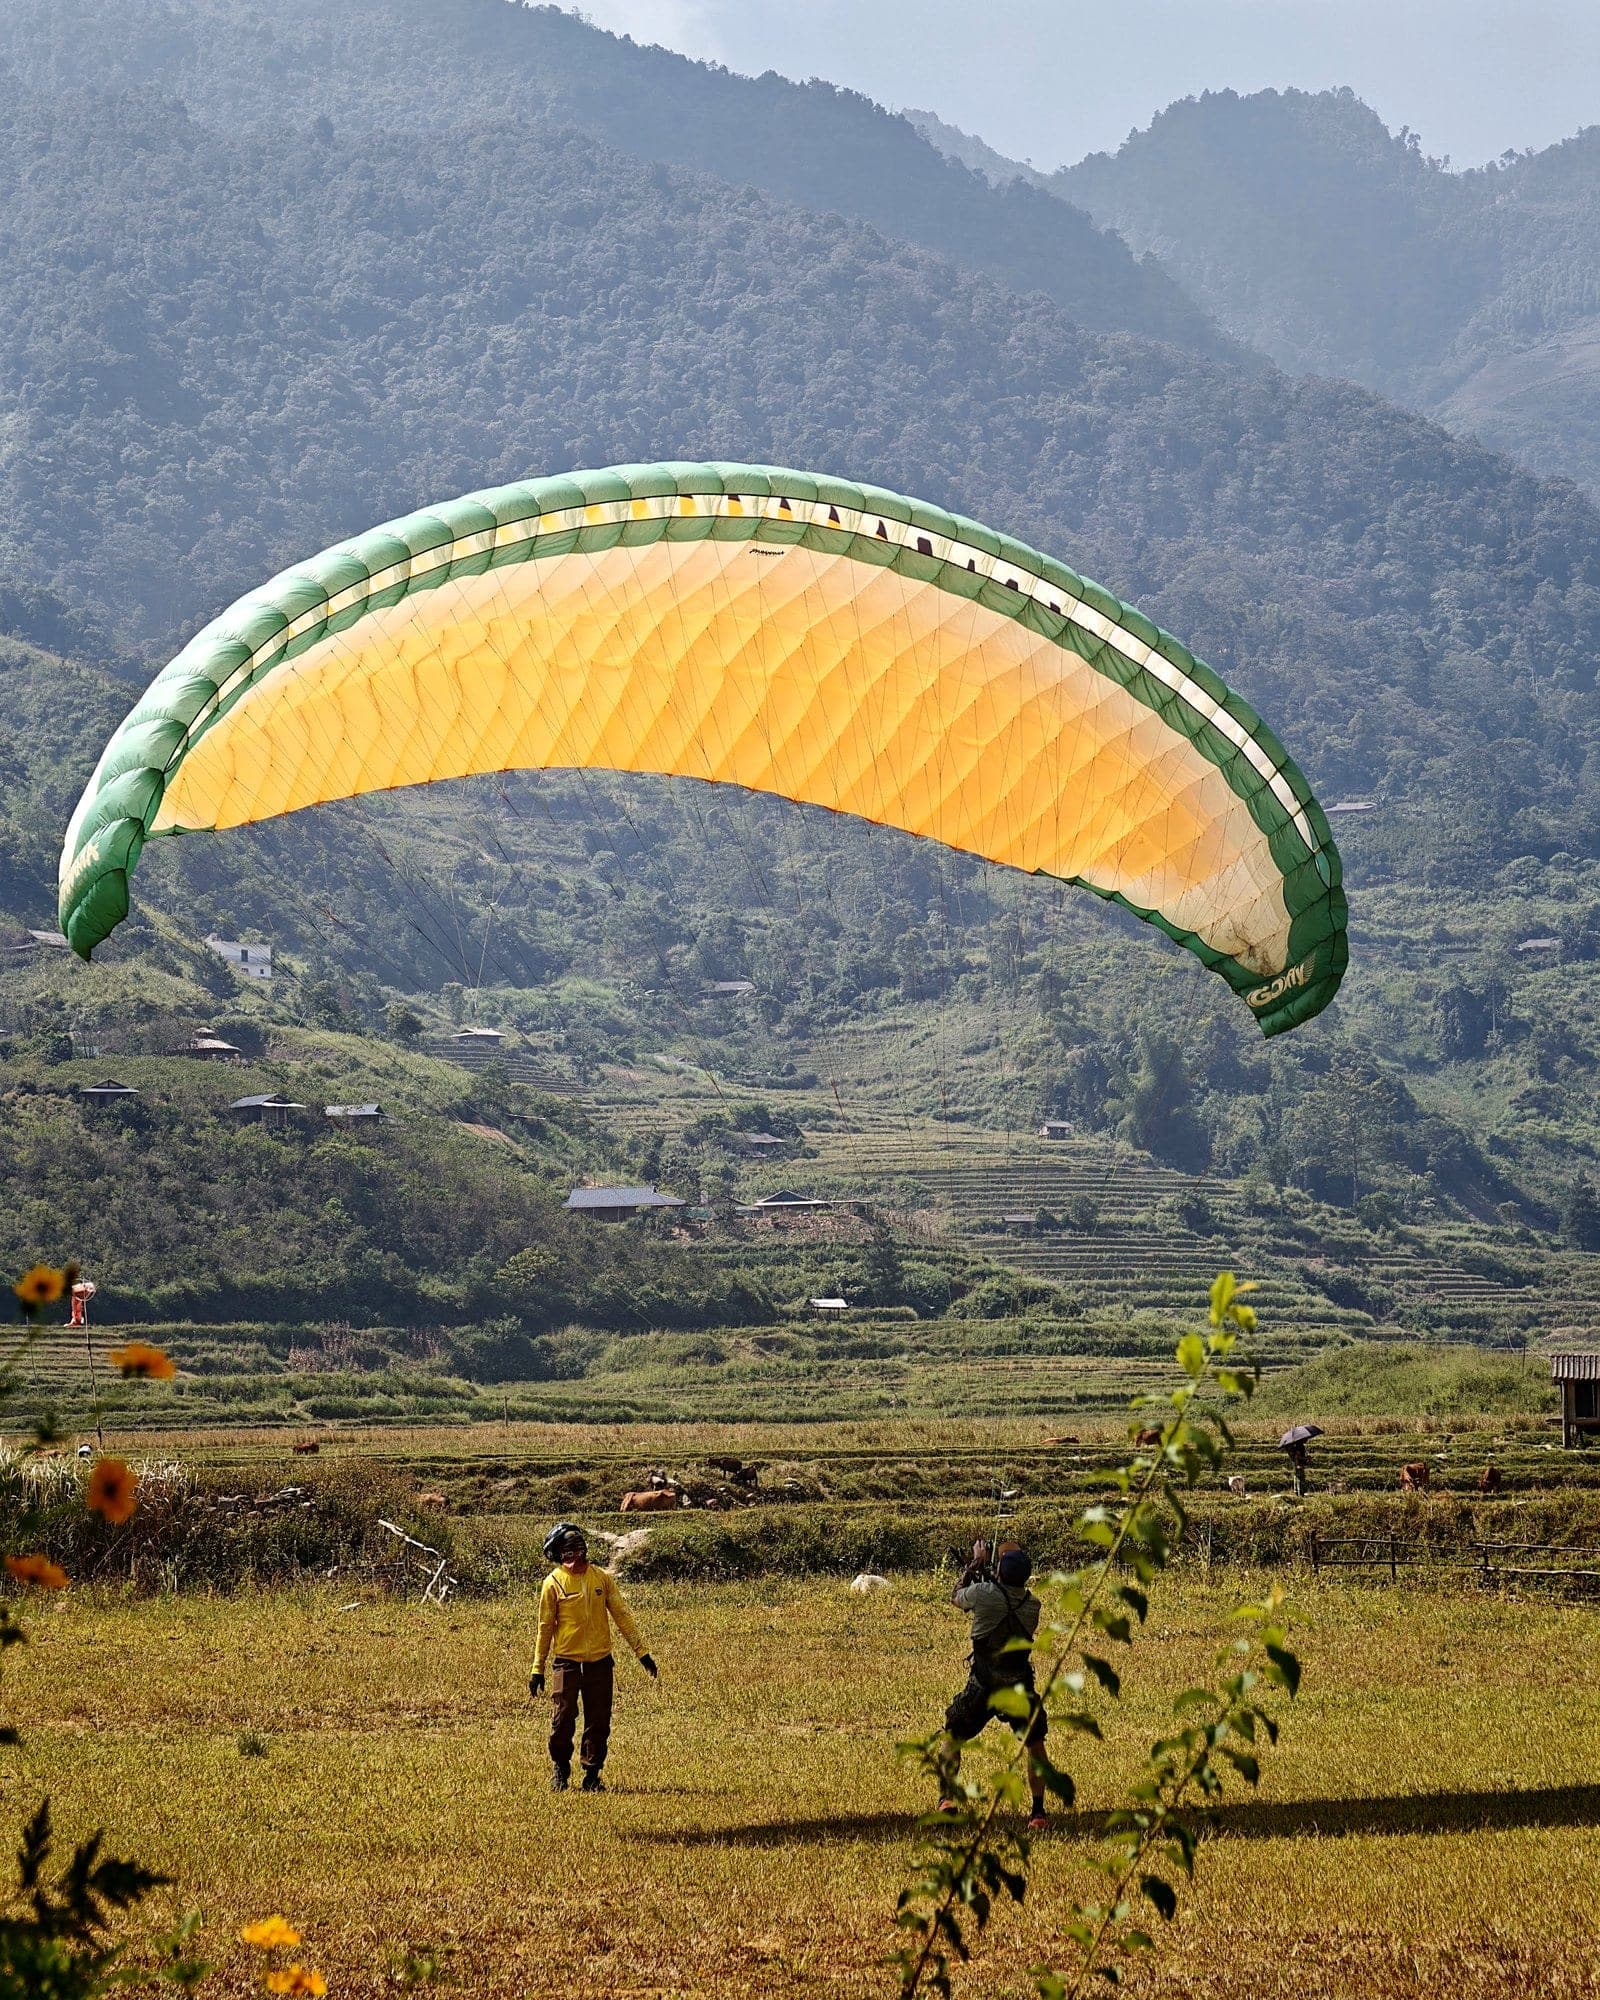
This is part 1 of five handouts for students on Mebayluon's P1–P2 paragliding course, one per stage. It covers the school's training standard, the 6-day roadmap and all of stage 1 (days 1–2): getting to know the equipment and kiting the wing on the ground. Read it before you arrive and go over it each evening.
1. Mebayluon's P1–P2 training standard
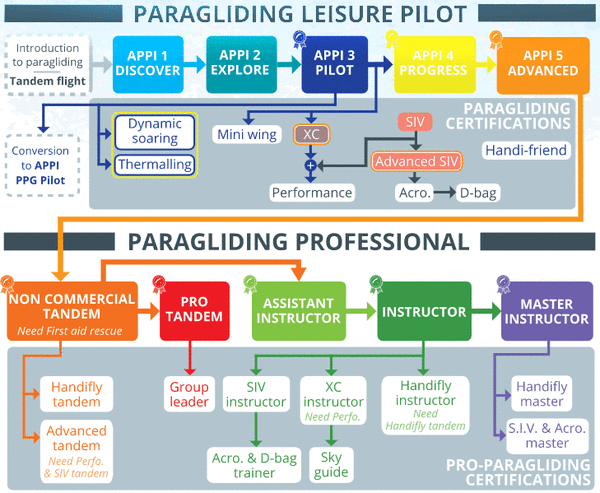
Mebayluon teaches to its own standard, built on the APPI and IPPI syllabuses and adapted to flying conditions in Vietnam. P1–P2 is a student level: no licence is issued and you still fly only under instructor supervision. For a licence, students train for roughly another 1–2 months and take the P3 licence test.
- Progress by exit standard, not by the calendar. You do not move on until the current stage is met.
- Every drill has a countable target; the instructor signs the student logbook when it is met.
- At least 6 hours of practice each day, split into a morning and an afternoon session.
- The instructor picks the site and decides whether the wind suits practice. Commands are short, in Vietnamese and the same for everyone, briefed in the first session.
- Always under direct instructor supervision. No practice without the instructor.
2. The 6-day roadmap
| Day | Stage and content | Passed when |
|---|---|---|
| 1–2 | 1. Equipment and kiting: connecting correctly, layout, wall, forward or reverse inflation depending on the wind, holding the wing overhead, bringing it down. | All 12 criteria in section 5. |
| 3 | 2. Inflation and active steering: slalom with the wing overhead; killing the wing (collapsing it) in strong wind; gathering and packing. | Slalom round markers with the wing overhead; decisive kill; packs alone. |
| 4 | 3. Low flights (P1) by hand tow: a crew pulls the student up to about 7 m on a roughly 10 m line over flat ground; the G-V-M-Đ-D-A-H pre-flight check, following commands, simulated launch run, landing posture and technique, aborting. | Launches under tow, flies straight on command and lands into wind on the feet. |
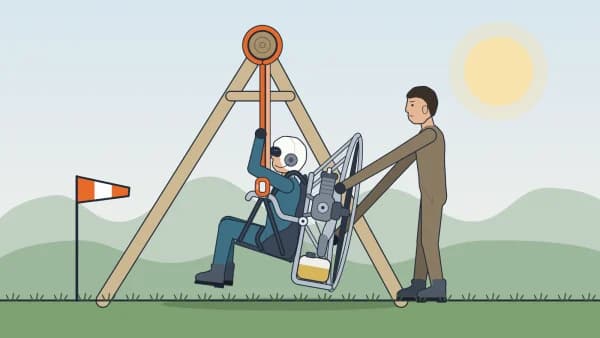
| 5 | 4. Hang simulator and first high flight: weather, flight planning and risk warnings; launch and landing procedures; signals, radio failure; turbulence, collapses. | Answers the questions; flies the first flight to plan and lands safely. |
| 6 | 5. Extra high flights (P2): 3–5 high flights in the day. | Prepares, launches, flies and lands in a preset area. |
Dates and booking are on the learn to paraglide in Vietnam page. For more on how a beginner course works, see How a P1–P2 paragliding course works.
3. Stage 1: day 1 and day 2
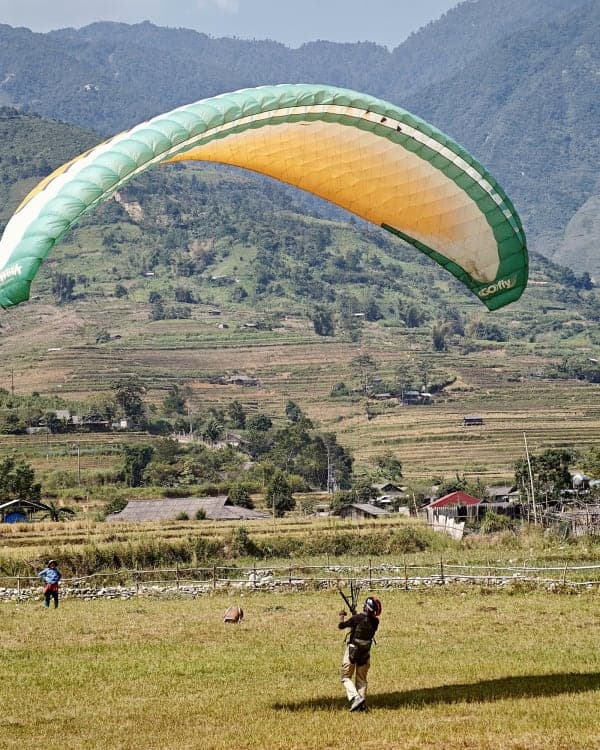
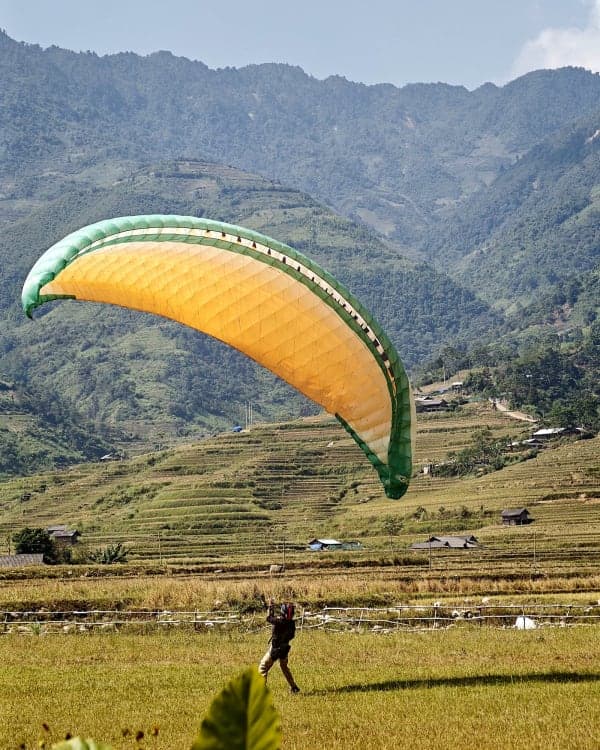
The first two days are about kiting: bringing the wing overhead, keeping it stable, correcting with the brakes and your feet, then bringing it down, again and again until your hands and body feel the wing. Students stay entirely on the ground. Theory is taught in the morning before practice or at the end of the day, depending on conditions; during practice the instructor adds explanations as needed.
| Time | Day 1 | Day 2 |
|---|---|---|
| 08:00–08:30 | Meet, warm-up, connect to the wing; theory if the instructor chooses the morning | Meet, warm-up, connect; recap of day 1 |
| 08:30–11:30 | Practice, 3 h: drills 1–4 | Practice, 3 h: drills 5–8 |
| 11:30–13:30 | Lunch, rest | Lunch, rest |
| 13:30–17:00 | Practice, 3 h 30: drills 5 and 6 | Practice, 3 h 30: drills 9 and 10 |
| 17:00–17:30 | Debrief, logbook; theory if not done in the morning | Debrief; exit check and signature; day 3 briefing |
The theory you need
The kit. The wing is two layers of fabric sewn into cells, open at the leading edge through cell openings. From the underside, the lines split into cascades, gather into A, B and C rows and attach to the risers with maillons; the risers clip into the carabiners of the harness. The brake lines attach to the trailing edge, mainly on the outer part of each half, join into one line and run through a pulley on the rear riser to the brake handle.
Why the wing flies. Air flowing past the wing produces lift at right angles to the airflow and drag along it. The angle of attack is the angle between the wing's chord and the oncoming air. Pulling the brakes lowers the trailing edge, raises the angle of attack and slows the wing; pulling one side turns it towards that side. Pull too much and the airflow separates from the upper surface and the wing stalls: on the ground, that is exactly how you bring the wing down. More in section 9.
Why the wing rises. As you move forward pulling the A risers, the leading edge lifts, air enters the openings and the centre cells fill first. While low, the wing pulls hardest; near the top the pull drops and it flies by itself, usually within about 2 seconds. So push with your body through the harness, steadily, never with a jerk of the arms, and lay the wing out in an arc so the centre fills first and the wing comes up straight. More in Paraglider aerodynamics, part 1.
Feeling the wing. If the wing surges, brake lightly on both sides; if it drops back, release and move forward; if the wing tilts left, move your feet to the left, and to the right if it tilts right, until you are back under its centre; your feet do the main work, a light brake on the high side only helps. It answers about one breath late, so correct early, correct a little, then wait. Feel it through brake pressure and the harness rather than staring up; pull the brakes down, do not push your hands forward. At P1–P2, simply hold the brake handles the normal way, with no wraps.
The five steps of a kite: (1) prepare: lay out, connect, stand in the middle; (2) inflate with your body; (3) when the wing is overhead, release the As and brake lightly so it stops, then look up and check wing and lines (cells evenly inflated, no tangles or knots, no folded tips); (4) keep it centred: if it drifts to one side, step to that side and pull gently on the opposite brake; (5) bring it down.
Forward or reverse. There are two ways to inflate, and students practise both from stage 1. Forward: back to the wing, facing into wind, hands on the A risers, pulling the wing up from behind; suited to nil or light wind. Reverse: facing the wing, risers crossed in front of you, watching it rise, then turning 180° (turn towards the side of whichever riser is on top where they cross); suited to moderate wind. The instructor chooses the technique from that day's wind.
4. The ten drills
Drill 1. Know your equipment
- Purpose: name each part of the kit and know what it does.
- How: the instructor presents the wing, lines, risers, brakes, harness and helmet; then the student points everything out. Further reading: Choosing your first paragliding gear.
- Reps: 30 minutes.
- Avoid: mixing up the A and rear risers; stepping on lines; touching the reserve handle.
- Passed when: points out every part and explains the A riser, brakes and leg straps.
Drill 2. Connecting correctly
- Purpose: put on the harness and helmet and clip in correctly, in the same order every time.
- How: helmet on, chin strap snug → harness on, both leg straps first, then the chest strap → risers untwisted, A riser at the front (chest side) with the harness on → clip each riser to the correct carabiner, lock it, double-check by hand and by eye → correct brake in each hand, brake line running freely through the pulley.
- Reps: 5 times on and off; then before every kiting round.
- Avoid: forgetting a leg strap (once on, never undo it, only loosen it); unlocked carabiner; twisted or swapped risers.
- Passed when: 5 times in a row without prompting.
Tip: always leave one leg strap fastened and step into that side first. Carabiners must be fully closed and loaded lengthwise, never sideways.
Drill 3. Layout and line clearing
- Purpose: lay the wing out so the next inflation is straight and even.
- How: lay the wing out facing into the wind: the wing lies downwind of you, leading edge towards you and towards the oncoming wind (for a forward inflation you face into wind) → underside up → shape it into an arc, tips slightly closer → clear the openings → separate the risers, step back until the lines are just taut, clear from the A riser outwards → no line under or over the wing.
- Reps: 5 times; then before every kiting round.
- Avoid: a layout not facing into wind (the wing comes up crooked); a straight layout (folds in the middle); dragging the wing over stones; inflating with a tangle.
- Passed when: 3 in a row correctly, each under 5 minutes.
Drill 4. Building a wall
- Purpose: a first feel of the wind through the wing without bringing it overhead.
- How: face the wing, step back to tension the lines → pull the As gently so the leading edge lifts and the cells fill → keep it at chest height with small steps forward and back → lower it by gently pulling both brakes.
- Reps: 10 times, 5–10 seconds each.
- Avoid: pulling the As too hard so the wing shoots up.
- Passed when: holds a stable wall for 5 seconds, 5 times in a row.
Drill 5. Forward inflation and hold
- Purpose: bring the wing up straight with your back to it, then hold it steady.
- How: stand in the middle, facing into wind, hands on the As, arms slightly back → walk steadily, leaning forward, pushing through the harness → wing overhead: release the As, light brake (hands at about shoulder height) so the wing does not overshoot → look up and check wing and lines (cells evenly inflated, no tangles, no folded tips), hold for 10 seconds → bring it down. Further reading: The forward launch technique.
- Reps: at least 30 over the two days.
- Avoid: off-centre or uneven pull (wing rises to one side); jerking with the arms (leading edge collapses); no brake at the top (wing overshoots).
- Passed when: 9 out of 10 centred inflations held overhead for 10 seconds.
Tip: release the As too early and the wing drops back, too late and it overshoots. Keep your hands high as you pull; to look at the wing, tip your head straight back rather than over one shoulder.
Drill 6. Reverse inflation and hold
- Purpose: inflate facing the wing, watch it rise and hold it steady.
- How: take the brakes first (follow the rear riser from the carabiner) → turn to face the wing the chosen way, risers crossed in front → both A risers in the non-dominant hand, index finger of the dominant hand hooked on the opposite brake line → step back and pull the As slowly towards your chest with your body (hips back) → wing overhead: release the As, light brake, look up and check wing and lines → hold for 10 seconds → bring it down. From day 2, practise turning to face into wind: turn towards the side of the riser that is on top where they cross. Further reading: The reverse launch technique.
- Reps: at least 30 over the two days, when the wind allows.
- Avoid: turning the wrong way (can lock the brakes); swapping brakes with crossed risers; pulling with the arms instead of the body.
- Passed when: 8 out of 10 centred inflations held 10 seconds, correct brakes and turn. If both days are calm, checked on day 3.
Note: turn towards the side of whichever riser is on top where they cross; turning the other way adds a twist and locks the brakes. Pulling the As too hard closes the cell openings. If the wing tilts as you turn, bring it down and start again.
Drill 7. Keeping the wing centred
- Purpose: keep the wing directly overhead with your feet and brakes.
- How: inflate as in drill 5 or 6 → if the wing tilts left, move your feet to the left, and right if it tilts right, until you are back under its centre; a gentle pull on the opposite brake only helps → wing surging forward: light brake on both sides and half a step back; falling back: release the brakes and move forward → gradually look up less and feel the wing through the brakes and harness.
- Reps: 4 rounds of 15 minutes on day 2.
- Avoid: standing still and using only the hands; stepping away from the drifting side; over-correcting so the wing swings.
- Passed when: recentres the wing 5 times in a row without letting it fall.
Drill 8. Bringing the wing down
- Purpose: bring the wing down at once and safely when it is not right or when the instructor calls.
- How: pull both brakes fully below the hips and step towards the wing so the lines slacken → in stronger wind: pull both C (rear) risers, or haul one brake line in until you hold fabric → once down: gather the lines and hold the wing so it does not reinflate.
- Reps: after every kite; a few unexpected "Down" calls each session.
- Avoid: stopping your feet without braking (the wing overshoots and pulls you); fighting an off-centre wing until it drags you.
- Passed when: brings the wing down when called, 5 times in a row, without being dragged.
Tip: do not stop dead: keep walking until the wing is flat on the ground. If the wind pulls you, haul hard on one brake or one riser at once.
Drill 9. Holding the wing overhead for longer
- Purpose: get used to small wind changes and control the wing continuously without thinking.
- How: inflate (drill 5 or 6) → keep it centred (drill 7) while the instructor times you → once you can hold 30 seconds, walk a few slow steps to each side with the wing staying overhead → bring it down.
- Reps: aim for 30 seconds, then 1 minute per hold.
- Avoid: staring at the wing; stiff arms and shoulders.
- Passed when: holds the wing overhead for at least 30 seconds, 3 times in a row.
Drill 10. The combined test
- Purpose: put everything together for the instructor's exit check.
- How: lay out → connect → inflate (forward or reverse depending on the wind) → hold centred for 10 seconds → bring it down and gather the lines. The instructor marks each attempt.
- Reps: 10 consecutive attempts.
- Avoid: rushing and skipping the connection steps; getting tired without telling the instructor.
- Passed when: at least 9 out of 10, with no skipped connection step.
Practice notes for days 1–2
- Stand on the axis: before every inflation, stand on the line extending from the middle of the wing with equal pull in both hands; half a metre off and the wing comes up crooked.
- Abort early if crooked: if the wing comes up crooked or is still unsettled after a few seconds, bring it down and start again; do not fight it.
- Eyes ahead: between checks, look where you are going, not at the ground.
- Clear lines with the wing down: if the lines are tangled, bring the wing down first, never untangle with it overhead.
- Keep out of other wings' downwind zone: never walk behind someone who is inflating or step over their lines.
- Carry the wing properly: when moving around the field, gather the wing and carry it on your shoulder; never drag it.
- One goal per round: pick one thing to work on (say, standing on the axis or releasing the As on time) rather than fixing everything at once.
- Late afternoon brings mistakes: when you tire, slow down or switch to laying out and clearing lines for a partner to rest your arms.
"Skill comes by the constant repetition of familiar feats rather than by a few overbold attempts at feats for which the performer is yet poorly prepared."
— Wilbur Wright (1902), quoted in the BHPA Elementary Pilot Training Guide, p. 3
5. Stage 1 exit standard
At the end of day 2 the instructor checks every line and signs the logbook. Anything not met gets more practice, even if day 3 has to wait.
| # | Criterion | Checked by |
|---|---|---|
| 1 | Names the parts and their roles | Oral questions |
| 2 | Connects correctly: leg straps first, A riser at the front, carabiners locked, no twists | Drill 2, no prompting |
| 3 | Arc layout, no line under the wing | Drill 3 |
| 4 | Holds a wall for 5 seconds | Drill 4 |
| 5 | Forward inflation, visual check of wing and lines, held 10 s: 9 out of 10 | Drill 5 |
| 6 | Reverse inflation held 10 s, correct brakes, turns towards the riser on top: 8 out of 10 | Drill 6 |
| 7 | Recentres the wing with feet and brakes | Drill 7 |
| 8 | Brings the wing down on command without being dragged | Drill 8 |
| 9 | Holds the wing overhead for 30 seconds | Drill 9 |
| 10 | The full sequence 9 out of 10 | Drill 10 |
| 11 | Can explain lift, drag, angle of attack, brakes, stall and why the wing rises | Five oral questions |
| 12 | Attitude: follows instructions, brings the wing down when unsure, never practises alone | Over both days |
6. Kit, health and slope rules
- Required kit: helmet, ankle-supporting boots with grippy soles, gloves, long sleeves, long trousers; plus sunglasses and sunscreen. The school provides wing, harness, helmet and logbook.
- Wind for practice: beginners do best in a steady wind of about 5–15 km/h with few gusts; in nil wind you can still practise forward inflations. Stronger or gusty wind means stop. The instructor measures the wind and decides.
- Eat, drink, rest: have a proper breakfast, drink after every round rather than waiting to feel thirsty, rest between rounds and do not push past your limit. Tired students lose technique and get hurt.
- Sunstroke and wind exhaustion: headache, dizziness, nausea, exhaustion, hot red or cold pale skin, shivering or strong thirst mean stop. Then: stop practising, get into shade or out of the wind, sip water, tell the instructor. Confusion or fainting is an emergency.
- Tell the instructor in advance about any back injury, heart or blood-pressure condition or medication. Under-18s need parental consent.
- Practise only with the instructor present; helmet on and leg straps closed whenever connected.
- Keep clear of others and look around before every inflation. Never wrap lines round your hand.
7. Training mindset
Kiting is a skill of feel that comes from repetition, not strength. Getting it today and losing it tomorrow is normal; so is frustration. Be patient and progress in small steps.
- Listen and act on commands at once. When the instructor calls "Stop" or "Down", do it first and ask why afterwards.
- Practise and work it out yourself. The instructor sets the task and the safety frame, then lets you practise. You find the feel run by run; the instructor watches and helps in part, not doing it for you.
- Ask when unsure and review each run. After each run ask yourself why the wing drifted and what to change next time. Write it in your logbook at the end of the day.
8. The next stages
The next four articles cover stages 2–5 of the roadmap in section 2. Weather, flight planning and risk warnings are taught in stage 4, before the first high flight. After P1–P2, the path to P3 and P4 is described in Paragliding P3 and P4 skills.
9. Extra theory
Why the wing flies. Each cell's cross-section is an airfoil. Air passes over the top faster than underneath, so pressure above is lower; that pressure difference produces lift. A paraglider has no engine: the weight of pilot and wing pulls the system down a shallow glide path, and that motion creates the airflow over the wing. A modern school wing covers roughly 7–9 m forward for every metre of height lost in still air.
Airspeed and ground speed. Airspeed is the wing's speed relative to the air: it is what keeps the wing flying. Ground speed is speed over the ground, equal to airspeed plus or minus the wind. Example: a wing flying at 35 km/h in a 15 km/h headwind makes only 20 km/h over the ground; with a 15 km/h tailwind it makes 50 km/h. That is why you always take off and land into wind. The same applies on the ground: standing in a 10 km/h wind, the wing already has airflow; in nil wind you have to walk briskly or run to give it airflow.
Angle of attack and stall. Angle of attack was introduced in section 3. What to remember: the deeper you pull the brakes, the higher the angle of attack and the slower the wing; beyond the critical angle the airflow separates from the top surface, the wing stalls and loses lift. In flight that is dangerous; on the ground, it is how you bring the wing down.
| Flight mode | Airspeed, roughly |
|---|---|
| Hands up (trim speed) | 30–40 km/h, school wings usually about 35–38 |
| Deep brakes, near the stall | 20–25 km/h |
| Full speed bar | about 5–10 km/h more than hands up |
Want to train on this roadmap? See the full P1–P2 fast-track course (7 days) at Khau Phạ, or book and ask an instructor directly.
Book · contact an instructor →
The P1–P2 course series:
- Part 1: ground handling (days 1–2) (this article)
- Part 2: slalom, killing and packing (day 3)
- Part 3: first flights by hand tow (day 4)
- Part 4: hanging simulator and first high flight (day 5)
- Part 5: P2 consolidation flights (day 6)
Frequently asked questions
Do I fly in the first two days?
No. Days 1–2 are kiting on the ground only. Low flights by hand tow (to about 7 m) start on day 4, once stages 1 and 2 are met.
Do I get a licence after P1–P2?
No. P1–P2 is a student level; for a licence, train for roughly another 1–2 months and take the P3 licence test.
Forward or reverse?
Both. The instructor picks the technique from the day's wind; by the end of stage 1 you need both.
When is the theory taught?
In the morning before practice or at the end of the day, depending on conditions; during practice the instructor explains more as needed.
What counts as passing stage 1?
Meeting all 12 criteria in section 5. The hardest are usually 9 good inflations and holds out of 10, and a 30-second centred hold.
This is Mebayluon's stage 1 student handout; it does not replace a session with an instructor. To book the P1–P2 course at Khau Pha: learn to paraglide in Vietnam.