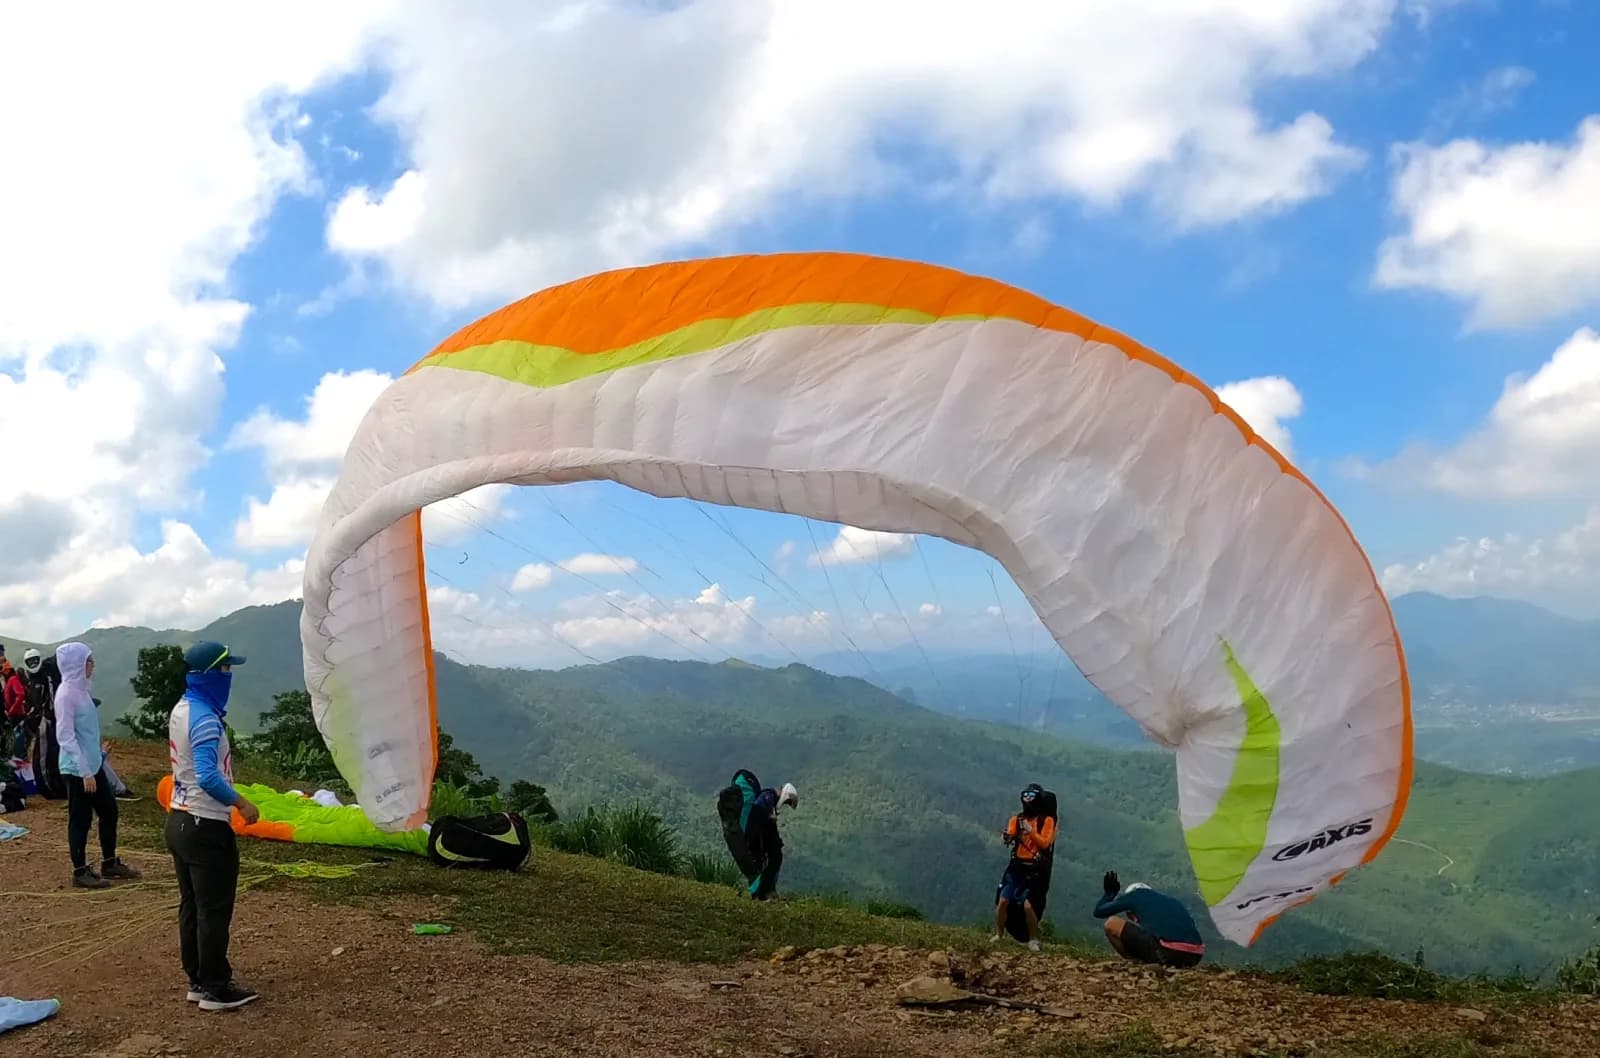
Even recently I witnessed one school whose teaching started by clipping the student in backwards, facing the wing with the brakes not crossed. This just confuses students. Experience has shown that confusion normally leads to feeling awkward and clumsy. An unwillingness to practise follows. It’s important that we practise something that works: style is irrelevant. Safety matters in our sport. Some even still teach a method that should have died out in the mid-90s, in which the brakes are not crossed, but the pilot has to drop and then catch the brake handles in the correct hands after turning. The reasons why this is not a valid method are obvious, and we won’t discuss it any further.
⚠️ Common errors
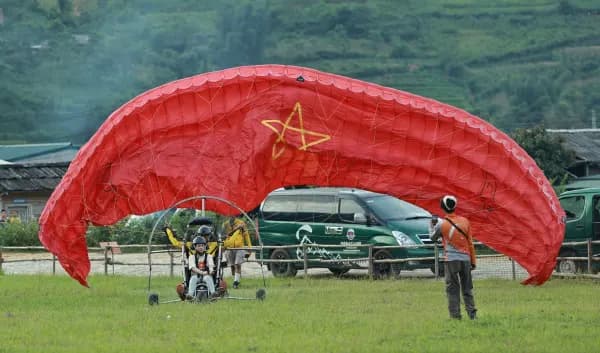
▶ Overshooting: The first very common mistake made when reverse launching is overshooting from an overzealous pull. The wing usually front-stalls onto the pilot’s head. This normally happens if the pilot is too static; sometimes he’s even lifted off the ground if he applies the brakes heavily. In lighter conditions it happens purely because of unchecked forward pitch. ▶ Heavy-handedness: Another mistake is constantly whacking the wing back on to the ground through being heavy-handed. This usually comes from too much brake or not enough roll control, moving left or right to remain underneath the wing. Up, down, up, down... It’s very hard on our equipment in the long run. ▶ 'The hack': The last is what I call ‘the hack’ – when a pilot just goes for it without much in the way of control, hoping that the glider’s passive safety will carry him off the hill safely. There’s little to no longevity in this method. If it succeeds, it’s followed by a lot of swinging around, and sighs of relief from any spectators.
🛠️ The three main methods
Hand and line position during a reverse launch.
📐 The basic concept
When we try to launch our wings, we ideally require simultaneous control of roll, pitch and yaw. If we have to sacrifice any of the three, we’re using a weaker technique. We can and do expect our gliders while they’re airborne to be controlled three-dimensionally with precision. For example, any groundhandling method that gives up control of positive pitch in order to control negative pitch and yaw is logically less valid than one that requires no swapping of one for another. All three axes should be under control at any one time. I believe a method that has all six directions of axis control covered has to be logically more valid. THE SIX AXIS DIRECTIONS ARE:
- ▶ Positive and negative pitch
- ▶ Left and right roll
- ▶ Left and right yaw
- (Strictly speaking, there are eight, if we include left positive and negative yaw, and right positive and negative yaw.)
💡 A little idea
“Any method that enables the pilot to control all three axes simultaneously without swapping one axis for another, without needing clumsy ‘patches’ (such as swapping of hands), logically has to be stronger than another method.” This is irrespective of which techniques are used to achieve our goal: a controlled safe launch. We’re talking here about the pure concept. But if you agree that the last statement has some merit, we’re free to move on to the different techniques. Just to be crystal clear:
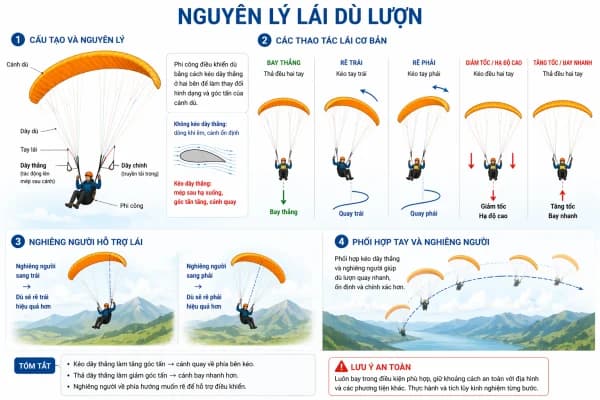
- ▶ Pitch: positive pitch is induced by pulling on the A-risers or releasing brakes.
- ▶ Negative pitch: is controlled by rear risers or both brakes. It’s applied equally, or it induces a yaw effect.
- ▶ Yaw: for left yaw simply slowly pull down the left side, by pulling the left brake. For right yaw, the opposite.
- ▶ Roll: left and right roll are corrected or influenced by the pilot walking left and right under the wing. Brake the high side, walk to the low side.
❌ Cross-brakes method
This is how I was taught. Build a wall with crossed brakes and crossed risers. Have an A-riser in each hand. When the glider is almost up, let the As go and control the trailing edge with the brakes, hoping the wall was built straight. PROS: it’s straightforward and easy to teach, and no swapping of hands is required. The brakes are already crossed, which will help the pilot’s coordination. Not crossing the brakes would mean a brake swap, and it’s generally a bad idea to let go of something crucial to control at a crucial time. CONS: the initial phase has only positive pitch control – there’s no negative pitch or yaw control. If the glider comes up wonky the pilot has limited influence. If he overcooks it on the brakes, the wing simply falls down. It’s easy for the wing to overshoot and front stall, especially if the wind’s strong and a hard pull on the As is given. It’s also easy to get lifted if the speed of the rising wing goes unchecked. You can take the power out by walking or sometimes running towards the wing. If it shoots over your head and you yank the brakes, expect to be lifted off the ground facing the wrong way, an unpleasant way to leave the ground. Note that it is possible to overshoot and front stall with all methods.
🛡️ Mitsos method
The Mitsos method was developed by Mark Mitsos back in the mid-90s, primarily as a technique to use in strong winds. Twenty years on it’s still a very valid method. It requires the pilot to stand in the middle of the glider as usual, with the As in one hand and the rear risers in the other. As the As are pulled to initiate the rise of the nose, the rear risers are also pulled depending on the effect required. Sometimes a lot more rear action is required; usually the stronger the wind, the more input into the rear risers. Once the glider is overhead the rear risers can be slowly released. Then the glider can be controlled with the brakes alone again. This method is still recommended for extremely windy take-offs, but requires some skill and practice to apply the right amount of rear-riser input. The ability to kill the wing if it goes wrong with a twist and pull of the rear risers is the best part of this technique. It’s therefore used when other methods could leave pilots vulnerable to a dragging if they get it wrong. Remember, brakes won’t always get you out of trouble. PROS: it’s great in strong, laminar conditions. It gives strong negative pitch control, and the glider rises slowly and under control. It’s ideal on coastal sites. It offers good positive and negative pitch control, and some yaw control. It requires no clumsy patches or swapping of hands. CONS: there’s limited yaw authority, which is needed if the wind is light or you’re on a thermic launch. Holding the rear risers is just a security blanket in light winds. Overall, you have limited control in light conditions. Horses for courses – it’s a strong-wind method and a very valid one at that. It ticks most boxes unless it’s light; this is where a pilot’s flexibility and launch skillset come into play.
🎮 Three-axis method
First I have to say that I didn’t invent this method; I only gave it a logical name. It was passed down to me by the more experienced pilots in our club, the Golden Eagles. I don’t know who first used or developed the method, but I thank them as this is the most useful launching tool we have and the one I pass on to all who are interested in learning a solid technique. It’s one that doesn’t rely on luck, but truly enables the pilot to control all three axes of movement all the way through the launch, with no need for clumsy patches or hand swaps. It enables 3D control of the wing, and it’s remarkably easy to train once pilots understand the subtle concept behind it. As the magic happens on the trailing edge of the glider, I recommend that you use your weaker or less dextrous hand on the A-risers. We’ll call this the ‘grunt’ hand for future reference and the other hand, your writing hand, the ‘boss’ hand. This is easy to explain as it requires very little finesse to pull the glider up; the dexterity of your boss hand is wasted on such a menial task. It’s pretty much just on or off at varying degrees of pressure. It’s still subtle, but not as subtle as what we’re feeling for and doing on the trailing edge. Step by step: ▶ Turn and face the wing as you would in any reverse launch. Cross the brakes with the handles in the correct hands, so no swapping is required. Put both centre-As in your grunt hand. This is my left hand, as I’m right handed. This is important. ▶ With your index finger from your boss hand, find and hook the brake line that comes from the handle you are holding in your grunt hand. Make sure it’s at the bottom of the lines and running freely. Hooking the line enables the pilot to slide the finger up and down the line: this applies the opposite brake, the one held in the boss hand. ▶ Slowly pulling the A-risers towards the pilot’s chest will see the nose inflate and start to rise. If the wing is 100% straight, little action is required except some negative pitch control. This is achieved by slowly easing the A-riser pressure, then sliding the hooked finger high up the line and also tweaking that line, applying both brakes as needed. It’s a case of understanding the biting point of both brakes. Keeping the arms and fingers relaxed will give the pilot the crucial information as to how much brake is required, through tension in the line and therefore on the trailing edge. ▶ The A-risers should be held together throughout these phases. They’re released only when the pilot is ready to turn and control the wing purely with the brakes. Any overcooking of the brake control will see the wing drop back. This can be corrected with a slow and steady pull on the A-risers: positive pitch. ▶ If the wing comes up crooked, simply keep the pressure on the As and either apply the finger or slide the hand up the line, applying the other brake, all the time allowing the wing to fly forward. With practice pilots become accustomed to the relevant pressure felt in either hand or finger. After a while, pilots may wish to release the hooked line to give more control to that side, and then find the grunt hand’s brake line again when needed. It’s easy to find, because of the natural bow in the line that separates it from the rear lines. ▶ It’s even possible in stronger gusts, when still facing the wing, to release the As and go straight to the rear risers, one riser in each hand. Brakes are still crossed and in the correct hands, of course. When the gust subsides, you can grab the As again and control the wing as normal. This gives us the best of both worlds, as in strong winds when attached to 25m2 of sailcloth, I like the option to be able to twist, pull and kill the wing on the rear risers. No one likes a dragging. ▶ Once you’re happy everything is as it should be, it’s time to release the As, turn the correct way and launch when ready. Remember, practice makes perfect. PROS: all three axes of control are in the hand throughout. No sacrificing one axis for another. It’s as simple as that. With practice it prevents the up, down, whack, up, down, whack, and so lengthens the life of our equipment. Pull up, control, turn and go. It’s ideal for running reverses. CONS: it can be a handful in stronger winds (25km/h+) as the brakes are engaged, not the rear risers. Mitsos is a better solution on windy launches, especially windy unforgiving ones.
When we try to launch our wings, we ideally require simultaneous control of roll, pitch and yaw
If nature throws a certain shape, you need to adapt to that shape
🏁 To sum up
Over time, pilots may develop tunnel vision. They do it the way they’ve always done it, even though it’s a struggle. Resist coming to launch blinkered. If nature throws a certain shape, you need to adapt to that shape. Use the right tool for the job. However, it only helps to look in our toolbox if we possess the tools or techniques in the first place. If you’re on a strong coastal site, the Mitsos is better suited, but don’t use this launch method in zero wind when an alpine launch is obviously the right answer. Remember, we should practise techniques to a sound level in comfortable places before we need them in anger on unfamiliar sites.
Source: Mastering Paragliding
— by Kelly Farina