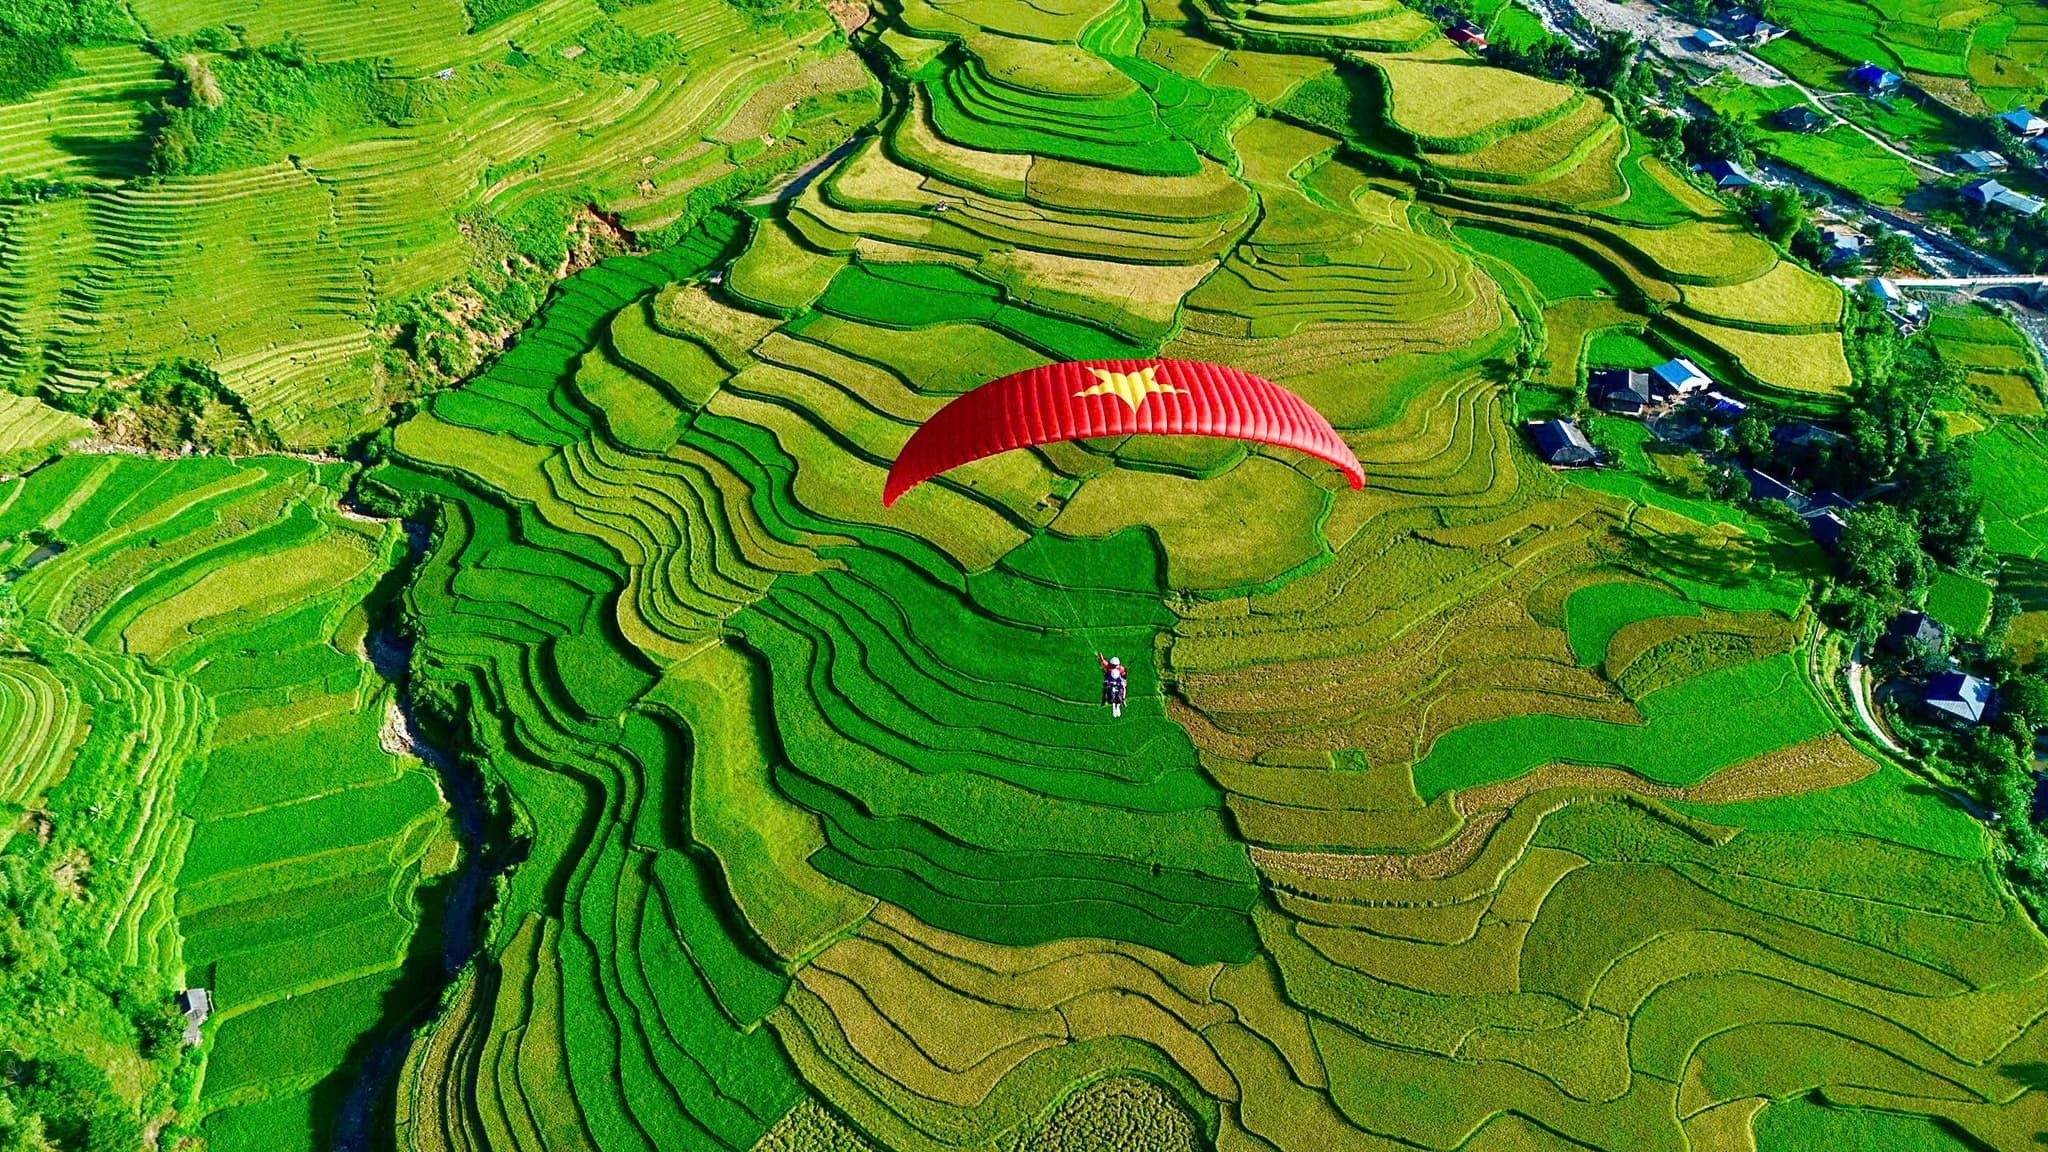
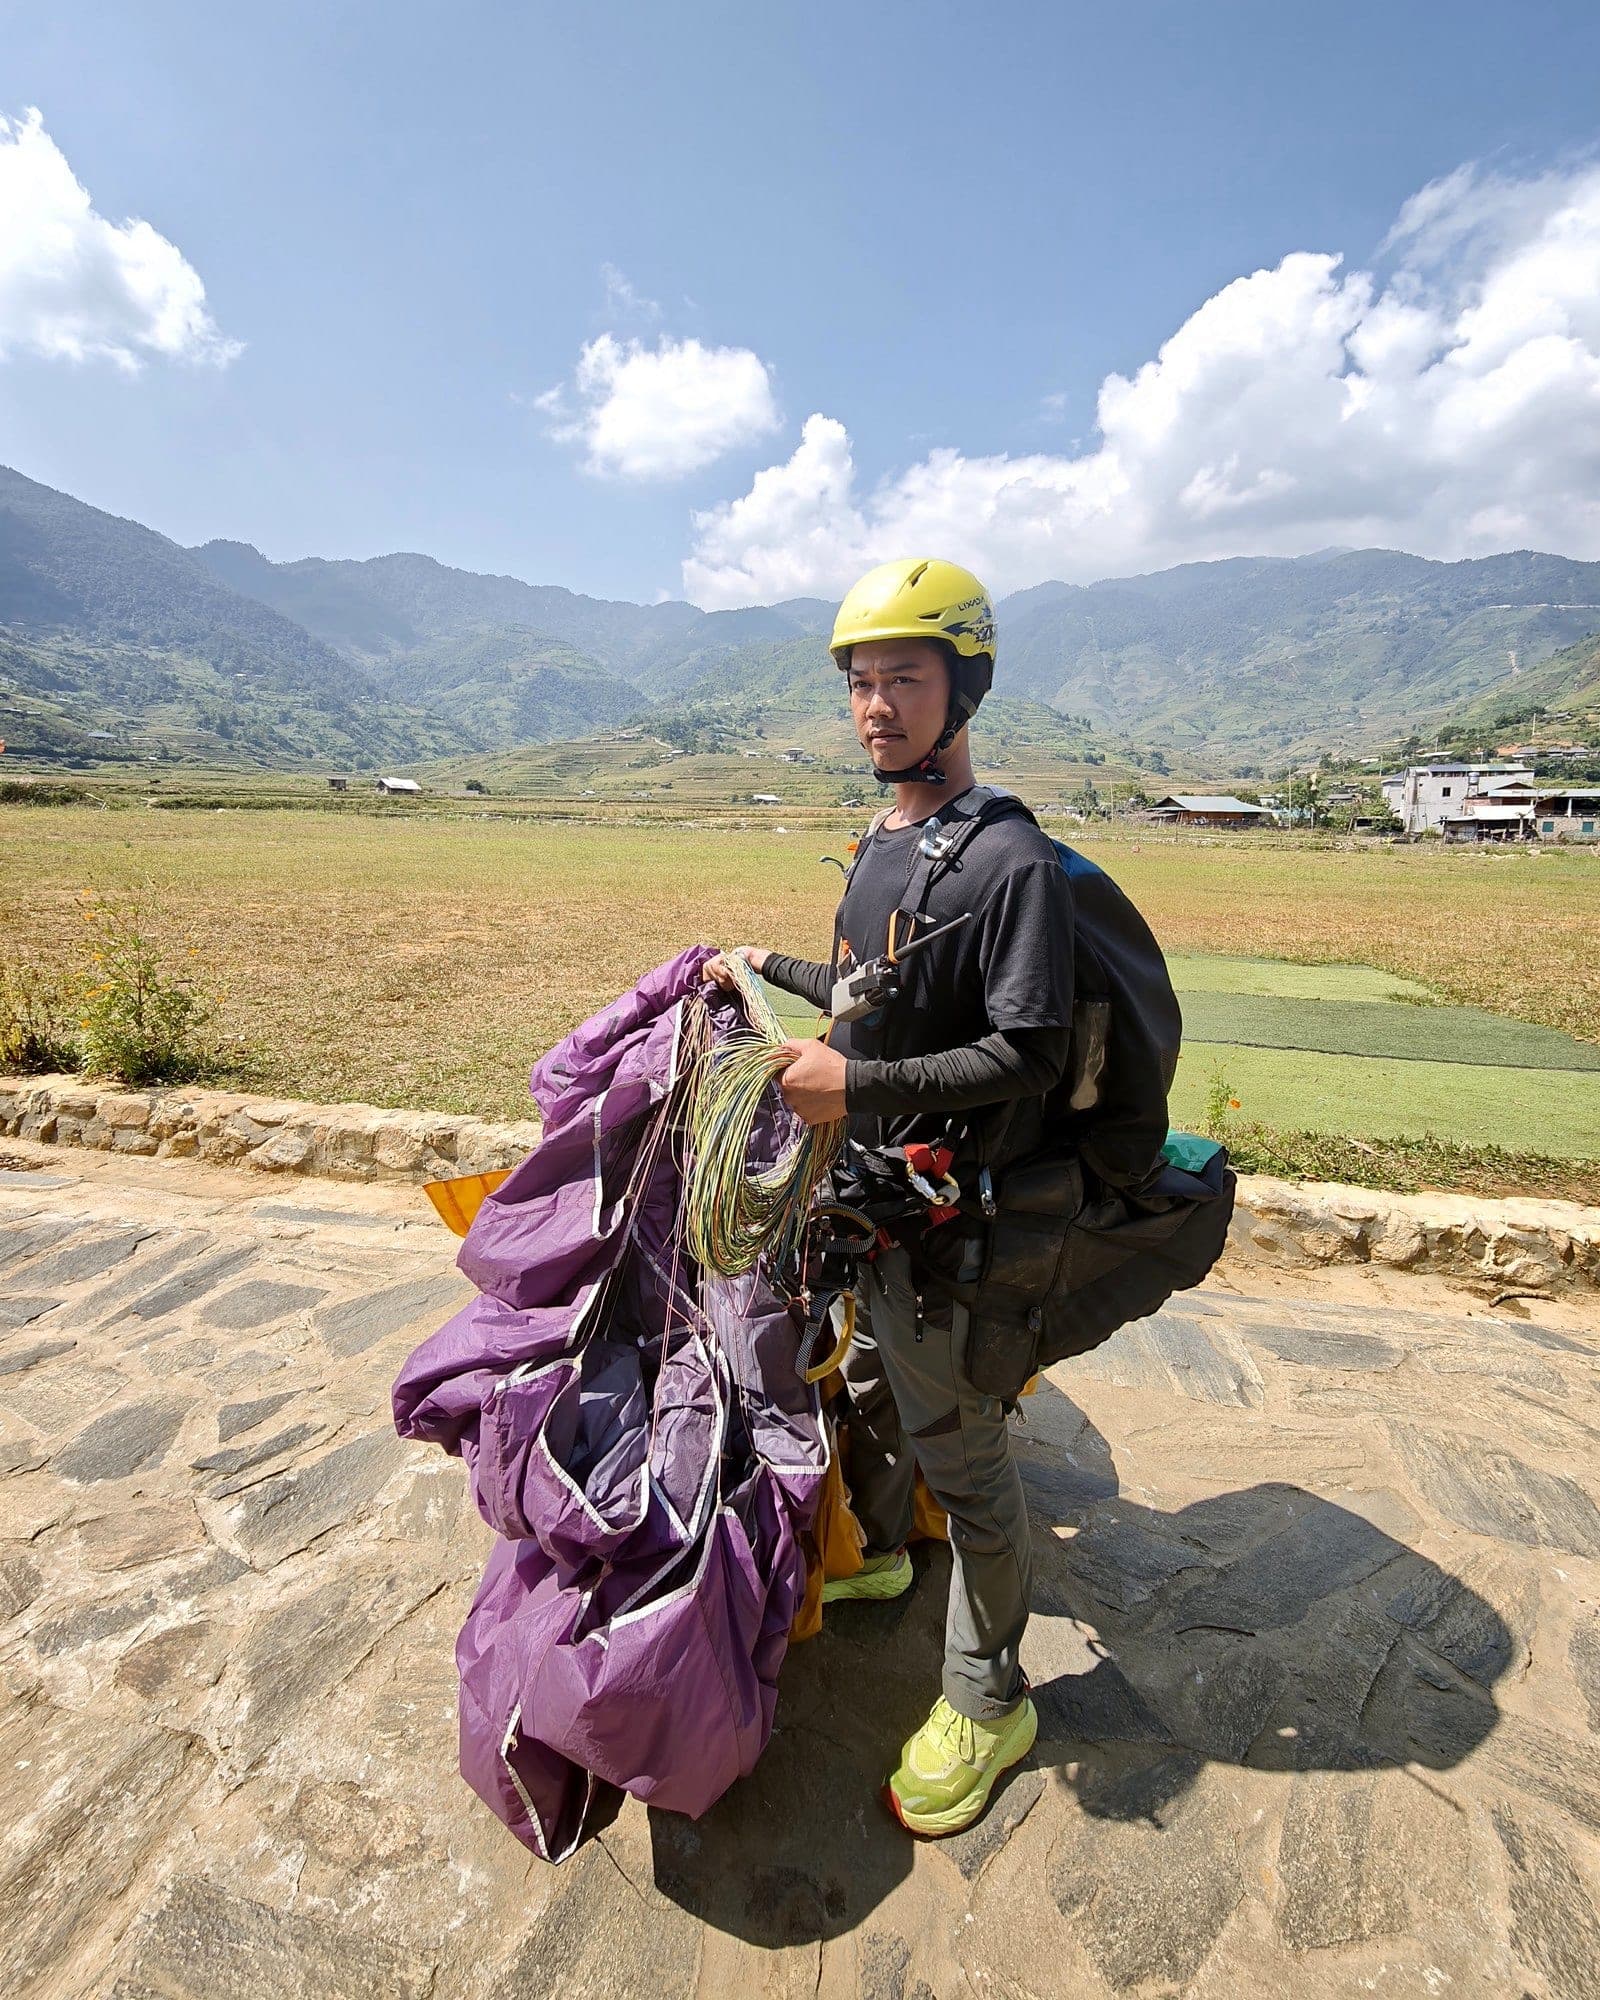
This is lesson 4 of a five-lesson series for students on Mebayluon's P1–P2 course, taught to the school's own standard (built on the APPI and IPPI syllabuses and adapted to Vietnam). It covers stage 4 (day 5): flying theory, basic weather, landing planning, the hanging simulator and one flight with your instructor. It is the last training day before your first solo flights from the launch on day 6.
Stage 3 recap. You have left the ground on a hand tow, flown straight at 5–7 m, steered on command and landed on your feet (see day 4: first flights by hand tow). Today you do not fly alone yet. You learn what you must know before flying high: the kit that saves you if something goes wrong, what the wind is telling you, which path to fly back to the landing field, and what to do when things do not go to plan.
1. The day 5 timetable
| Time | Content |
|---|---|
| 08:00–08:15 | Meet, warm up, self-check of health and mindset (section 6) |
| 08:15–09:00 | Theory 1: EN classes, helmet, radio, harness and reserve, with the real kit in hand (section 2) |
| 09:00–11:30 | Practice, 2 h 30: simulator — getting into the harness, simulated steering, simulated reserve throw (drills 1–3) |
| 11:30–13:30 | Lunch, rest |
| 13:30–14:00 | Theory 2: basic weather, flight planning and the landing pattern (sections 3–4) |
| 14:00–15:00 | Practice, 1 h: walking the landing pattern on the Clubhouse field, reading the wind, simulated loss of radio contact (drill 4) |
| 15:00–17:00 | Practice, 2 h: up to the launch near the top of Khau Phạ pass, one flight with the instructor, landing at the Clubhouse field (drill 5) |
| 17:00–17:30 | Practice, 30 min: re-fly the afternoon flight on the simulator; logbook (drill 6), the mindset section (reference), briefing for day 6 |
2. Theory 1: the kit that protects you
EN A, B, C and D wings
Every wing on sale must pass the European tests: EN 926-1 for strength and EN 926-2 for flight behaviour, which puts the wing into one of four classes: A, B, C or D. Test pilots collapse, stall and spin the wing and score how easily it recovers on its own. The lower the class, the gentler and more forgiving the wing; the higher the class, the faster it flies and the further it glides, but the stronger it reacts and the more correct input it needs from the pilot.
| Class | For whom | Behaviour |
|---|---|---|
| EN A | Students, new pilots, pilots who fly few hours a year | Highest passive safety, very forgiving, usually recovers on its own after a collapse |
| EN B | Pilots who fly regularly; a low-end B suits a newer pilot with solid basics | Still forgiving, but a very broad class: a high-end B can be quite lively |
| EN C | Experienced pilots who have done SIV and fly many hours | Can react strongly and needs the right input to recover |
| EN D | Very experienced pilots flying hundreds of hours a year | Demanding, can react violently |
The weight range: lower and upper limits
Every wing carries a label with its weight range, for example 75–95 kg. That figure is not your body weight but the take-off weight: pilot, clothes, boots, helmet, gloves, harness, reserve, radio, water and (as most manufacturers now state it) the wing itself. The label says whether the wing is included, so always read the label of the wing you are flying. A worked example for a student:
| Item | Weight |
|---|---|
| Student (body weight) | 68 kg |
| Clothes, boots, helmet, gloves | 3 kg |
| Harness and reserve | 8 kg |
| Two radios, water | 1.5 kg |
| EN A wing | 5 kg |
| Take-off weight | 85.5 kg |
- Near the lower limit (wing "big" for the pilot): slower, softer brakes, more sluggish; poor penetration into wind, easily pushed back; in turbulence it collapses more easily and is more prone to deep stall.
- Near the upper limit (wing "small"): faster, firmer and more responsive brakes, better penetration, fewer collapses; but a higher sink rate, faster launches and landings, and stronger reactions once it does collapse or stall. Glide ratio stays about the same across the range.
- Why schools put students in the middle to upper third of the range: at that load an EN A wing is firm, stable and fast enough to penetrate, yet still gentle. Too light and it is sluggish and gets blown about; too heavy and you touch down fast. So the instructor picks the wing size from each student's take-off weight.
- Outside the range means outside the certification: EN test results only apply within the range on the label. Fly heavier or lighter and the certification no longer holds, and the wing may behave quite differently from how it was tested.
Helmet
A paragliding helmet meets EN 966 (CE marked). It must fit, with the chin strap fastened before you clip into the wing and only undone once the wing is down on the ground. It must not cover your ears: you need to hear the wind (it tells you your airspeed) and the radio. Replace a helmet after a hard knock, even if it looks fine.
VHF radio
On your first flights the instructors guide you by radio: one at launch, one at the landing field. The channel is set by the school and the keypad locked; students do not change it. Before launch there is always a radio check: the instructor calls your name and you answer briefly. The radio is clipped firmly to the chest strap or shoulder strap, antenna up, speaker near your ear, battery full. In the air: listen a lot, talk little, answer only when asked.
The harness and its reserve container: where the reserve goes
The harness (EN 1651) has a reserve container holding the packed reserve, which is connected to the harness by its own bridle. The container can sit in four places, each with pros and cons:
- Under the seat: neat and out of the way, common on school harnesses; the handle is usually at your side, out of direct view, so you must practise finding it by feel.
- Front container: the handle is right in front of you, either hand can use it and the throw is easy; but it is bulkier.
- Back: neat, but the handle is hard to see and reach and the throw is weaker.
- Side: easy to see, but one hand only and it unbalances the harness.
The reserves in the school's harnesses are repacked regularly (usually about every 6 months, or as the manufacturer says) and the closing pin is checked before each flying day. Packing and installation are covered in reserve parachutes: packing and installation. For a student, the key point is: know where the handle is on the harness you are wearing, and touch it during your check before every flight.
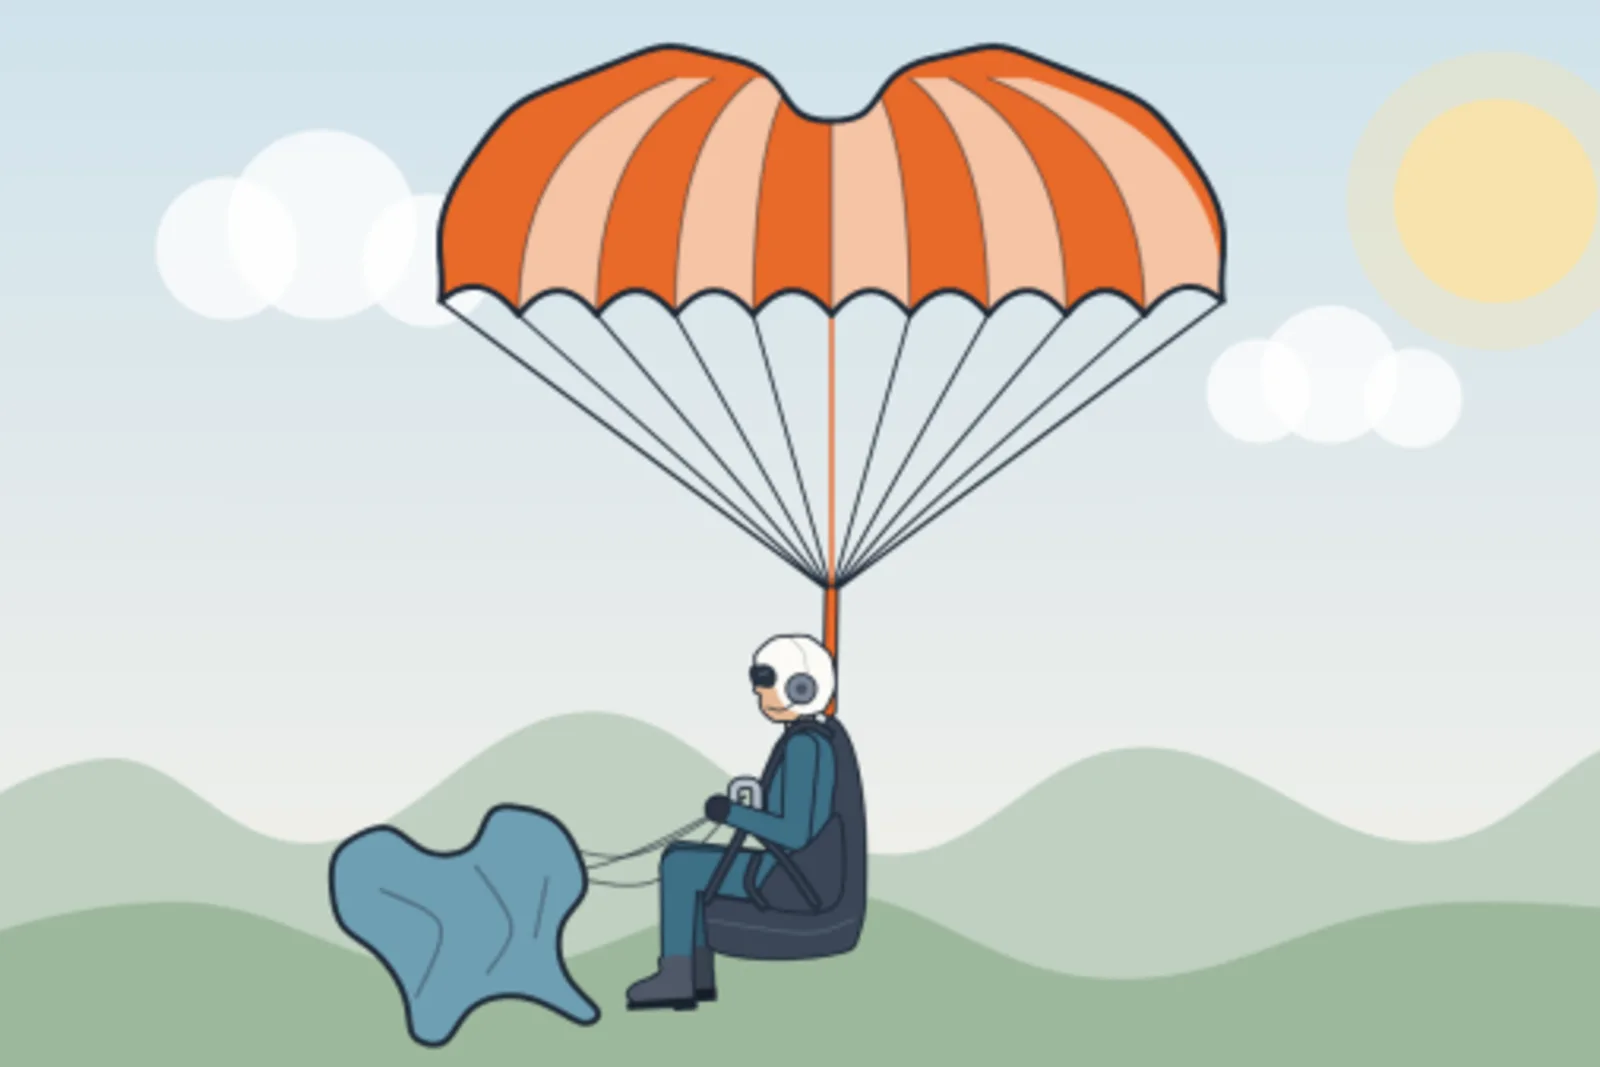
How to throw the reserve
Throw the reserve when the main wing is no longer flying and will not recover: a mid-air collision, a tangle you cannot clear, line twists with a spin, a spiral with no height left to wait. The pilot's rule: if in doubt, throw it out. There is no minimum height below which you must not throw; coming down under a reserve is always better than under an uncontrolled wing. Four steps:
- Look: look down to find the handle (even if the wing is spinning hard).
- Grab: grip the handle with your whole hand.
- Pull: pull hard in the direction the deployment bag went into the container (usually out and up), so the whole bag comes out.
- Throw: throw hard and far into clear air, away from the main wing; in a spin, throw to the outside of the rotation. Then let go of the handle.
Once the reserve is open: the main wing may keep flying against it and make you fall faster. You must disable the main wing: pull both rear risers (C risers) or gather the brake lines towards you until the main is no longer flying. Then sit upright, legs together, eyes on the ground ahead, and get ready for a parachute landing fall (PLF) as practised on day 4.
Note: P1–P2 students only fly in calm conditions on EN A wings, so the chance of needing the reserve is very low. But a real situation leaves only a few seconds, so you practise on the simulator until look – grab – pull – throw becomes a reflex.
3. Theory 2: basic weather
Naming the wind and its direction
Winds are named after the direction they come from: an east wind blows from the east. At launch, pilots name it relative to the slope: straight-in wind blows straight up the launch (good for launching), tailwind blows over the back of the launch (no launching), crosswind blows across it. The side the wind comes from is upwind; the side it blows towards is downwind.
Reading the windsock and streamers: the wind blows from the pole towards the tail of the sock. A drooping sock means light wind, a horizontal one strong wind; a sock that keeps swinging or going limp then stiff means gusts. Trust the windsock and streamers, not your feeling or someone's pointing hand.
Wind strength: how much a student can fly in
At the site, Mebayluon pilots read the wind in m/s (1 m/s = 3.6 km/h) and use five levels:
| Mean wind | Level | For a P1–P2 student |
|---|---|---|
| below 2 m/s (below ~7 km/h) | light | Flyable if steady; the launch run is longer and faster |
| 2–4 m/s (7–15 km/h) | moderate | Best for first flights |
| 4–6 m/s (15–22 km/h) | fairly strong | For experienced pilots; students do not fly from about 5 m/s (18 km/h) |
| 6–8 m/s (22–29 km/h) | strong | No flying |
| above 8 m/s (above 29 km/h) | very strong | Wings packed, nobody flies |
Gusts matter as much as strength. A steady 4 m/s is easier than wind switching between 1 and 4 m/s. When strength varies by about 2–3 m/s (8–10 km/h) within seconds, or the direction swings by more than 30°, students do not fly. Dark clouds, a curtain of rain upwind or thunder mean a storm: land or do not launch, because a strong gust front arrives before the rain.
Turbulence behind obstacles
Wind flowing over trees, buildings or hills breaks into eddies on the downwind side of the obstacle (rotor), like water behind a rock. The turbulent zone extends about 10 times the obstacle's height, further in stronger wind: about 150 m behind a 15 m tree line. Do not fly low or land there. Near the ground the wind also weakens (wind gradient): as you descend the wing loses some airspeed, so keep your hands up to keep enough speed until the flare. Further reading: understanding wind for paragliding and weather for paragliding pilots: an overview of turbulence.
Why you always launch and land into wind
The wing flies within the air mass. Airspeed is the wing's speed through the air: an A-class wing flies at about 36 km/h hands up, whatever the wind. Ground speed is airspeed plus or minus the wind. For example, with a 10 km/h wind:
- Into wind: 36 − 10 = 26 km/h over the ground.
- Downwind: 36 + 10 = 46 km/h over the ground.
Impact force grows with the square of speed, so touching down at 46 km/h hits about (46 ÷ 26)² ≈ 3 times harder than at 26 km/h. Launching is the same: the wing needs enough airspeed to fly; into wind, the wind provides part of it, so you run less and lift off sooner; downwind, you would have to outrun the wind first, which nobody can. That is why you always launch and land into wind.
4. Flight planning and the landing pattern
Every flight is planned on the ground, before going up to launch. At Khau Phạ the launch sits near the top of the pass (1,268 m, beside Highway 32); the landing field is the Mebayluon Clubhouse landing field down in the valley. The route from launch to the field depends on the day's conditions: the instructor guides you and talks to you directly by radio. Around the field there are houses, a road, fences and poles, the Clubhouse with tall trees and a flagpole, a low building, and a stream with stone embankments. The plan covers:
- The wind at the landing field right now: direction, strength, gusts (windsock, ask the landing instructor).
- The landing direction (into wind) and the landing target (aiming point) on the field.
- The height-loss area beside the field and the landing pattern you will fly.
- Obstacles around the field, the turbulent zone behind trees and buildings, and a backup field if you cannot reach the main one.
- You repeat the whole plan to the instructor, who corrects it if needed.
The aircraft-style landing pattern (U shape)
This is the standard APPI landing pattern, shaped like a U. The heights below are approximate, above the landing field, and depend on the wind and the landing instructor's calls:
- Height-loss area: arrive with height to spare, fly to one side of the field (never right above the target), lose height with figure 8s or S-turns, every turn made towards the upwind side so the wind does not drift you past the field.
- Downwind leg: join at about 60 m, fly parallel to the landing direction, with the wind, offset from the field; your ground speed is high here, do not be surprised.
- Base leg: turn 90° at about 40 m and fly across the downwind end of the field. Too high, extend this leg; too low, turn in early.
- Final: turn into wind at about 25 m and fly straight, hands up, standing up in the harness, looking ahead at the target. Below this height, no S-turns and no sharp turns. About 1 m above the ground, or on "Brake": full brakes, land on your feet and keep running a few steps.
Scenario 1: wind blowing up towards the launch (from the valley towards the mountain; at the Clubhouse field usually a northerly). Flying out to the field means flying into wind, so progress is slow: arrive with height to spare. The height-loss area is to one side of the field; the downwind leg runs towards the mountain (towards launch) at high ground speed; the final faces out into the valley, into wind.
Scenario 2: wind blowing down from the launch (from the mountain out into the valley; at the Clubhouse field usually a southerly). You fly downwind to the field, arrive fast and still high: lose height early and do not let the wind push you too far downwind. The downwind leg runs out towards the valley; the final faces the mountain, into wind. Always keep the field within reach flying back into wind.
Better high than low: with height to spare, extend the downwind leg or add a figure 8 in the height-loss area; short of height, cut the pattern short and turn onto final early, or land straight ahead in an open field into wind. More detail: paragliding landing technique.
The beginner pattern: figure 8s on the downwind side, then straight in
On the first solo flights Mebayluon uses a simpler pattern than the U, and the landing instructor guides every step by radio:
- Keep your height on the way out and arrive at the height-loss area on the downwind side of the field (never over the field).
- Fly figure 8s there, every turn towards the upwind side, from about 60 m down to about 25 m.
- At about 25 m, turn into wind and fly straight into the field: hands up, stand up in the harness, flare about 1 m above the ground.
This is the school's method for first flights, not the standard APPI pattern. Once confident, you move on to the U pattern above.
Avoiding obstacles
- Decide early. Look at where you want to go, not at the obstacle, because you fly where you look.
- Do not fly low over trees, buildings, the stream or roads; do not land just behind an upwind tree line.
- If you cannot reach the main field, pick the widest open field ahead, into wind, away from power lines, trees and water. A safe landing elsewhere is not a failure.
- A hard arrival (fast descent, gust): legs together, knees slightly bent and a PLF as on day 4.
Landing with no radio contact
A silent or crackly radio is not an emergency: the wing is still flying normally. Do this:
- Fly the plan agreed on the ground: the same height-loss area, the same pattern, the same aiming point.
- Read the windsock at the field from above to confirm the landing direction; if the wind has changed, land by the windsock, not by the old plan.
- Forget about accuracy; choose the widest, obstacle-free part of the field and land into wind.
- Stand up in the harness early, ready for a PLF. Do not let go of the brakes to fiddle with the radio when low.
- Once down, kill the wing, raise an arm to signal you are fine, then check the radio.
5. Six drills
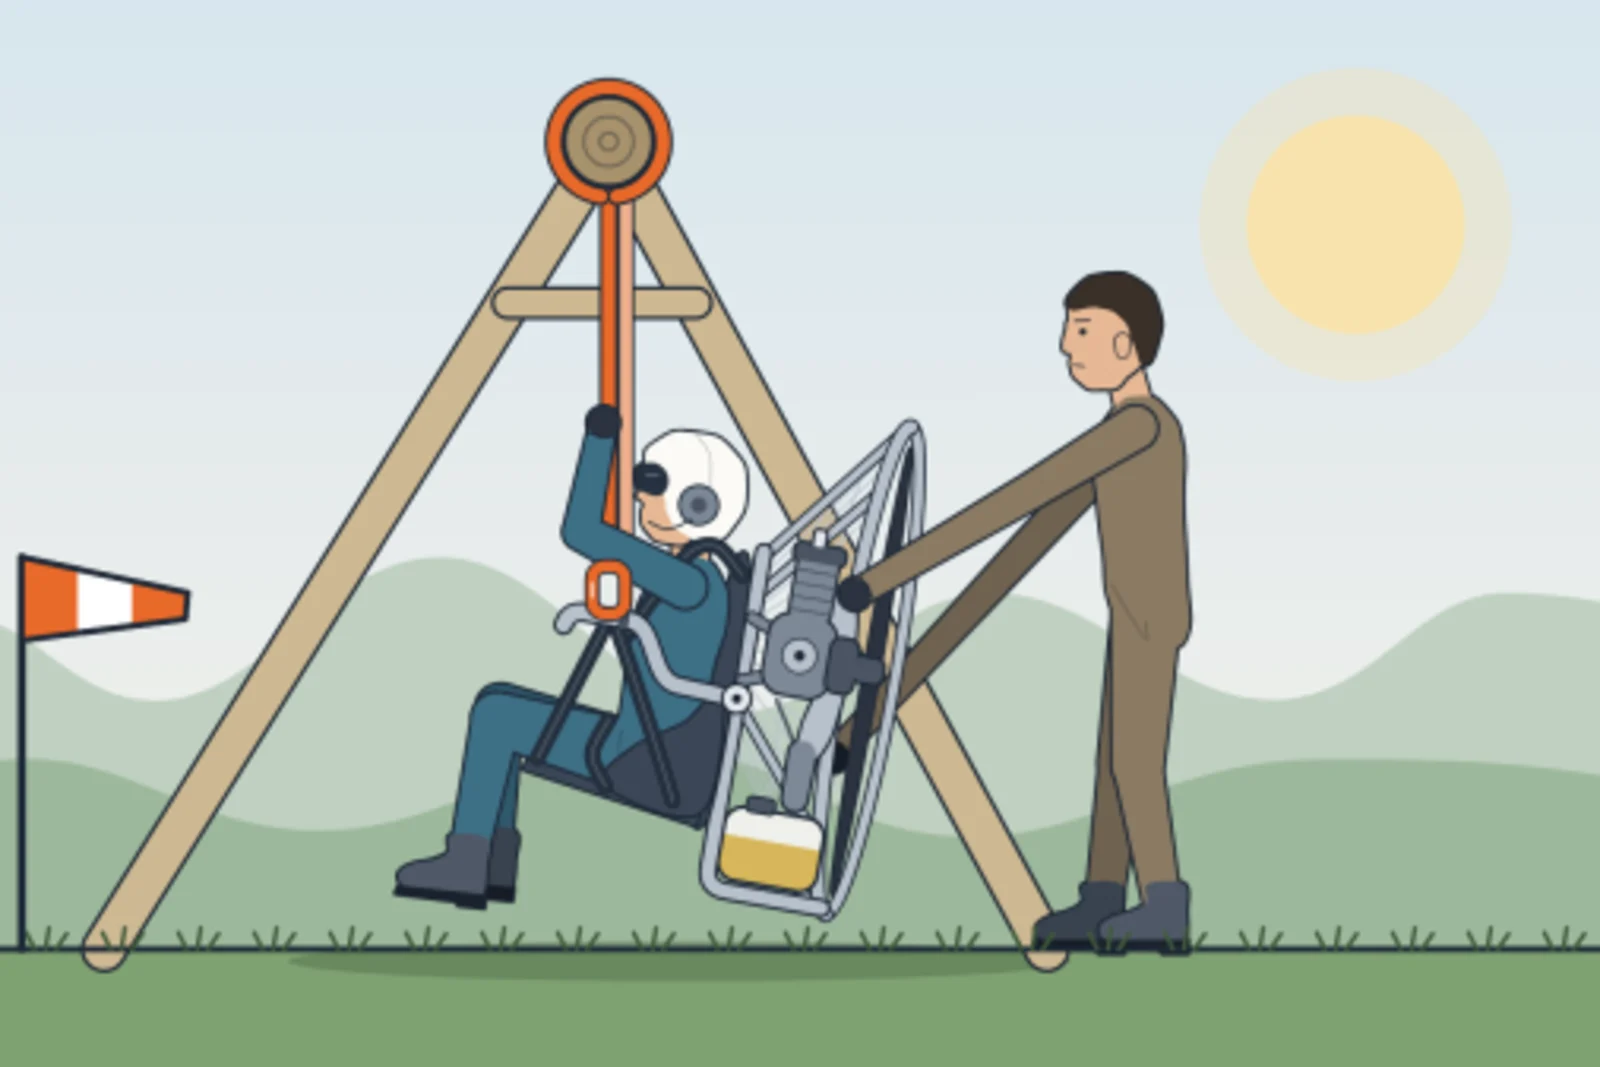
Mebayluon's simulator is a hanging rig under the Clubhouse veranda: you put on your harness, clip into the rig as you would into a wing and hang above the ground, with brakes to hold. Everything on the simulator is done exactly as in flight.
Steering correctly, and the stall
Steering = weight shift + brake on the same side. To turn, look into the turn first, shift your weight (onto the buttock on the side you want to turn) and then pull that side's brake smoothly and progressively. Weight shift makes the wing turn neatly with little brake. Every input is smooth and gradual, never a jerk.
No deep brake held at carabiner level. Straight flight and gentle turns need only light to moderate brake, hands at about shoulder height or above. Never pull deep and hold the brakes at or below carabiner level: the wing slows down until it stalls. Deep and held on one side, that side can stall while the other keeps flying and the wing whirls round: that is a spin. Deep on both sides, the wing goes into a full stall.
What a stall is. When the wing flies too slowly (angle of attack too high), the airflow separates from the top surface, the wing loses lift, drops back behind you and falls. Signs that a stall is coming:
- The wind noise round your helmet drops away, almost silent.
- The brakes feel heavy, then suddenly soft and mushy; the wing responds sluggishly.
- The wing feels as if it is falling behind your head and you are sinking.
Why it is so dangerous near the ground: a stalled wing loses a lot of height and needs height to fly again; low down there is none. Prevention: hands up or very little brake in turbulence and on final; do not add brake when the wing is already slow, or when flying downwind with the ground rushing by (that speed is ground speed; your airspeed has not changed).
If you feel a stall coming: raise both hands evenly and smoothly so the wing picks up speed. If the wing has fully stalled (dropped right back), do not release the brakes abruptly: it will surge hard forwards; at height, follow the instructor's radio calls. P1–P2 students never practise stalls; stall and spin recovery belong to a later SIV course.
Note: the one moment a deep, full brake is right is the landing flare: about 1 m above the ground, full brakes, then stand firm and run.
Drill 1. Getting into the harness on the simulator
- Purpose: settle into the seat after take-off without pulling or releasing the brakes; find a comfortable flying position.
- How: hang upright as if just airborne → hold the brakes hands up → shuffle deep into the seat using legs and hips, not hands → sit upright, look ahead → "Stand up": come out of the seat, feet staggered as for landing.
- Reps: 8–10 times.
- Avoid: pulling your hands down while settling in; looking at your feet; sitting back too early, before you are clear of launch.
- Passed when: 3 correct sit-and-stand sequences in a row with hands steady at hands-up.
Drill 2. Simulated steering
- Purpose: rehearse the control inputs of a first flight: turns, hands up, standing up, flare.
- How: the instructor reads out commands as on the radio → "Left" / "Right": look into the turn first, lean slightly that way and pull that brake about a quarter, then release → "Cao tay" (hands up) → fly the whole pattern out loud: "downwind leg… turning left… final" → "Stand up" → "Brake".
- Reps: 2–3 full patterns, at least one for each wind scenario.
- Avoid: pulling a brake without looking into the turn; pulling too deep or too long; flaring while still high.
- Passed when: every command correct over 2 patterns in a row, naming each leg correctly.
Drill 3. Simulated reserve throw
- Purpose: make look – grab – pull – throw a reflex, done within about 3 seconds.
- How: hang on the simulator in a harness with a training reserve container (never your real reserve) → hands on the brakes, eyes closed or looking up → the instructor shouts "Reserve!" without warning, sometimes swinging or turning the harness → look – grab – pull – throw into the clear space the instructor shows → both hands mime disabling the main wing (C risers) → sit upright, legs together, ready for a PLF.
- Reps: 5–6 times, with the harness both still and turning.
- Avoid: groping for the handle without looking; pulling sideways and jamming the bag; a weak throw or a throw towards the main wing; forgetting to disable the main wing.
- Passed when: 3 times in a row with all four steps, within about 3 seconds, plus disabling the main wing.
Drill 4. Walking the landing pattern on the Clubhouse field
- Purpose: see the aiming point, height-loss area, obstacles and both wind scenarios for yourself before flying.
- How: read the windsock, say the wind direction and strength → set an aiming point → walk the downwind leg, turn onto base, turn onto final and stop at the aiming point, naming each leg out loud → repeat for the opposite wind scenario → walk the beginner pattern too: figure 8s on the downwind side, then straight into the field → the instructor asks: "your radio goes silent on the downwind leg — what do you do?".
- Reps: at least 2 patterns, one per scenario.
- Avoid: walking a final with the wind; a pattern cutting over an obstacle; forgetting the backup field.
- Passed when: two correct patterns, obstacles identified, the lost-radio question answered correctly.
Drill 5. One real flight with the instructor
- Purpose: see tomorrow's whole flight from the air: launch, route, height-loss area, landing pattern and field; feel a wing in real air.
- How: the instructor flies a two-seat wing with you in front → before launch you repeat the flight plan → in the air the instructor points out every landmark: landing field, windsock, height-loss area, pattern legs → in calm air the instructor may let you hold the brakes for a while → you stand up and land together at the Clubhouse field.
- Reps: 1 flight.
- Avoid: just enjoying the view and not watching the route; being shy about asking.
- Passed when: after landing you can draw the route and pattern you just flew.
Note: the flight with the instructor only goes when the wind is right; otherwise the instructor moves it to later in the day or the next morning.
Drill 6. Logbook and oral check
- Purpose: lock in all the theory before the solo day.
- How: log the flight with the instructor and draw the pattern for both wind scenarios → the instructor asks at random: your wing's class, where the handle is, how much wind is too much, why you land into wind, what to do with no radio.
- Reps: end of day.
- Avoid: answering by rote without understanding why.
- Passed when: every question answered correctly and the logbook signed by the instructor.
6. Managing nerves, pressure and stress (reference)
On the evening of day 5 almost every student is nervous. A little fear is good: it keeps you careful. Panic or freezing is what is dangerous. This section is extra reading, not a test.
- Pre-flight self-check (IMSAFE): illness, medication, stress, alcohol, fatigue, emotion. If one is not right, tell the instructor. Even one beer the night before counts.
- Breathe slowly, say the steps out loud. When your heart races, breathe out long and slow a few times, then read out each check as on day 4. Saying it aloud keeps your mind on the task.
- Visualise. Tonight, close your eyes and fly tomorrow's flight in your head: check, inflate, run, sit back, fly to the field, pattern, landing. A pilot who has "flown" it many times in their head is calmer.
- No pressure to fly. "It's the last day", "everyone else has flown", "I came all this way" are the pressures that make pilots decide badly. If the weather or your health is not right, fly another day; the course has spare days for exactly this.
Aviation training material also lists five attitudes that lead to accidents. Noticing that you are thinking this way already makes you much safer:
| Attitude | The thought | Remind yourself |
|---|---|---|
| Anti-authority | "Don't tell me what to do" | "Follow the procedure" |
| Impulsivity | "Do it now" | "Not so fast, think first" |
| Invulnerability | "It won't happen to me" | "It could happen to me" |
| Macho | "I can do it — watch this" | "Taking chances is foolish" |
| Resignation | "What's the use?" | "I can make a difference" |
And most important of all: you always have the right to say "I'm not ready". Mebayluon instructors will never make you fly when you are unsure.
7. Stage 4 exit standard
The instructor checks each line and signs the logbook. Only when all are met do you move on to day 6.
| # | Criterion | Checked by |
|---|---|---|
| 1 | States the EN class of their wing and why students fly EN A | Oral |
| 2 | Helmet on and fastened, radio check done correctly | Drill 5 |
| 3 | Finds the reserve handle on their own harness without searching | Drill 3 |
| 4 | Simulated throw with all four steps in about 3 s and main wing disabled: 3 times | Drill 3 |
| 5 | Settles in and stands up correctly without pulling or releasing the brakes | Drills 1–2 |
| 6 | Reads the windsock: direction, strength and whether it is flyable | Drill 4 |
| 7 | Explains ground speed into wind and downwind with a numerical example | Oral |
| 8 | Walks the correct U pattern for both wind scenarios and the beginner pattern at the Clubhouse; knows what to do with no radio | Drill 4 |
| 9 | Completes the flight with the instructor and draws the route correctly | Drill 5 |
| 10 | Attitude: self-checks health, speaks up when not ready | All day |
8. Tomorrow: your first solo flights
With stage 4 passed you have everything you need for day 6: your first high flight, launching by yourself from near the top of Khau Phạ pass, with one instructor coaching at launch and another guiding you by radio at the landing field. Tonight eat well, sleep early, get your kit ready and "fly" that flight once in your head.
Want to train on this roadmap? See the full P1–P2 fast-track course (5–7 days) at Khau Phạ, or book and ask an instructor directly.
Book · contact an instructor →
The P1–P2 course series:
- Days 1–2: ground handling
- Day 3: slalom, killing and packing
- Day 4: first flights by hand tow
- Day 5: theory, weather and simulator (this article)
- Day 6: the first high flight
Frequently asked questions
Do I fly solo on day 5?
No. On day 5 you study theory, train on the simulator and make one flight with the instructor. Your first solo flights come on day 6, once stage 4 is passed.
Where is a student's reserve fitted?
In the harness's reserve container, usually under the seat or in front. Each harness has its own handle position; the instructor shows you on the harness you wear and you touch the handle before every flight.
How much wind can a student fly in?
Best is a steady 2–4 m/s (7–15 km/h). From about 5 m/s (18 km/h), or with strong gusts or shifting direction, students do not fly. The final call is the instructor's on site.
What if I lose radio contact in the air?
The wing keeps flying normally. Fly the plan agreed on the ground, read the windsock at the field, pick the widest obstacle-free part and land into wind, ready for a PLF.
What is the flight with the instructor on day 5 for?
So you see tomorrow's route, height-loss area and landing pattern from the air, and feel a wing in real air before flying it yourself.
This is Mebayluon's student handout for stage 4 and does not replace training with an instructor. To book the P1–P2 course at Khau Phạ: learn to paraglide in Vietnam.