Basic Paramotor (PPG) Technique: What Changes From Paragliding
29 septembre 2026 • 1 vues
Partager cet article:
Powered launches, torque, throttle, trimmers, power-off landings and engine-outs: core PPG technique for paraglider pilots and guests who flew a paramotor at Khau Pha.
Powered paragliding (PPG) and free-flight paragliding (PG) share the same family of wings, the same aerodynamics and even the same way of holding the brakes. Yet the moment you strap an engine and a propeller to your back, almost every familiar skill has to be relearned: how you run, how you turn, how you handle problems, even how you stand.
We wrote this from the point of view of the school's head pilot, for two groups of readers: paraglider pilots (P2–P4) who are curious about, or moving to, paramotoring, and guests who have flown a tandem PPG flight at Khau Pha and want to know what the pilot behind them was actually doing.
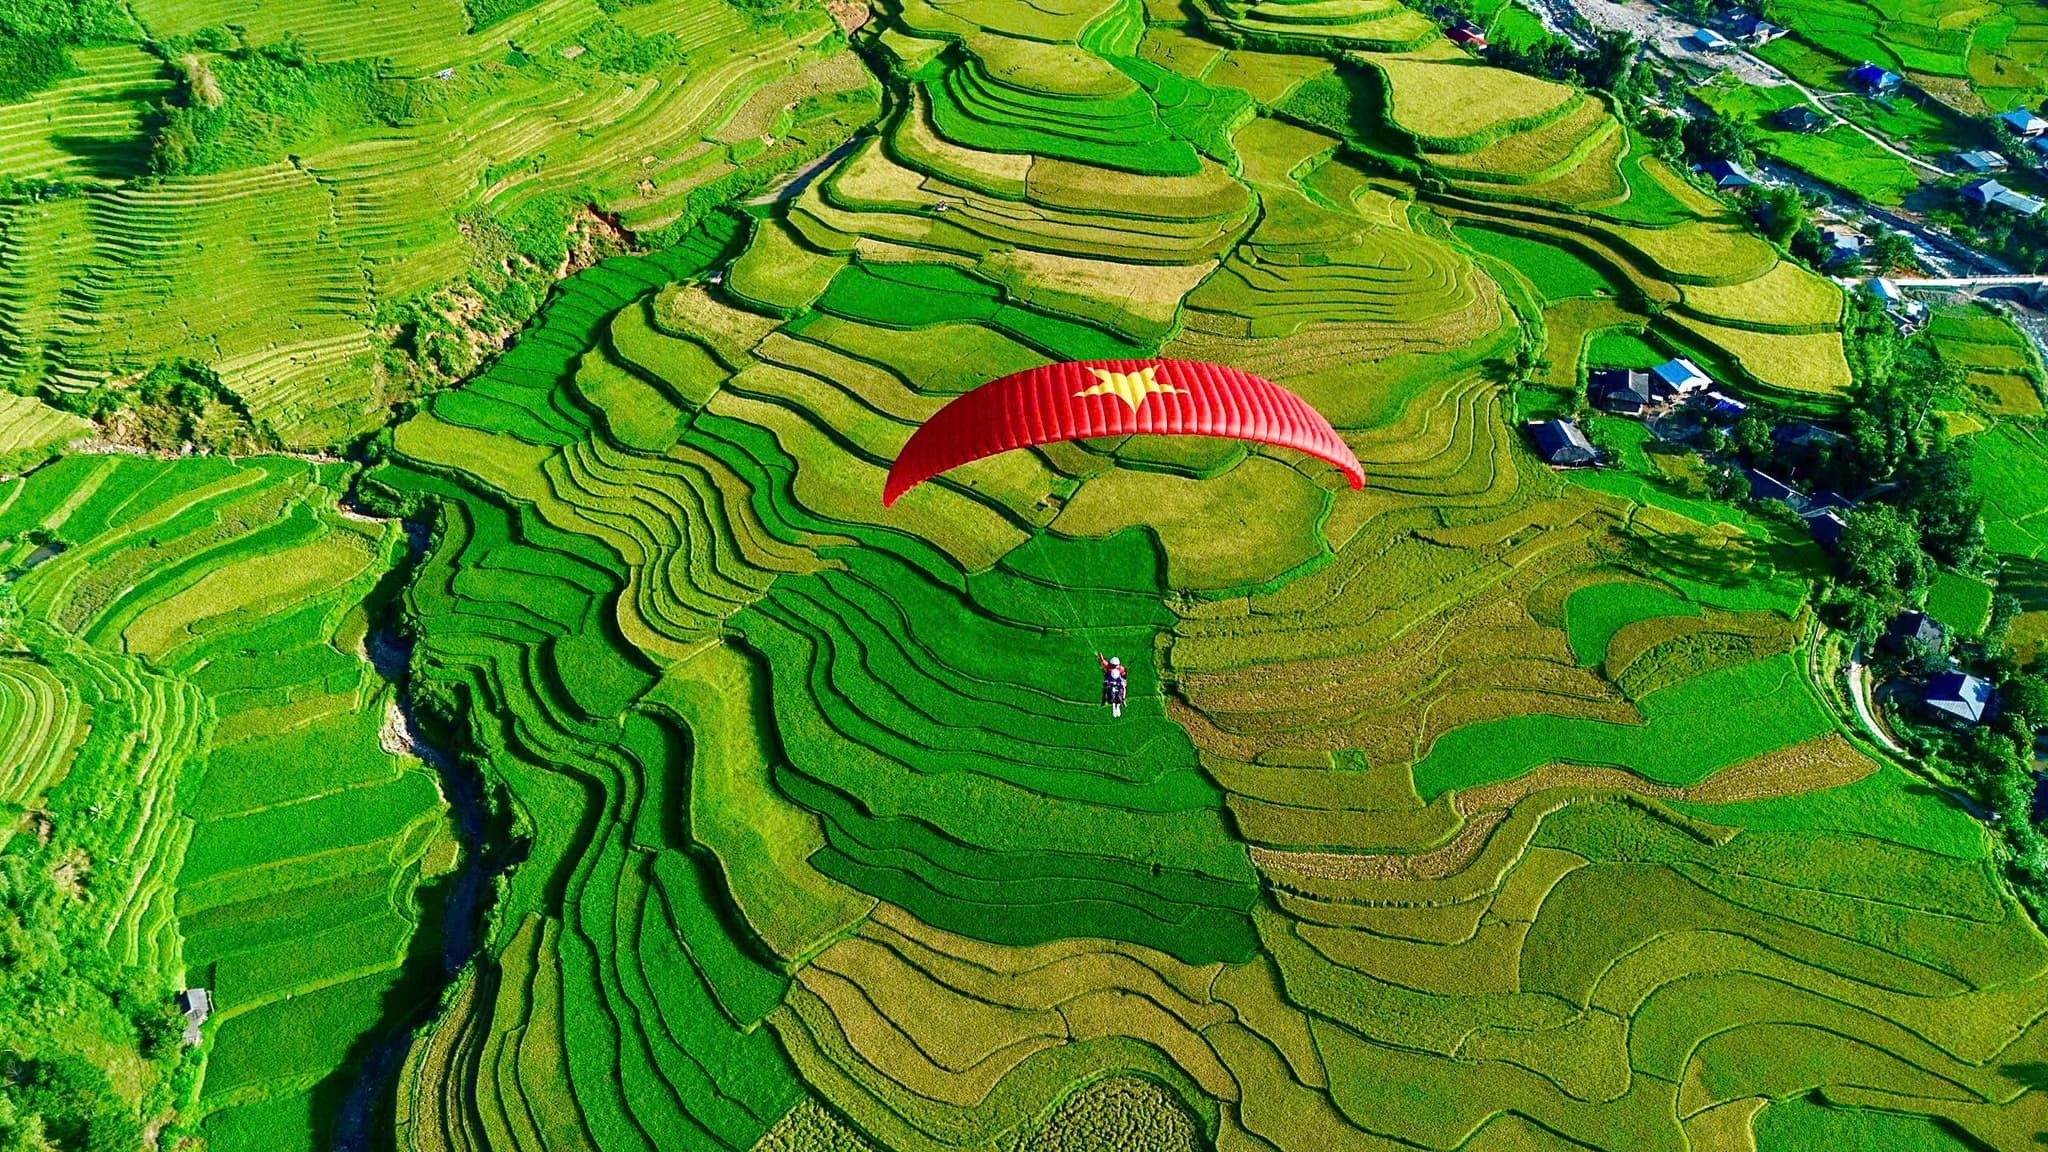
Seen from below: a red wing and a PPG trike over Mu Cang Chai
This is an article about flying technique. If you only want a general comparison to choose a flight (feel, altitude, noise, best time of day), read Paragliding vs Paramotor: What's the Difference?. Our main reference is Jeff Goin's Powered Paragliding Bible, combined with our own experience operating at a site 1,268 m AMSL.
What stays the same when you add a motor
Good news for PG pilots: most of what you know about the wing still holds. The motor only adds a thrust force; it does not change how the wing flies.
One figure worth remembering: the same wing glides noticeably worse under a paramotor. According to Jeff Goin, a wing that glides around 10:1 drops to about 9:1 with a free-flight harness and to about 6:1 with a paramotor cage, because the cage, frame and propeller add drag. That 6:1 is the basis of every "where do I go if the engine quits" calculation later on.
What changes: a machine on your back
A paramotor unit on the pilot's back: frame, cage, netting, propeller and fuel tank. Photo: Aniol, Wikimedia Commons (CC BY-SA 3.0)
Topic
Paragliding (PG)
Powered paragliding (PPG)
Energy source
Starting height and lift (thermals, ridge lift)
Propeller thrust; the thrust line sits behind you, roughly at body level
Launch site
Slope, mountain launch
Flat ground, even in nil wind; at Khau Pha it is the landing field
Wing
Standard profile, speed bar
Usually a reflex profile with trimmers and tip steering
Weight
Harness and reserve, about 10–15 kg
Plus engine, frame, cage and fuel; higher wing loading
Hang points
Carabiners on the harness
High or low hook-in on the frame, J-bar or swing arms
Torque
None
Propeller torque pulls pilot and wing off heading
Communication
Radio, you can hear the wind
Loud engine; needs a noise-cancelling helmet with radio
Mechanical skills
Hardly any
Mixing fuel, carburettor tuning, propeller care, maintenance
Loss of power
The normal state
Engine-out = you become a PG gliding at about 6:1
Altitude, airspace
Limited by lift and cloud
Climb on demand; you must keep your own altitude and airspace limits
Preferred conditions
Midday with thermals
Early morning, late afternoon, smooth air
Table 2. How PG and PPG differ
The two most important technical differences are the thrust line and torque. Thrust acts on the pilot, not the wing; adding power mainly steepens your climb rather than making you fly faster. Because you hang far below the wing like a pendulum, every abrupt power change makes the system pitch forward or back. Torque makes the whole system roll and yaw against the propeller's rotation. Much of PPG technique is learning to live with these two forces.
Basic PPG techniques, step by step
1. Preflight and warm-up
According to the book, the propeller is the number-one source of serious PPG injuries, and most happen while starting the engine on the ground, not in the air. So the PPG preflight is longer than a PG check. We do it like this, always starting at the carabiners and starting over if interrupted:
Carabiners, harness, swing arms or J-bar: look for cracks, correct locking.
Throttle lock (cruise) off, any start-surge protection on. Unexpected thrust at start-up is a very common cause of injury.
Work the throttle and watch the carburettor lever return to idle. This is the single most important item.
Walk around the machine: bolts and torque-marker paint, exhaust (prone to cracks), safety wire, belt, spark plug.
Fuel cap and tank vent. Always check after refuelling, so the cap is never forgotten.
Propeller: no cracks, no play, mounted the right way round. Mounted backwards it gives about half the thrust.
Cage and netting intact. The cage protects the lines, not you.
Reserve pin and bridle; the reserve handle must not be on your throttle hand side.
All loose strap ends tied off. No scarves, nothing hanging around your neck.
Starting: motor secured on a stand or already on your back, shout "clear prop!" before starting, spectators at least 6 m outside the propeller's plane. Warm up, then do a full-power run-up to check RPM and the kill switch.
One difference from PG: brake lines must be set correctly for the paramotor. Too short and the wing stalls easily; too long and the handle can be drawn into the propeller, with little flare authority left. The book records fatal accidents caused by wrong brake-line length, so after every wing inspection we always kite the wing again to check.
2. Forward launch with power
A nil-wind forward launch is the hardest thing in PPG: you inflate the wing by running while carrying twenty-odd kilos of motor. The book suggests forward launches below about 2 m/s and switching to reverse above about 2.7 m/s. The basic sequence:
A powered forward launch step by step, from inflation to lift-off. Photo: Jeff Goin, Wikimedia Commons (CC BY-SA 3.0)
Step 1 — Lay the wing out in an arc, clear the A-lines and brake lines; stand in the middle, square to the leading edge.
Step 2 — Take hold in this order: throttle, brake handle, then A-riser. Engine at idle.
Step 3 — Lead with your chest, arms back, pull the A-risers just enough. Too much and the leading edge folds.
Step 4 — As the wing comes overhead, let go of the A's and check it gently with the brakes; look at the wing out to the side, don't throw your head back.
Step 5 — Apply power only once the wing is stable overhead. As you power up, stand tall and push your hips forward so the thrust is horizontal. Leaning forward like a PG launch drives you into the ground and onto your face.
Step 6 — Keep running until your feet are pedalling air. Don't jump, don't sit early. Only get into the seat once you are above about 15 m.
Step 7 — If the wing is off-centre, rocking, or anything feels wrong: abort by releasing the throttle, pressing and holding the kill switch, stopping and turning to face the wing.
One variation is to hold about a quarter throttle from the start of the run. It makes nil-wind inflations easier, but the book warns it doesn't suit big pilots, large wings or powerful motors: as the wing rises, lines and the edge of the cage can be pulled into the propeller. Lines-into-prop incidents usually start with an off-centre inflation, the pilot running ahead of the lines, or power applied while the wing is still behind.
If you learned forward launches as a PG pilot, revisit Forward launch technique: the inflation principles are the same; PPG only adds the upright posture and the timing of power.
3. Reverse launch with the motor
With steady wind, a reverse launch is safer and easier to control. But do not hold the risers free-flight style (one A-riser in each hand). If the throttle snags a line as you turn, the engine can go to full power and drag you with dozens of kilos of thrust. A common method is one hand holding both A-risers and the other on the throttle: inflate, check the wing stable overhead, then turn and go immediately, without standing still. Feed in power smoothly, never snap it. Before lift-off, the book advises keeping the wing slightly towards the anti-torque side to limit twisting around the loaded riser.
PG reverse grips are covered in Reverse launch technique; with a motor, relearn your grip under a PPG instructor.
4. Controlling torque and twist
Torque is the force that twists motor and pilot against the propeller's rotation. It is strongest at high power and when the pilot leans far back. With common belt-drive motors the pilot usually twists left; gear-drive motors go the other way. Consequences:
— At full climb power the wing tends to turn to one side on its own. Accept it and correct very gently.
— If you hold power once you are twisted, thrust keeps pushing you one way while the wing banks the other, and the riser twist can lock in. Braking against it at that moment easily leads to a spin.
— Reducing torque by setting up the motor (less hang angle, lamels on the cage, offset thrust, anti-torque strap) is the rigger's job; the pilot just needs to know which way their motor twists and how hard.
Reduce power, let up the brakes, then steer.
— The root reflex for any unusual situation under power, per Powered Paragliding Bible (Jeff Goin)
It is short, yet it is the biggest difference from PG. Reducing power (by about half, not chopping it) removes the twisting force and the force that can hold the wing in a deep stall. Letting the brakes up gives the wing its speed back. Only then steer. The most common beginner mistake is over-reacting, not reacting too slowly.
5. Throttle management: climb, cruise, descent
A foot-launched paramotor pilot in flight: throttle in the right hand, brake in the left. Photo: Wolkenkratzer, Wikimedia Commons (CC BY-SA 3.0)
Two-stage power: go to half throttle, wait about 2 seconds for the system to settle, then go to full. Same when reducing. Brakes act immediately; throttle takes seconds to show its effect.
Hands up to go up: keep the brakes near hands-up while climbing, never beyond light pressure. Heavy brake plus high power is a recipe for a stall.
Climb straight into wind first: the book advises climbing into wind to about 60 m before turning, always staying within glide of the field.
Turn limits while climbing: no more than about 30° below 9 m, up to 90° above 18 m, and only above 30 m turn up to 180°.
Level flight: cruise power is often only around a third, hands light at the feel position. Adjust trimmers with your non-throttle hand.
Descending: easing the power off is the smoothest way down; no need for big ears or spirals in normal flight.
6. Turning under power
The PPG turn sequence: look, lean, brake, then add power if needed. You hang below the roll axis, so natural reflexes are often the opposite of what is needed; make small inputs and hold them a few seconds before judging.
The key rule: never combine high power with a hard turn, especially low down. High power swings you outward, increasing bank and G-load; if the turn goes with the torque it can gradually tighten into a spiral. If a turn keeps steepening without your intent: reduce power, let up the brakes, then steer. Aggressive manoeuvres at low altitude are one of the four leading causes of fatal accidents listed by the book.
To review how a wing is steered with brake and weight shift, see Paraglider aerodynamics part 3: steering and turning.
7. Power-off landing and go-around
We advise pilots new to PPG to land power-off for their first flights (the book suggests about 10). The reason is simple: with the engine off you are back to what you know, a PG glide, and the propeller is stopped when your feet touch down. The procedure:
Join the circuit at about 60–90 m, downwind leg then base leg, within 6:1 glide of the field.
Go to idle, then press and hold the kill switch until the propeller has stopped, before descending below about 15 m.
Final approach into wind from about 30 m. Below about 15 m don't correct oscillations; below about 6 m don't turn.
Hands nearly fully up by the last 15 m so you have full brake travel available.
Two-stage flare: partial brake at about 1.5–3 m to swing your body forward, full brake at about 0.3–0.6 m. One foot forward, ready to run.
After touchdown: kill the wing immediately; don't let it blow back towards the propeller.
PPG's big advantage is the go-around after a botched approach: hold about half power, ease the brakes, wait about 3 seconds for the system to settle, then add climb power. Don't slam full power while holding brake. Decide to go around before you are too low; if the engine is already off, simply land as a PG pilot would. Approaches and flares are covered in detail in Paragliding landing technique.
8. Engine-out
An engine-out is not an accident; it is the moment you become a PG pilot. What you prepare for is always being within glide of a landable field. The book advises keeping about 150 m when away from the field so you always have an out. What to do depends on your height when the engine stops:
Height at engine failure
What to do
Climbing, below about 6 m
The wing surges forward as thrust disappears: brake just enough to stop the surge, prepare to land. The steeper the climb, the bigger the surge.
Above about 9 m
Set up a straight glide to open ground and land normally.
Above about 30 m
Enough time to turn back into wind to land.
About 60 m and above
Set up your landing pattern first, then try a restart if the motor allows.
Below about 60 m
Just land; don't waste time on restarts.
Table 3. Engine-out actions by height (summarised from Powered Paragliding Bible)
9. Pilot-induced oscillation
Pilot-induced oscillation (PIO) is when your own brake or throttle inputs make the pendulum swing harder instead of settling. In PPG it tends to show up in two ways: pitching from abrupt power changes, and rolling from over-correcting torque with the brakes. The fix:
— Let the brakes up to light pressure, hold power steady (or reduce it) for about 5 seconds, and let the wing settle itself.
— If you need to damp a swing, apply light brake on the side your body is swinging towards, hold 1–2 seconds, then release.
— The book advises new pilots not to try PG-style active flying under power; smooth, minimal inputs are enough. Active piloting takes many flights to become a reflex. PG pilots who already fly actively can use it, but must allow for the motor's inertia.
The PG fundamentals of pitch and roll control still apply: see Active flying part 1: pitch control and part 2: roll control.
10. Wheel launch and trikes
A trike (paratrike) removes the running, makes nil-wind and high-altitude launches easier, and tandem flying on wheels is much easier and safer because the passenger doesn't have to run. The book also notes far fewer propeller injuries than with foot launching. In exchange, the trike is heavier, so it flies faster, climbs worse and burns more fuel. Technique specific to trikes:
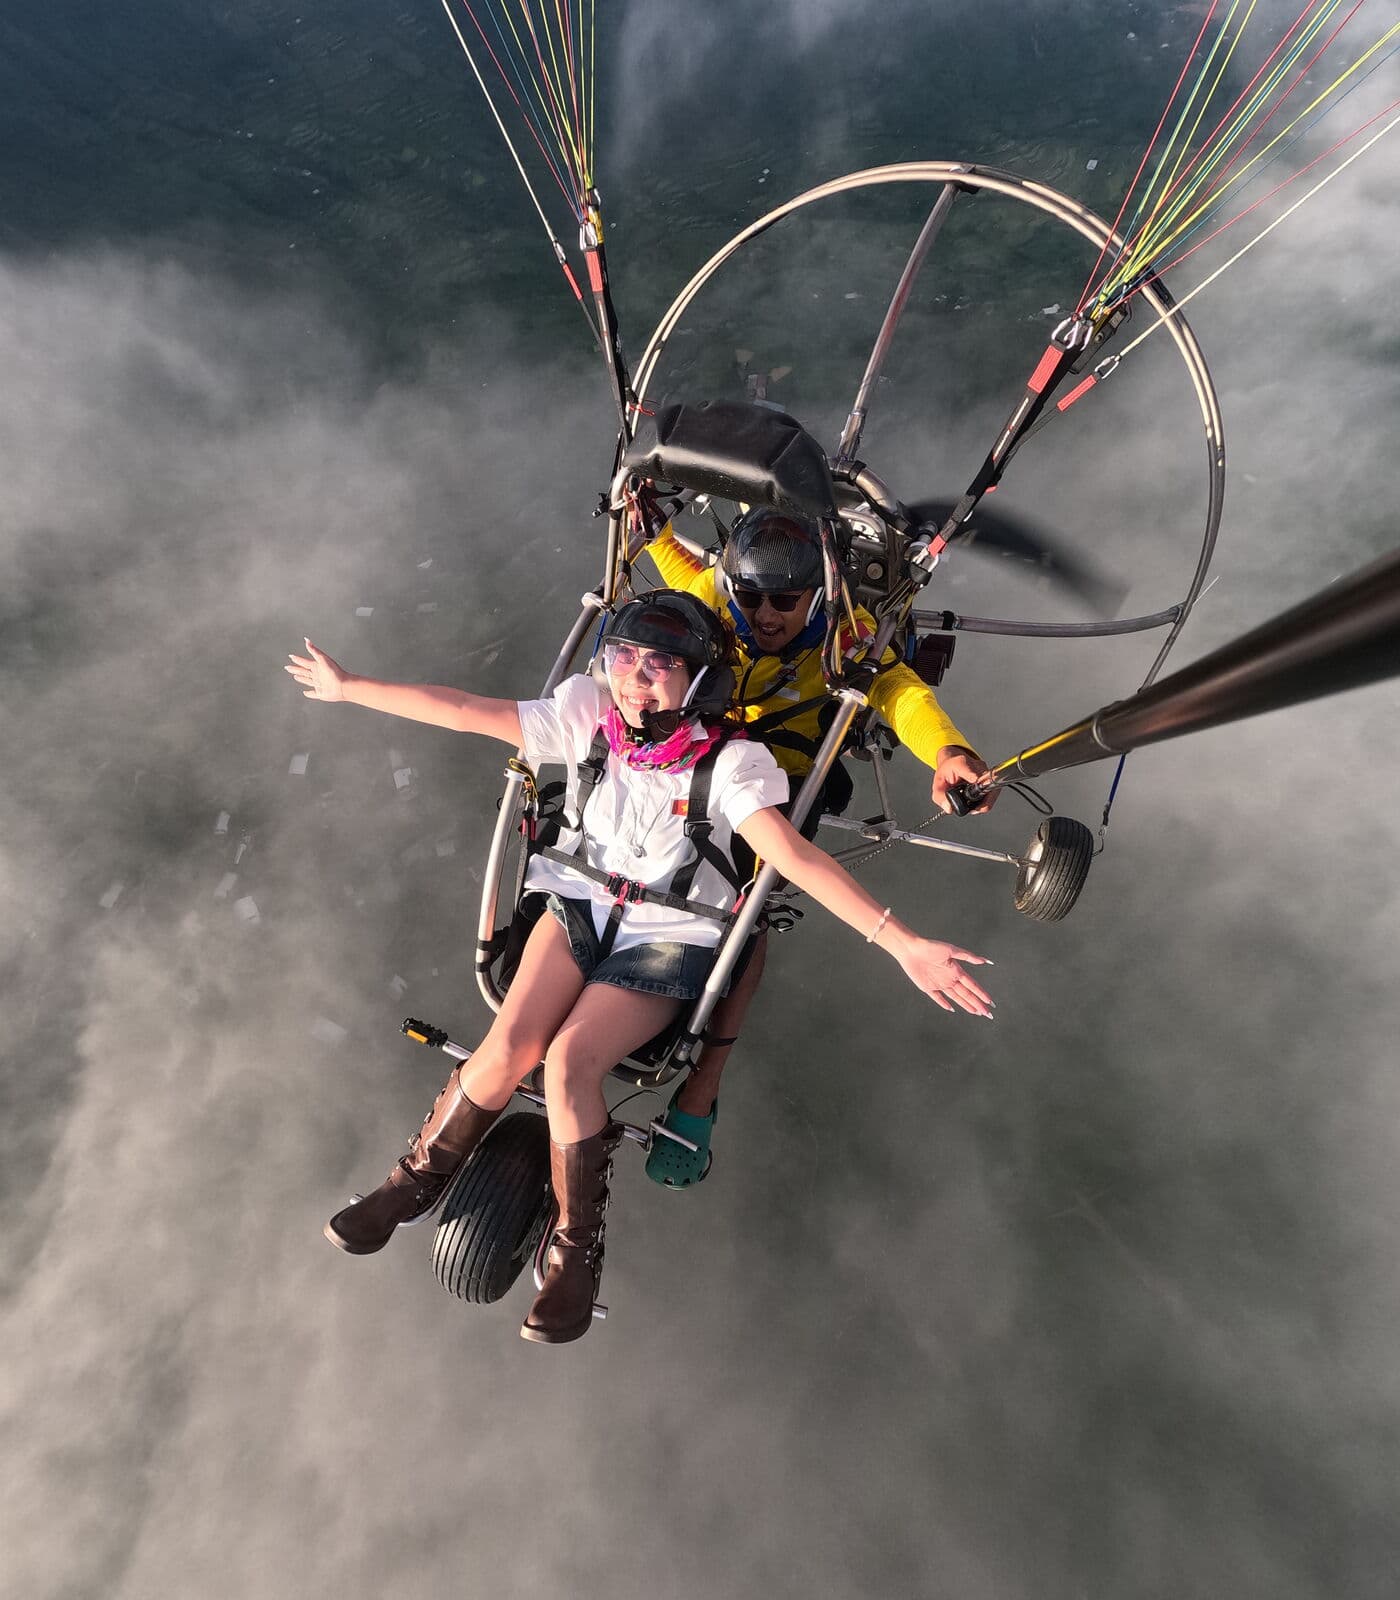
Wheels leaving the ground: the moment a PPG trike flight lifts off at Mu Cang Chai
Hang check first: when suspended, the nose should sit about 5–15° up. The hook-in point must be set for each person's weight, especially the front passenger. A nose-heavy trike is very bad.
If the wing overshoots: check it with the brakes but keep the power on for a few seconds. Cutting power too soon can let the wing fall into the propeller.
Steer the wing first, the trike follows. If the wing is more than about 20° off, abort. Never lift off with the wing oscillating.
If the trike is about to tip: steer towards the wing, go to idle, release the brakes, kill the engine. Never put a hand out.
Land into wind so you don't touch down sideways and roll over; passengers keep hands and feet inside the frame.
Reflex wings, trimmers and tip steering
Most PPG wings have a reflex profile: the trailing edge is slightly raised, the centre of pressure moves forward and more load goes onto the A-lines. That lets the wing fly around 20% faster than a standard wing while resisting frontal collapses better at speed. Speed is set with trimmers on the rear risers, which differ from a speed bar:
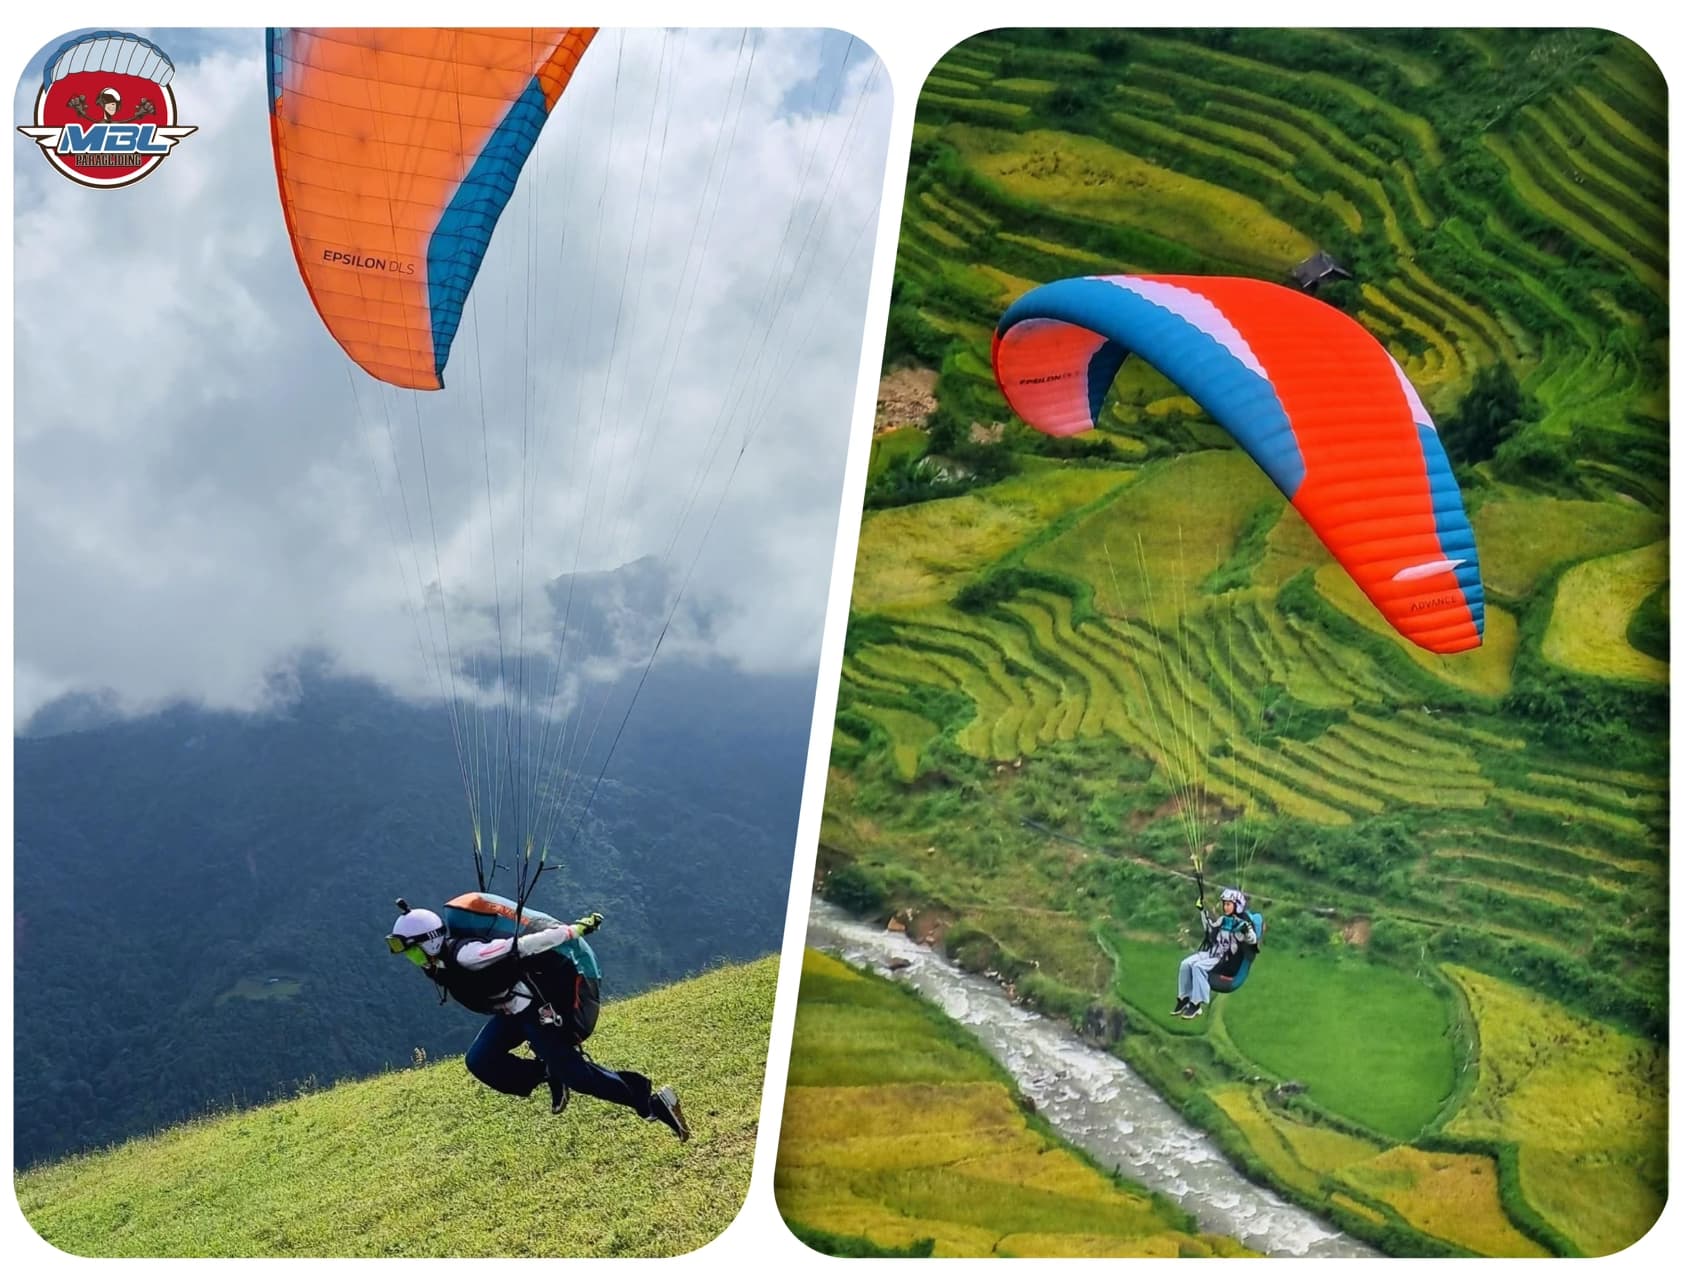
A PPG wing skimming low over Mu Cang Chai's rice: fast and stable thanks to its reflex profile and trimmers
Trimmers raise the trailing edge and stay where you set them; the speed bar lowers the leading edge and stops working when you release it. Many wings have both.
No main brakes when trimmed fast or in reflex mode. Braking there spoils the reflex profile, moves the centre of pressure back and invites a frontal collapse. Use tip steering, stabilo steering or the rear risers instead, as the manufacturer's manual specifies.
Launch at neutral trim (usually a sewn mark). Trimmed slow, the wing comes up sluggishly; trimmed fast, it needs a lot of checking.
Leave the trimmers alone until you are comfortable flying under power (the book suggests about 12 flights), and return to neutral before joining the landing pattern.
In turbulence: usually slow or neutral trim, light even hand pressure, no speed bar, unless your wing manual says otherwise.
EN certification is tested without a motor; reflex wings are usually tested only at slow trim. Unlocking the full trimmer range or fitting different risers takes the wing outside its certification.
A reflex wing may be safer, just not while you're wearing it.
— Jeff Goin, Powered Paragliding Bible (meaning: don't pull main brakes while the wing is in reflex)
PPG wings are also often flown at a higher wing loading, because the all-up weight includes motor and fuel. Higher loading makes the wing faster and more responsive, needs a faster run, and collapses more violently when it does. Size the wing to the manufacturer's PPG weight range; see also What is wing loading?.
Safety specific to PPG
A paramotor helmet with ear protection and an intercom between passenger and pilot
Propeller: treat every start as if the engine will go to full power. Never run the engine without a cage. The throttle lock (cruise) is a major cause of propeller accidents; press and hold the kill switch until the engine has fully stopped. A clutched propeller that spins at idle is still dangerous.
Lines into the prop: tie off every loose end, keep brake lines at the right length, never power up with the wing still behind you. If lines have touched the propeller, have the wing inspected.
Fuel and burns: mix fuel at the manufacturer's ratio (often 50:1, with coloured 2-stroke oil so you can see it is mixed), never refuel a hot engine or near flames. The exhaust and cylinder are very hot after running: set the motor down carefully and keep the wing and lines away.
Choosing emergency fields: a good field is flat, into wind, free of power lines and outside any rotor. Terraced rice fields are poor emergency fields: narrow terraces, high bunds, sloping ground, and you should never land uphill. Identify emergency fields along your route for each wind direction in advance.
Power lines: almost invisible from above. Cross at the pylons, at least twice the height of the wires. According to the book, flying above about 60 m removes most of the risk.
Wind: PPG is best in calm or light wind. Don't launch if the wind changes by more than about 2.2 m/s within 5 seconds; set yourself a specific gust limit and stick to it. Strong wind at launch level (mean wind above 6 m/s at the launch layer, which we call GIÓ XIẾT) is outside the safe envelope for PPG students and tandem flights. Never accept a tailwind on a forward launch, and beware of tailwind at wing height when it is calm on the ground.
Thermals and thunderstorms: midday thermals make PPG rough and control easier to lose, and can stay strong until an hour or two before sunset. After a thunderstorm has passed, wait at least about 2 hours.
Sharing air with free flyers: powered gives way to unpowered; don't motor around a PG launch; wake turbulence behind a tandem PPG or trike can persist for a few minutes and sinks, so don't cut straight across another wing's flight path.
Khau Pha sits at 1,268 m AMSL. At this elevation, especially on warm summer mornings, density altitude is well above the true altitude: thinner air means a weaker engine, a wing that needs more speed to lift, a longer take-off run and a weaker climb. The book gives the example of a motor producing about 45 kgf of thrust at sea level but only about 36 kgf at a density altitude of about 1,500 m, roughly a fifth less; with a tandem load, the thrust margin for launch and climb gets noticeably thin. In practice:
— A steady headwind at launch is precious; the run surface should be smooth, ideally slightly downhill.
— Climb at slow trim with hands nearly up; don't brake to "force" the wing up.
— Sunrise flights are cooler, so the engine is stronger.
— Carburettor: according to the book, above about 900 m the mixture must be leaned; bring the motor back down to low ground and it must be richened again, or it will run lean, overheat and may seize. Check maximum RPM at the field every day.
Trikes have a clear advantage at high sites because there is no running, but holding too much brake on a trike at high density altitude can stop it from climbing at all.
Cloud hunting by PPG at Khau Pha: thinner air at a high site reduces engine thrust
The transition path: PG to PPG, and for beginners
If you are already a PG pilot
You bring a lot of valuable skills: ground handling, reading the wing, reading the weather, handling collapses, approaches and flares. That's why PG pilots usually learn PPG faster than complete beginners. But some of those good PG habits must be rewritten under power:
Stand up at throttle-up, don't lean forward like a PG launch run.
Keep the power on after lift-off until at least about 30 m; don't unconsciously relax the throttle out of a "we're flying, relax" habit.
Your first reflex is to reduce power, then brakes and heading.
Deep stalls are more common under power, because thrust can hold the wing there; most deep-stall accidents are pilots hitting the ground with power still on.
Ground handle with a motor on your back: first a frame without engine, then the motor switched off, then running. Drill the abort call until it is a reflex.
Learn the mechanical side: mixing fuel, starting safely, checking the propeller, recognising an unusual engine noise.
Always have a PPG instructor guiding you by radio on your first flights, even if you have flown PG for years. The book is clear that experience in other aircraft is no substitute for proper PPG training.
If you have never flown
Beginners often assume a motor makes it "easier" because you don't need a mountain. The opposite is true: you manage the wing, the engine and torque at once, and a face-plant at throttle-up or lines in the propeller has worse consequences than in PG. The book recommends at least 15–25 hours of ground handling before adding power, a stock beginner (EN-A) wing, and a first solo guided by an instructor on the radio. In our experience, solid ground handling and PG flying are the best foundation for PPG: our P1–P2 paragliding course builds inflation, launch and landing skills without a motor first.
If you want to learn PPG, contact us or call our hotline +84 964 073 555 for advice on a suitable path.
A passenger seated on the trike before take-off: no running, no landing on your feet
Flying PPG with Mebayluon
If you'd rather experience it than learn it, Mebayluon flies tandem PPG (paramotor) and PPG trike at Khau Pha pass, Mu Cang Chai. Unlike free-flight paragliding, which launches from the mountain at 1,268 m AMSL, PPG flights take off from the landing field in the valley. There are two kinds of flight:
— A basic flight of about 15 minutes to feel what climbing on demand over the rice terraces is like.
— A 25-minute cloud-hunting, sunrise or sunset flight, climbing up to about 2,000 m.
Besides Khau Pha, we also offer PPG flights at Quan Ba (Ha Giang). Everything in this article (preflight checks, wind limits, high-site flying, escape options and emergency fields) is what your pilot is doing behind you throughout the flight. Full flight details are in Paramotor at Khau Pha, Mu Cang Chai.
PPG over the Quan Ba valley, Ha Giang: a Mebayluon survey flight
Further reading: Jeff Goin's Powered Paragliding Bible is the most complete PPG textbook available. The author himself stresses that it is not meant for self-teaching: it complements instructor-led training, it does not replace it. For the winds at Khau Pha, see Flying technique at Khau Pha: 3 main wind scenarios.