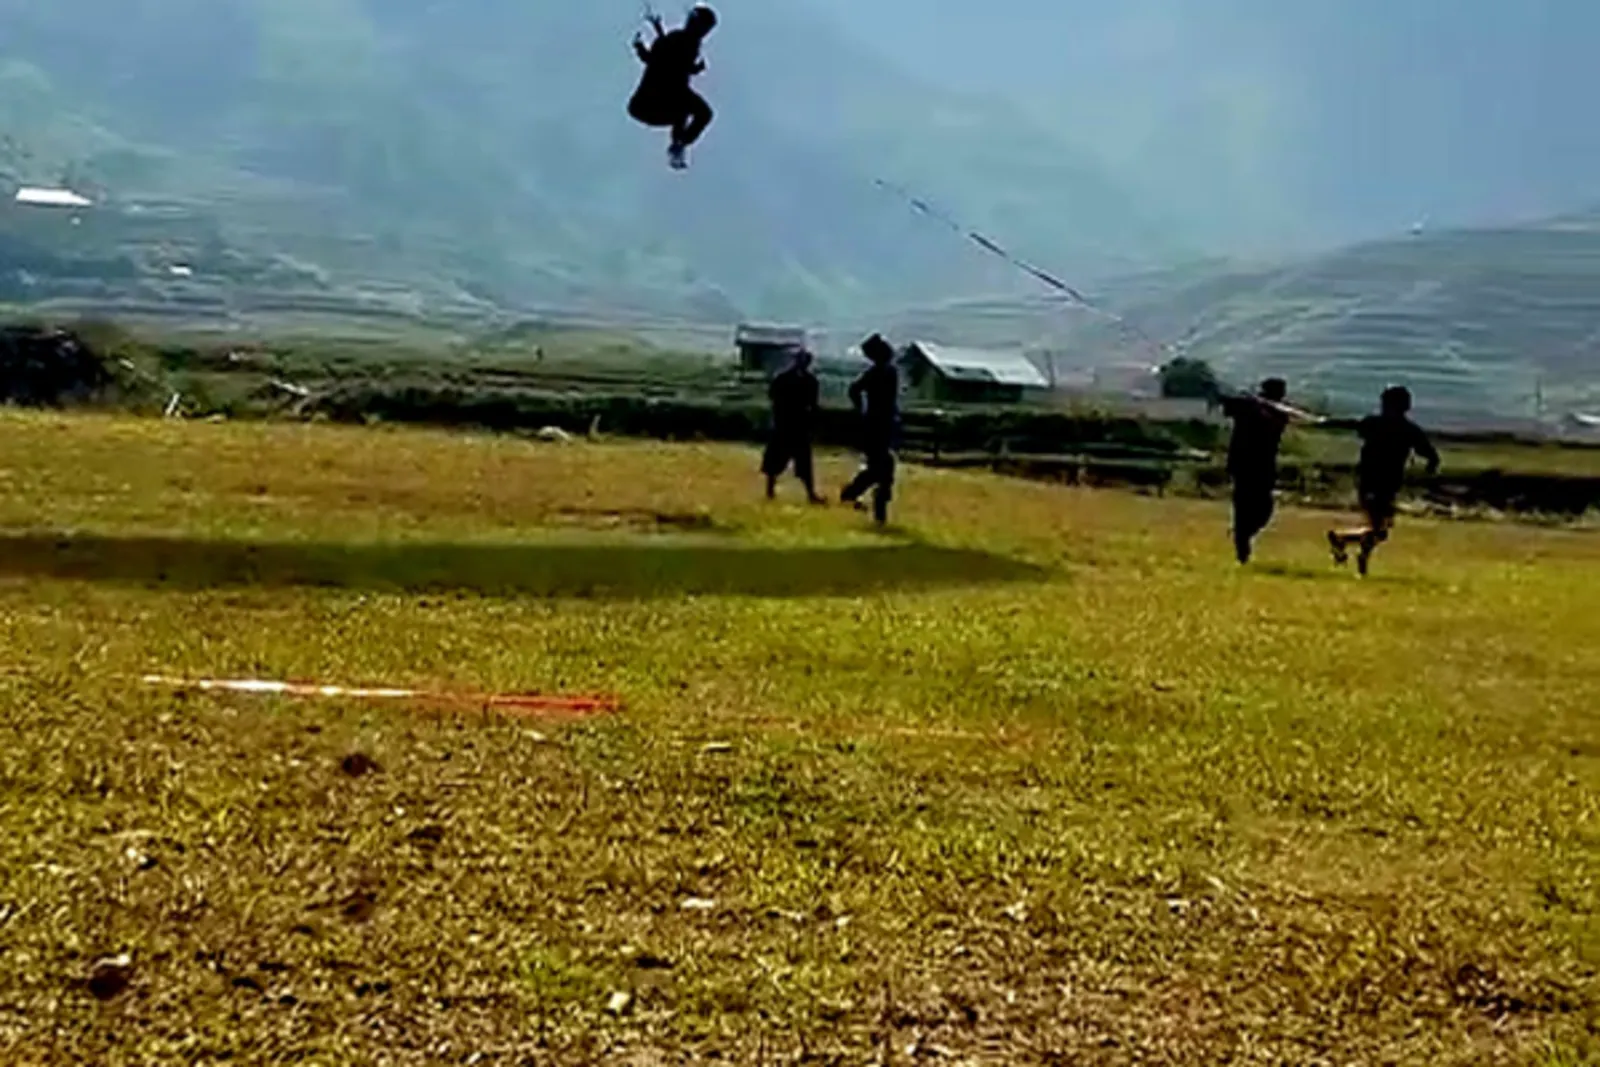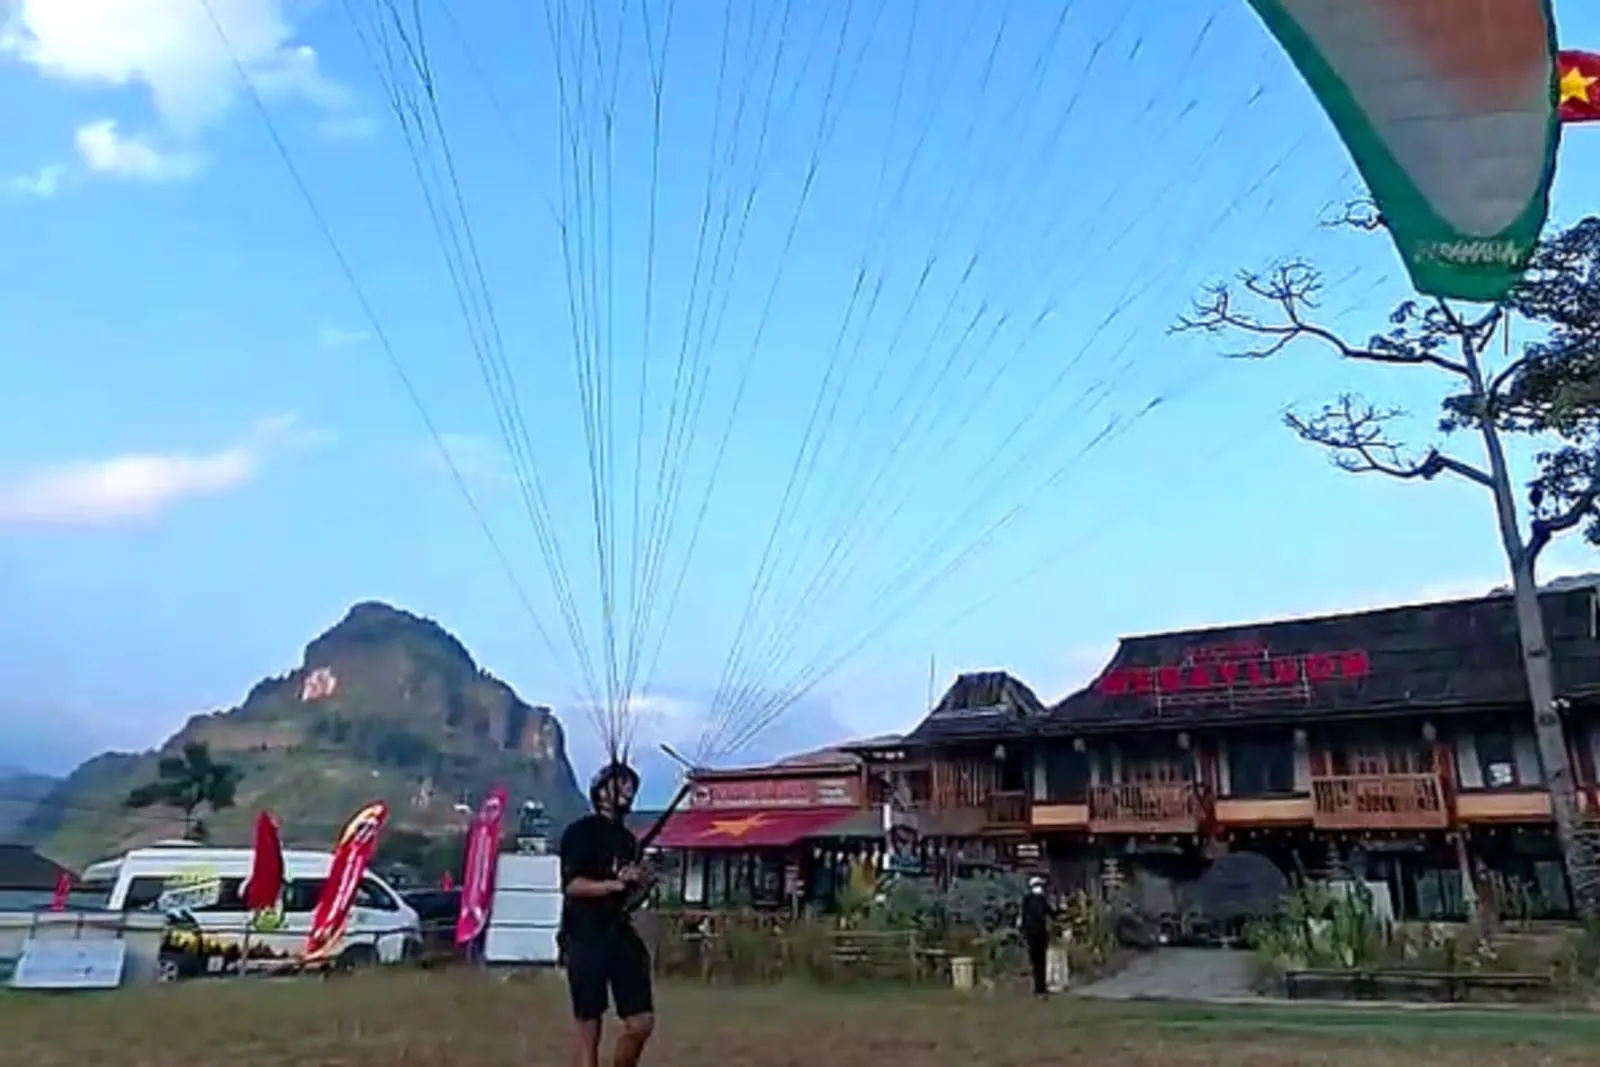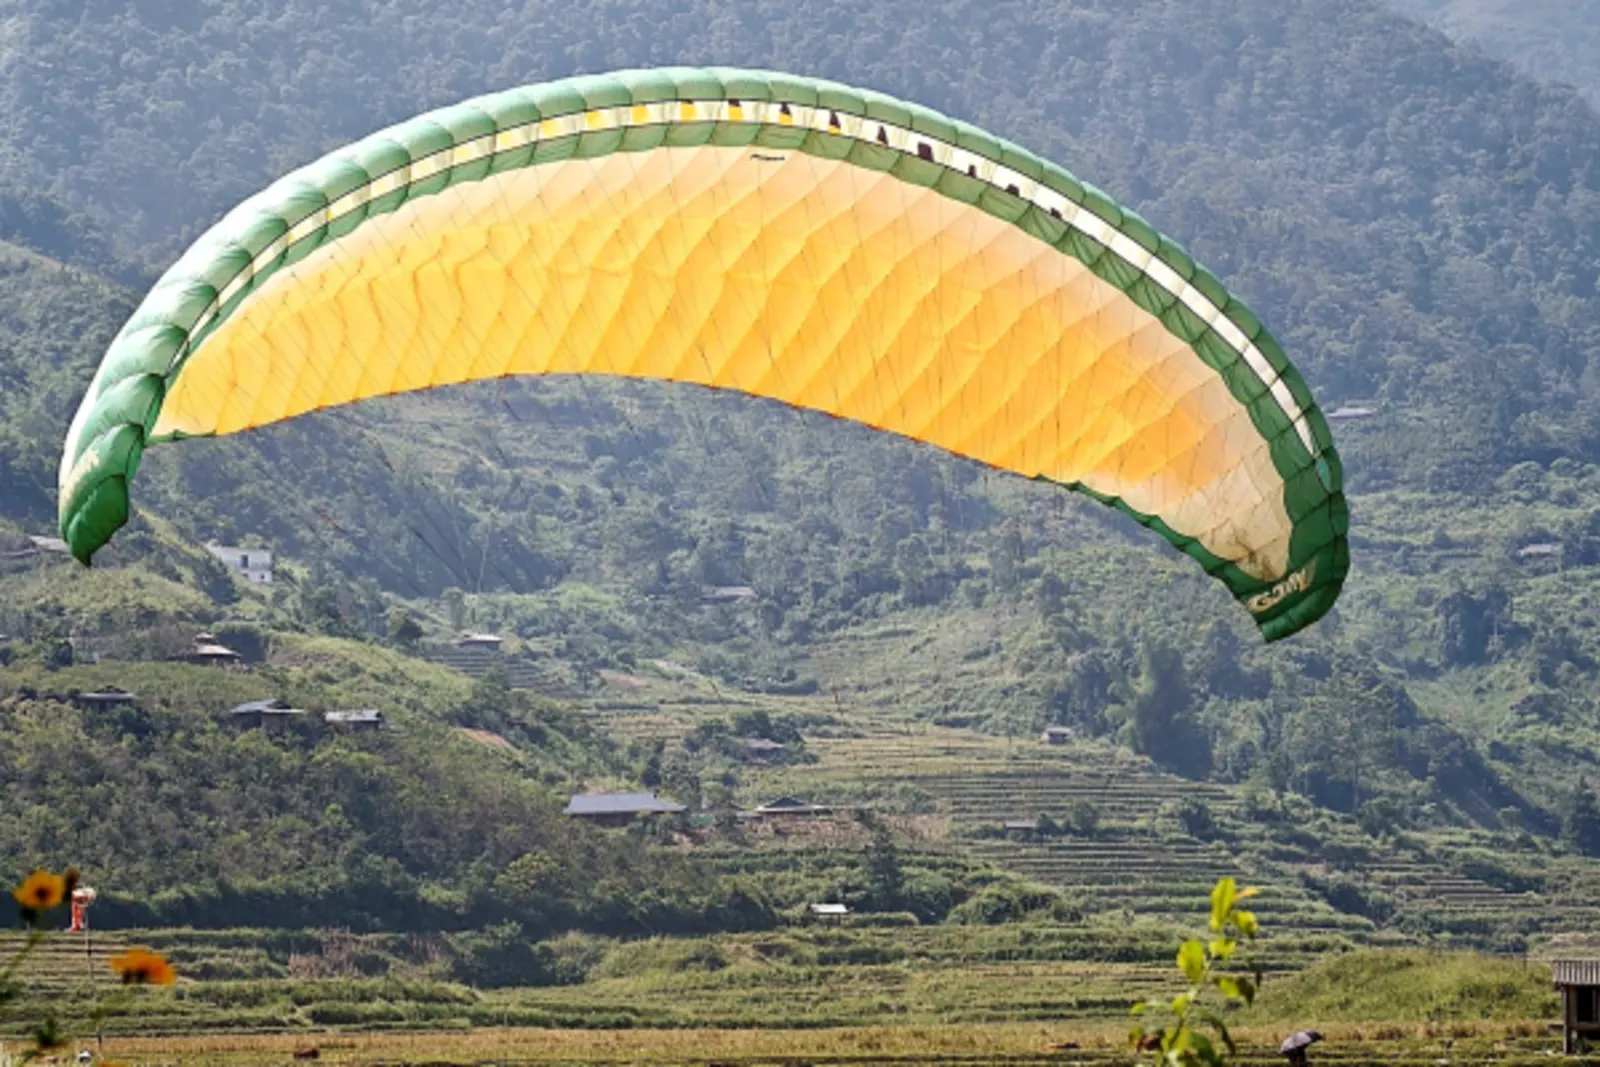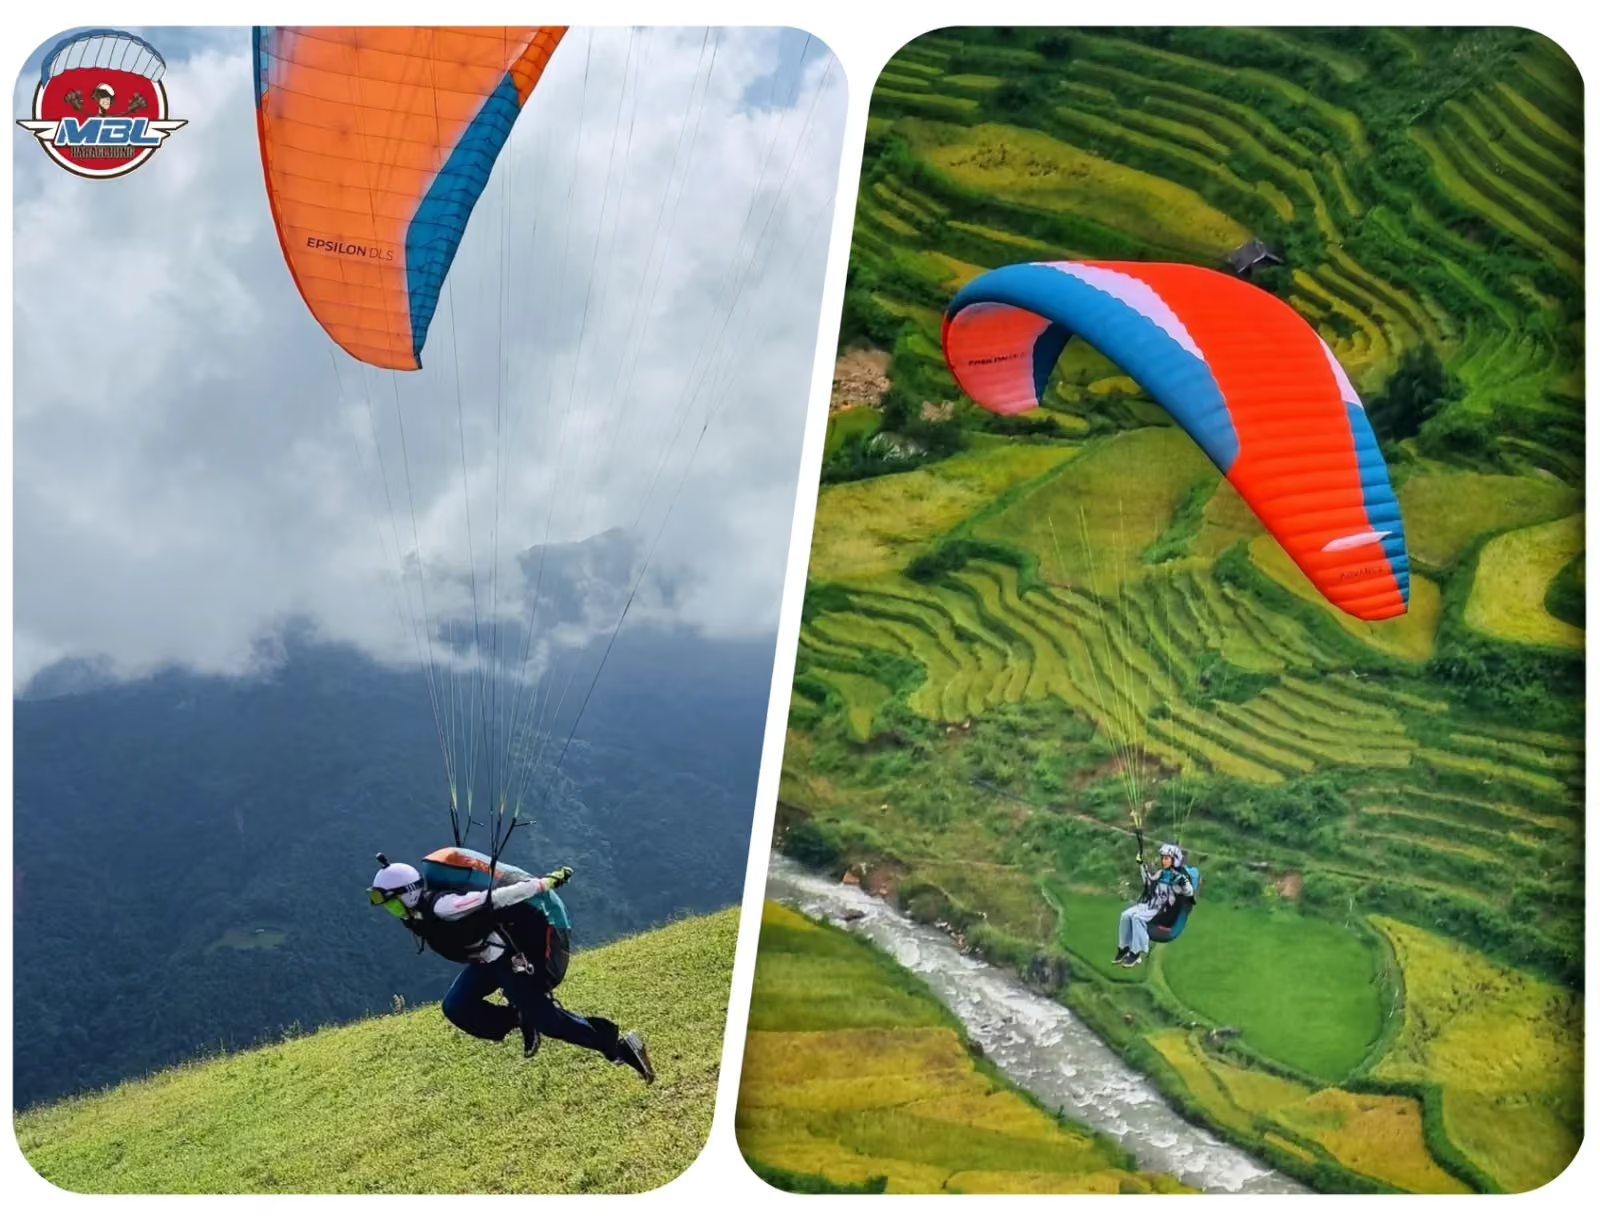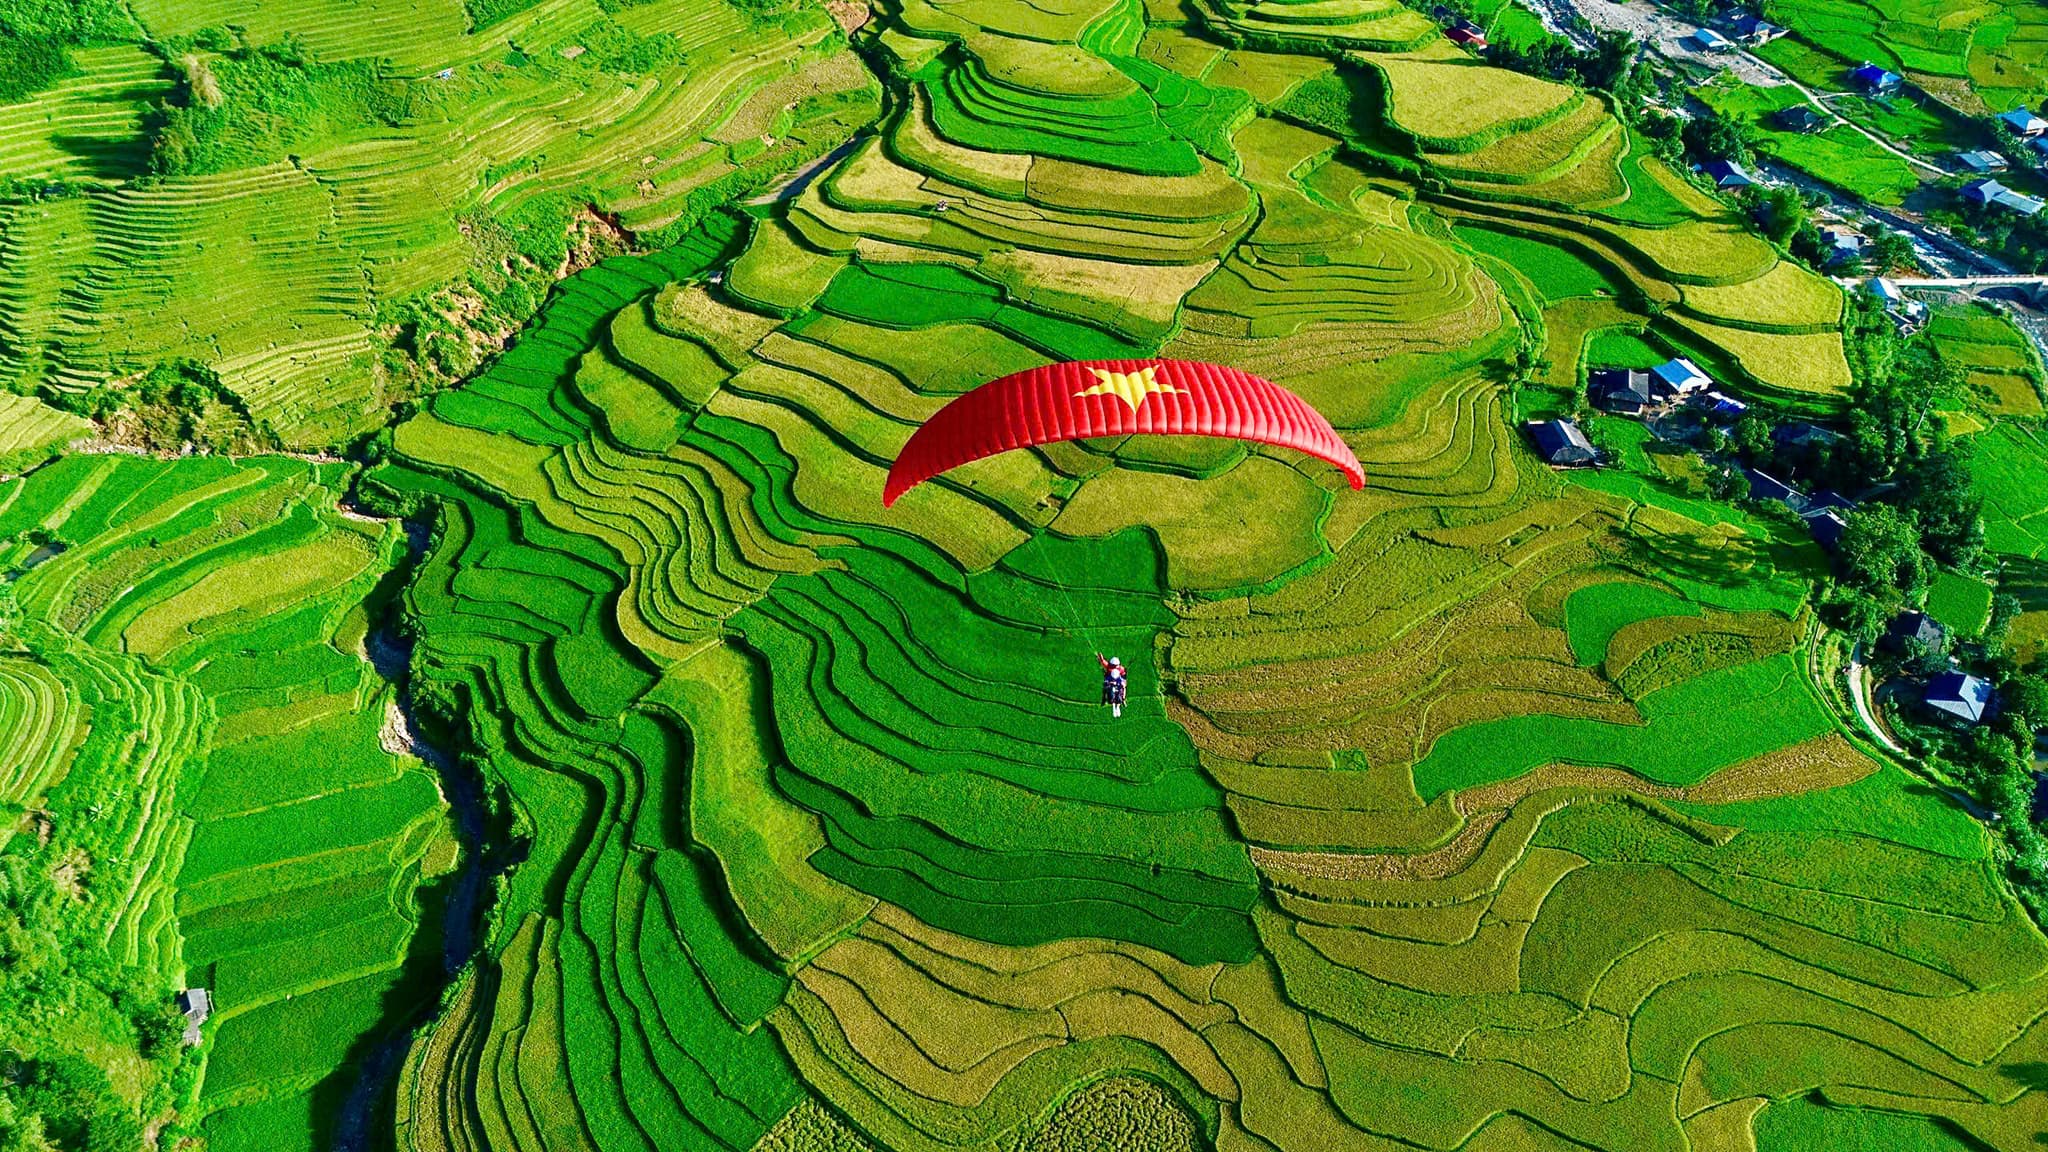
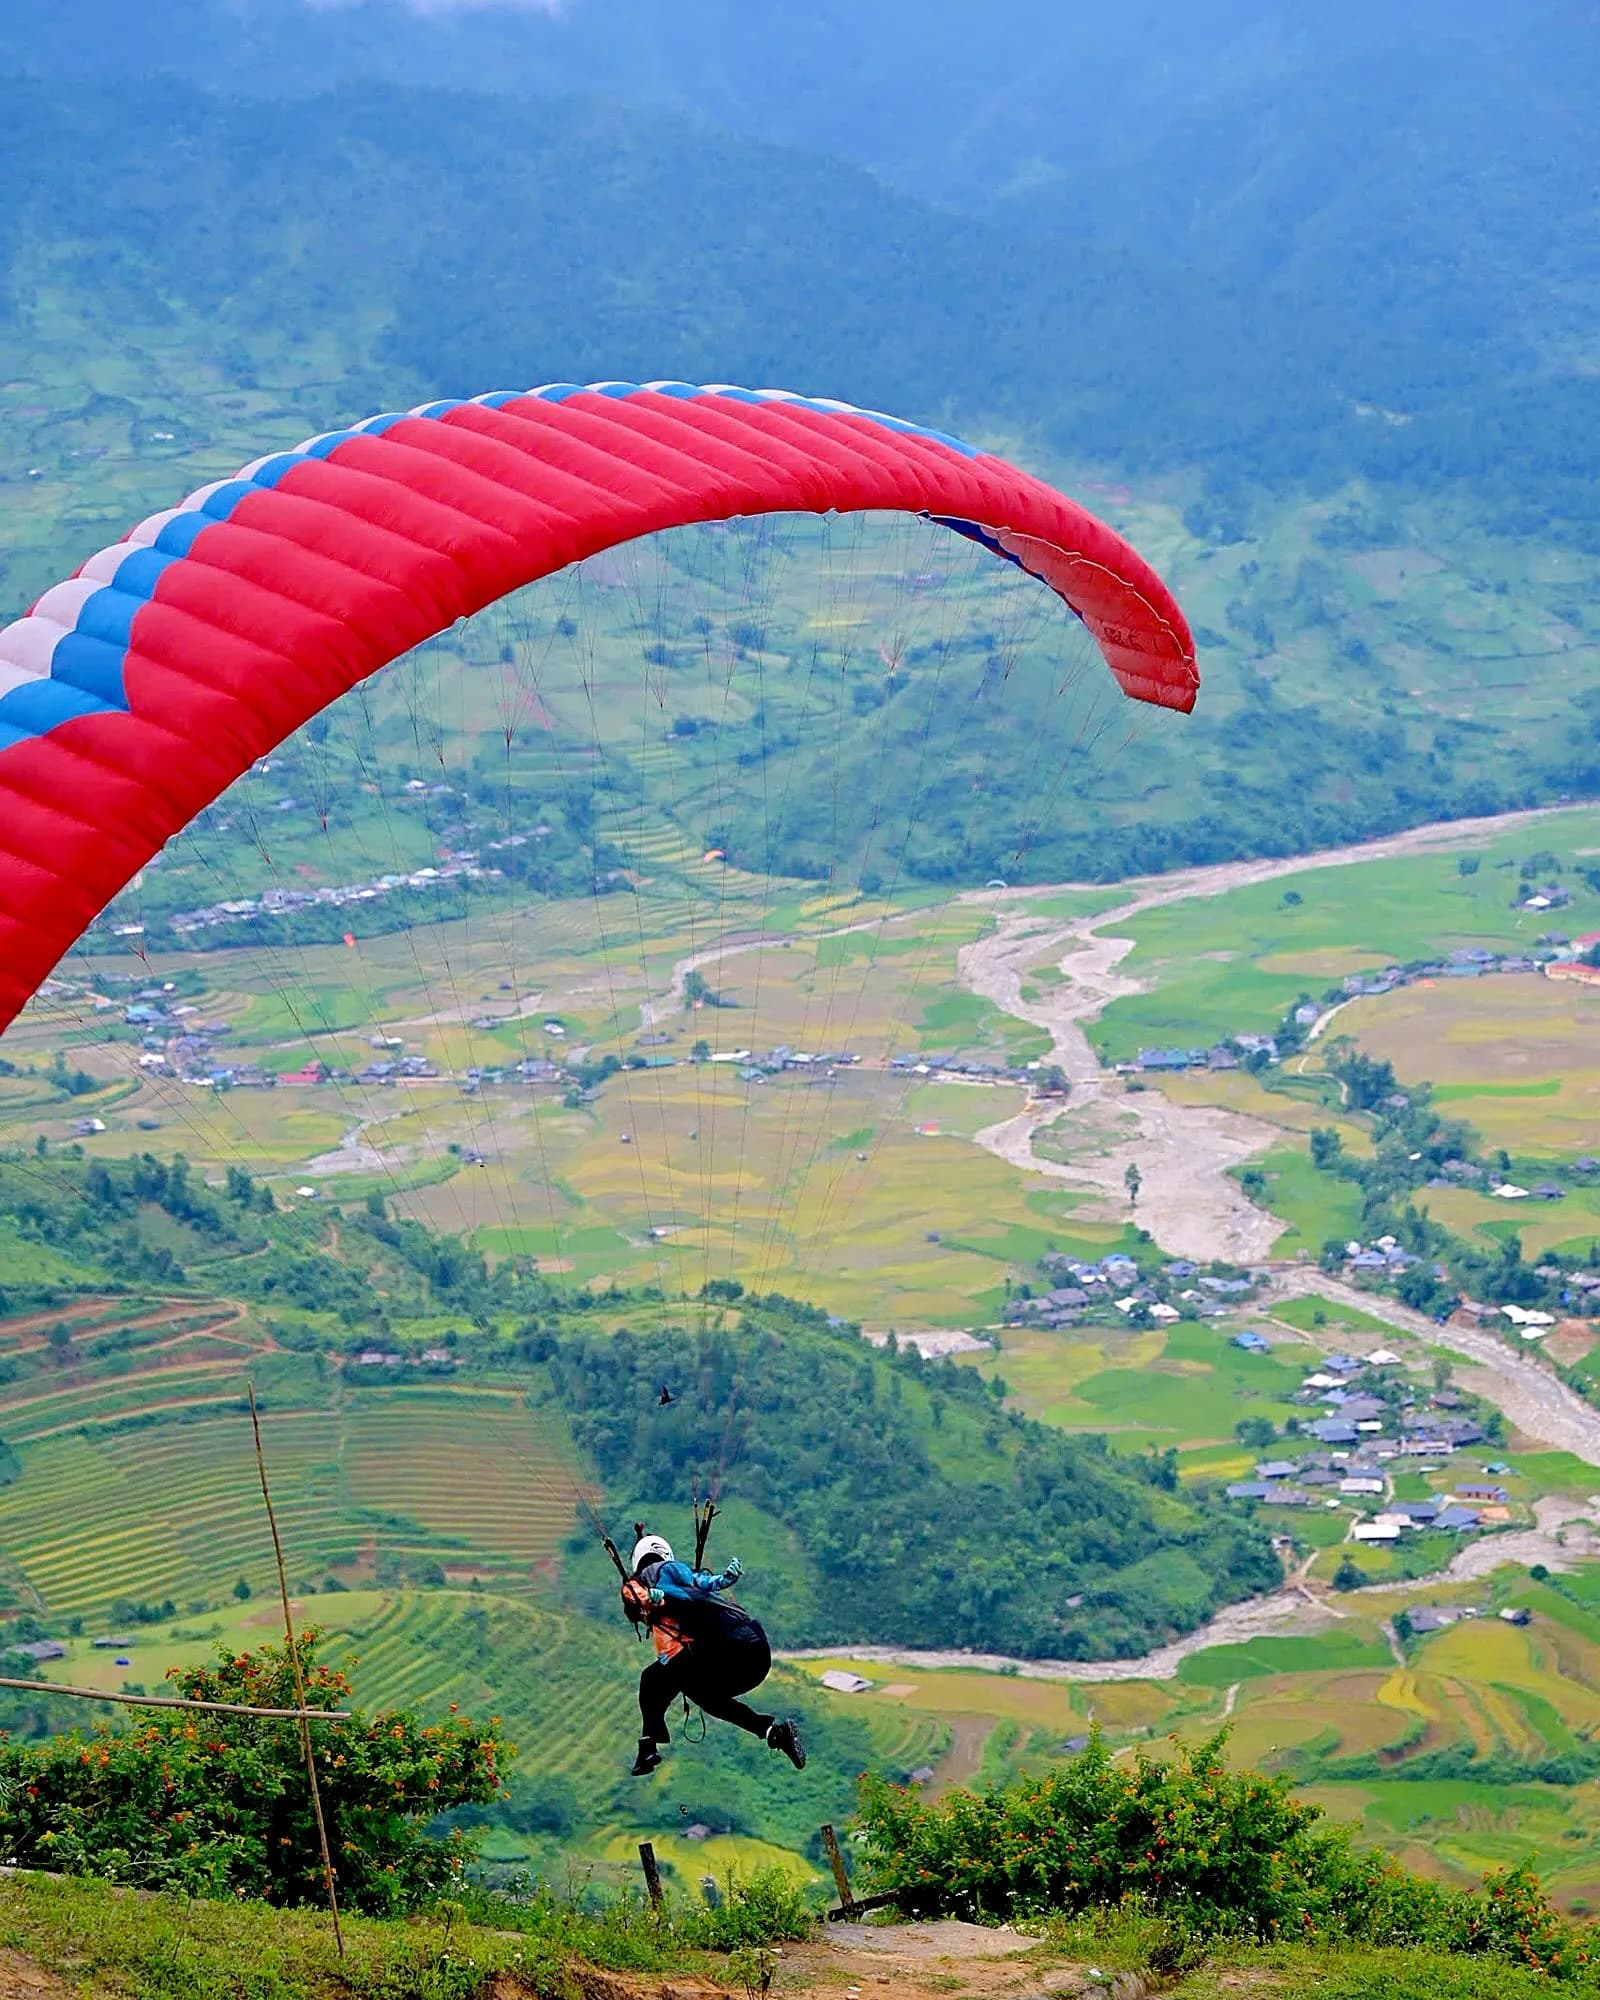
This is lesson 5, the last in a five-lesson series for students on Mebayluon's P1–P2 course, taught to the school's own standard (built on the IPPI and APPI standards and adapted to Vietnam). It covers stage 5 (day 6): the high-flight day. Today you launch by yourself from near the top of Khau Phạ pass, fly alone down into the valley and land at the Mebayluon Clubhouse landing field: the first solo flight of your life.
Stage 4 recap. You have learnt your kit and reserve, how to read the wind, how to plan a flight and a landing pattern, trained on the simulator and flown once with the instructor (see day 5: theory, weather and simulator). There is nothing new to learn today: you repeat exactly what you have practised, step by step, in the safest conditions possible.
1. The day 6 timetable
| Time | Content |
|---|---|
| 06:30–07:15 | Wake up, light breakfast, relax, health self-check (section 2) |
| 07:15–07:45 | Briefing at the Clubhouse: weather, flight plan, landing pattern, radios; the student repeats the plan |
| 07:45–08:45 | Practice: up to launch, standard kit checks, wind check, laying out, cross-check (section 4) |
| 08:45–11:00 | Practice: the morning flying window: your first solo flight — launch, fly to the field and land (sections 5–6) |
| 11:00–11:30 | Pack up, debrief each flight, logbook |
| 11:30–13:30 | Lunch, rest (no flying around midday) |
| 13:30–15:30 | Practice: inflations and kills on the Clubhouse field and the simulator, fixing what showed up in the morning flight |
| 15:30–17:30 | Practice: a second flight in calm late-afternoon air (if the instructor judges it suitable); otherwise ground handling. End-of-day review |
2. Morning: getting your head ready for graduation day
Day 6 is the "graduation" of your training days: the first solo flight of your life. Being nervous is normal. The morning's job is to bring your mind to a calm, alert state:
- Sleep enough, eat a light breakfast, drink water. No alcohol from the evening before.
- Walk around the landing field, look at the windsock, look again at the height-loss area and the aiming point you will use.
- Close your eyes and "fly" the flight once in your head: check, inflate, run, sit back, glide to the field, pattern, landing.
- Self-check health and mood. If something is off, tell the instructor; the course has spare days and nobody makes you fly today.
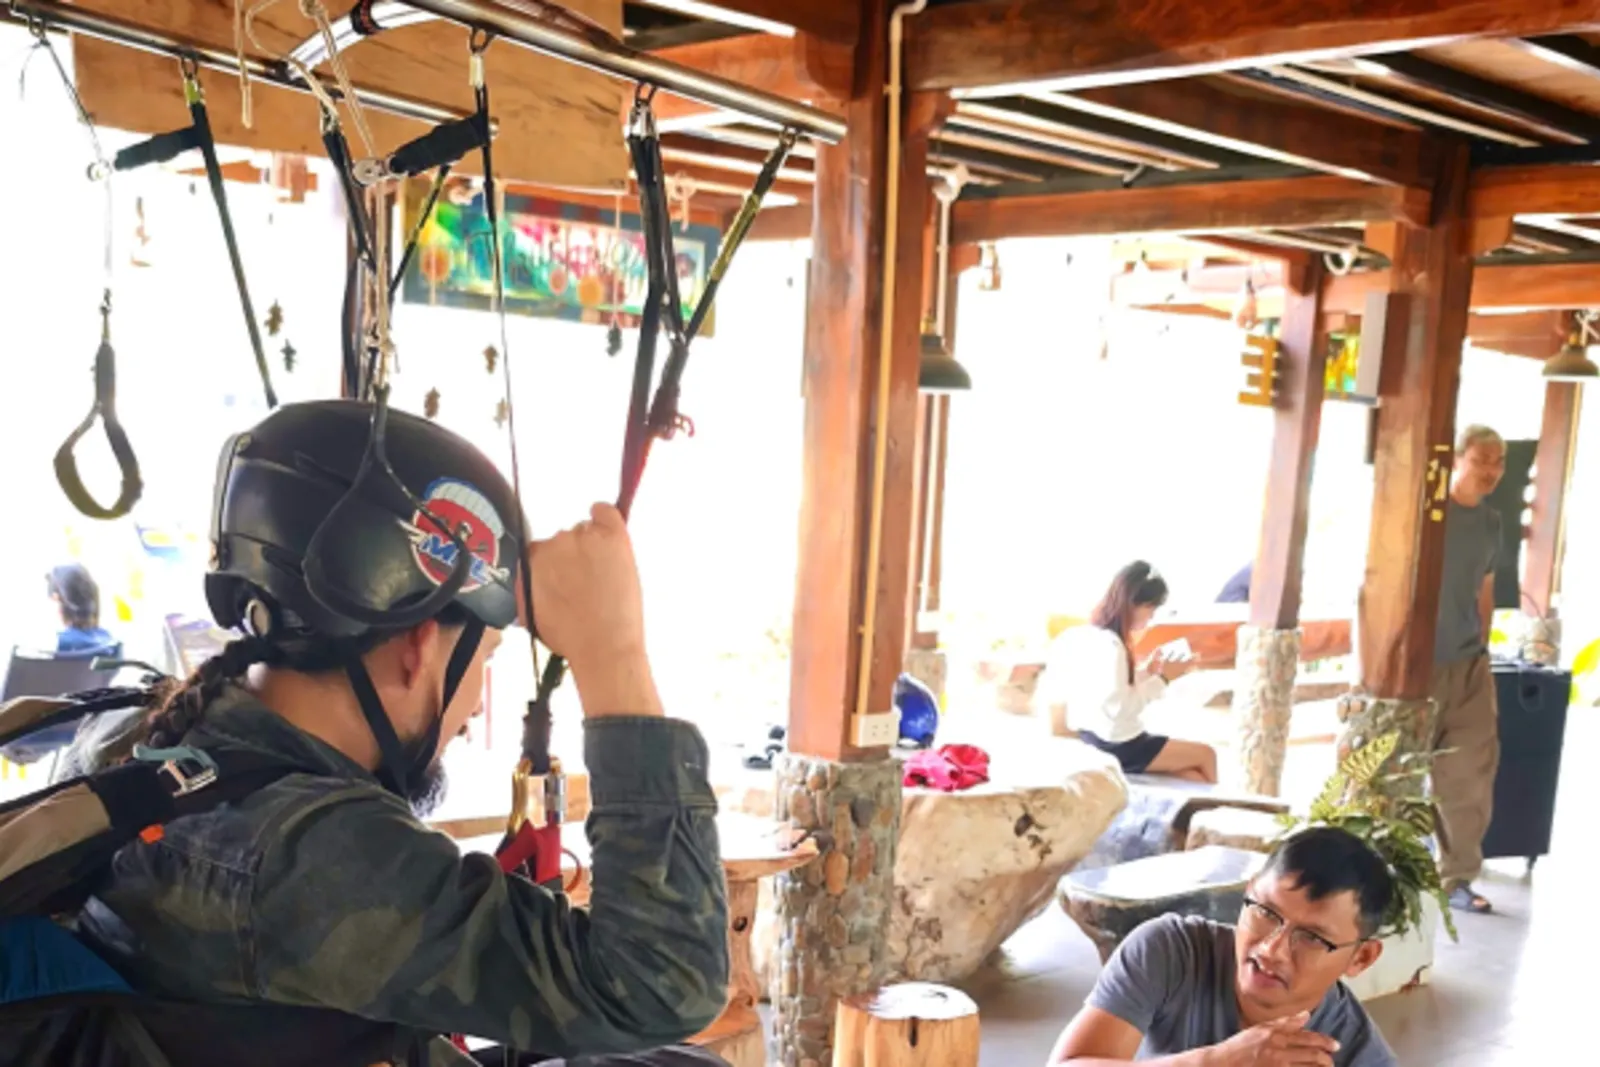
Briefing. At the Clubhouse the instructor covers today's weather, flying times, the expected wind at the landing field and the pattern to fly. You repeat the whole plan: route, height-loss area, pattern, aiming point, backup field and what to do if the radio fails.
3. Conditions for a first flight: safety at its highest
The first solo flight only goes ahead when every condition below is met. If one is missing, you wait, or move to another session:
- An EN A wing within its weight range, and a harness with a checked reserve.
- Moderate, steady wind straight into the launch, about 2–4 m/s; no gusts, no swinging direction.
- The landing field is visible from launch; no cloud or mist over the route.
- Smooth air, no bumps: no strong thermals, no storms in the area.
- No flying around midday: fly in the morning, or late afternoon once the air is calm.
- Both instructors in position: one at launch, one at the landing field; all three radios checked.
What the student carries
- Two radios on the channel set by the school: one clipped to the chest strap near your ear, a spare in a harness pocket. Both fully charged.
- Helmet with the strap fastened, gloves, ankle boots laced tight (laces tucked in), long sleeves and trousers.
- Harness with reserve, the school's EN A wing, drinking water, and a phone with both instructors' numbers.
4. At launch: kit, weather, landing plan
Khau Phạ launch sits near the top of the pass at 1,268 m, right beside Highway 32. Once there, do not rush: taking time to watch and prepare is the most important part of the flight. Launch is right by the highway: carry your kit carefully, watch for traffic and never lay the wing out at the edge of the road.
- Standard kit check: wing (lines untangled, no tears), harness (buckles, carabiners), reserve (closing pin, handle in place), helmet, gloves, boots.
- Last weather check: windsock and streamers at launch, wind strength, gusts; look down at the landing field: windsock, cloud, mist.
- Recall the landing field and procedure: point to the field, the height-loss area (figure 8s on the downwind side), the straight-in line and the landing target; repeat the backup field.
- Radio check, kit on: switch on both radios, check with the launch and landing instructors; put on the harness, leg straps first, then the chest strap; helmet on, gloves on.
- Lay out and double-check: the wing laid in an arc facing into wind, lines cleared, then clipped into your harness. You run your own pre-flight check, then the instructor checks every item again (cross-check).
5. Two instructors and the radio
The launch instructor stands beside you: cross-checks your kit, checks the radio, coaches your inflation and run and decides when you go. A second instructor waits at the landing field: reports the wind there, stays in contact and guides you by radio from the moment you leave launch until your feet touch the ground. Calls are short, clear and always start with your name. A typical sequence:
| When | Instructor's call | Student |
|---|---|---|
| Before launch | "[Name], landing here, do you read?" · "Wind at the field … m/s, landing towards …" | "[Name], reading you." Repeats the landing direction. |
| Just airborne | "Good. Hands up, look ahead." · "Check your wing." · "Sit back." | Does it; no need to answer. |
| On the way | "Head towards …" (the instructor gives the direction for the day's conditions) · "A little left… that's enough." | Small input on command, then release. |
| Height-loss area | "Into the height-loss area, fly figure 8s." · "Turn left… straight… turn right." | Figure 8s on the downwind side of the field, every turn towards the upwind side. |
| Into the field | "Height's good, turn into wind, fly straight into the field." · "Hands up." | Turns into wind at about 10 m, flies straight, stands up in the harness. |
| About to land | "Stand up." · "Brake!" | Stands up, full brakes, touches down, runs on, kills the wing. |
Note: if contact is lost, fly the agreed plan, as in the landing-pattern section of day 5: read the windsock, pick the widest part of the field and land into wind. Both radios are switched on, on the same channel, before take-off: if the main one fails in the air you still hear the instructor on the spare; never let go of the brakes to fiddle with a radio when low.
6. The flight, step by step
Inflation, the decision line and the run
- Inflate with a forward or reverse launch depending on the wind (a P1–P2 student only needs to master one of the two). Wing overhead: look up and check it once — evenly inflated, centred, lines clear.
- The decision line (stop line): the instructor shows you a mark on the run. Before the line you must have checked the wing: if it is not right (off-centre, tip folded, lines caught) or you have not had time to look, you abort at once, as practised. Reaching the line with everything fine means you are committed: run decisively and do not stop halfway.
- The run: lean into the harness, long strides, run until your feet leave the ground and keep "running" a few steps in the air. Do not jump into the seat.
- Check with the brakes if needed: if the wing overshoots ahead of you, a light touch of both brakes for a moment to hold it back, then release.
- If the wing shakes just after take-off or in moving air: cao tay (hands up) so the wing has speed and settles itself, eyes ahead.
Fly out, check the wing, sit back
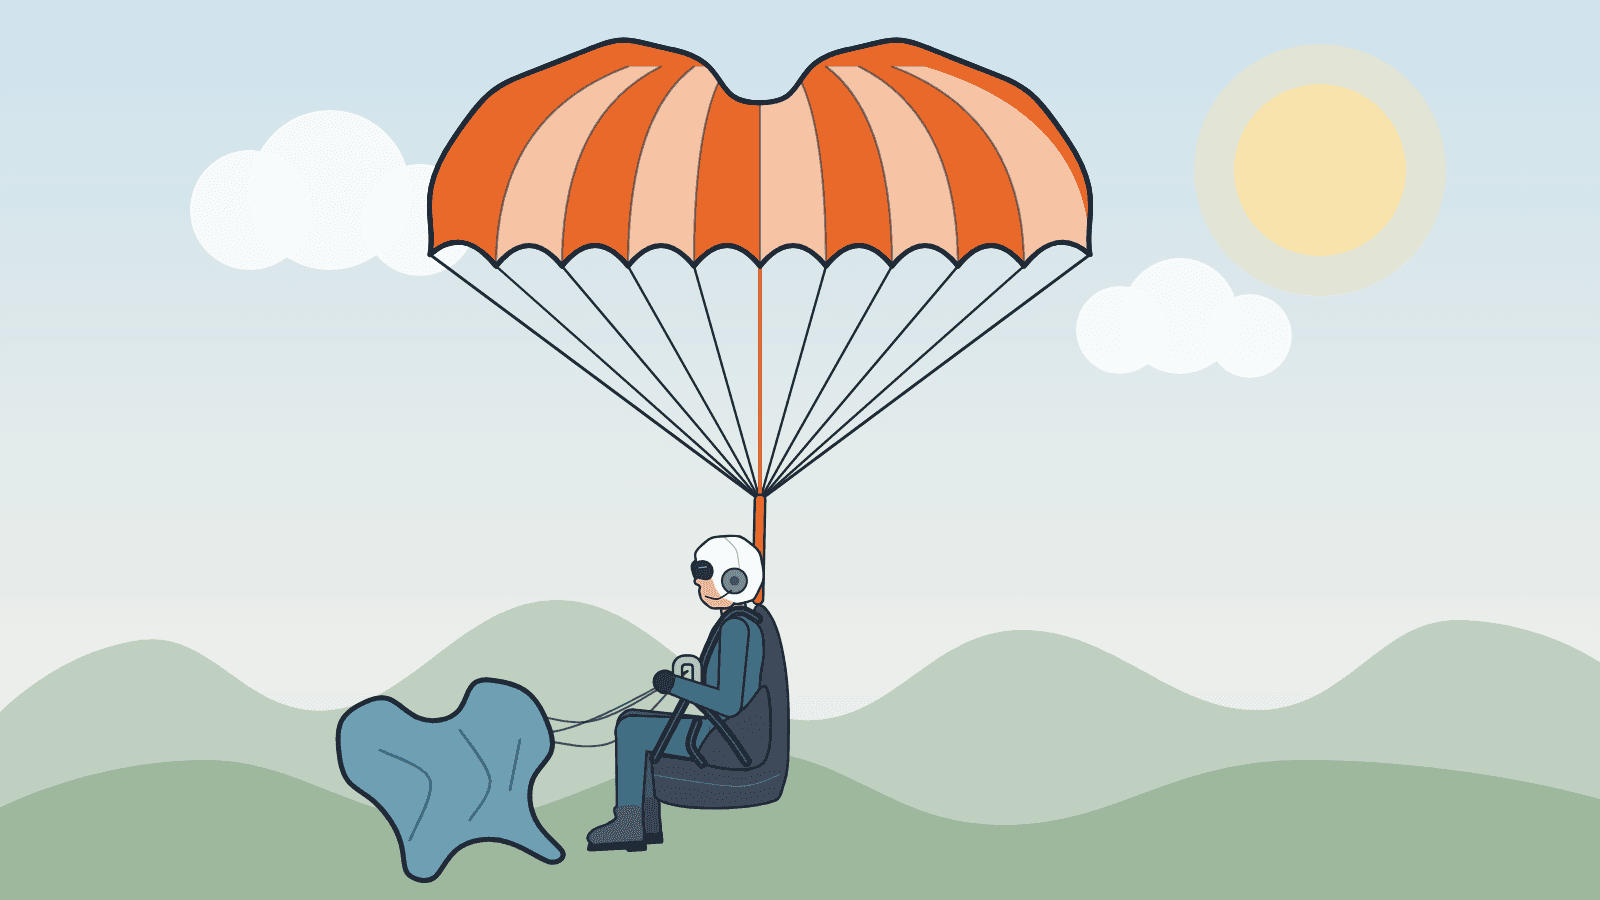
Leave launch flying straight out, away from the slope, on the heading the instructor gave you. Once safely clear, look up and check the wing once: evenly inflated, both tips open, lines clear. Then sit back as on the simulator: push your hips back deep into the seat, without pulling on the straps or releasing the brakes. Do not sit back while still close to the ground at launch.
To the landing field, guided by the instructor
The route from launch to the landing field depends on the day's conditions: the instructor guides you and talks to you directly by radio. Hands up, fly the heading the instructor gives you towards the Mebayluon Clubhouse landing field. Watch as you go: landmarks, the field, the windsock, other wings in the air. Do not get lost in the view and forget where you are going; you will have plenty of flights to enjoy the scenery.
Note: steer with weight shift plus light brake on the same side, releasing as soon as you are on heading. Never pull deep and hold the brakes at or below carabiner level (stall risk). Keep cao tay (hands up) all the way on the straight final; full brake only at the flare, about 1 m above the ground.
Figure 8s to lose height, straight in, landing
The first solo flight uses the beginner pattern: arrive at the height-loss area on the downwind side of the field (never over the field), fly figure 8s on the landing instructor's calls 70–100 m each way, every turn towards the field, never turning your back on it, eyes always on the target. At about 10 m the instructor calls the turn: you turn into wind and fly straight into the field, hands up, standing up in the harness, looking ahead at the target. About 1 m above the ground, or on "Brake": full brakes, land on your feet, run a few steps, kill the wing. Then raise an arm to tell the instructor you are fine. Diagrams of this pattern for both wind directions at the Clubhouse field are in the landing-pattern section of day 5; the U pattern comes once you are confident.
If something does not go to plan
- A small tip fold: look where you want to go, shift your weight slightly towards the side that is still flying and hold your heading with a light pull on that brake — never a deep one; an EN A wing usually reopens on its own. Follow the instructor's calls.
- Cannot make the landing field: pick the backup field early — wide, into wind, away from power lines, trees and water; tell the instructor if the radio works.
- Main wing no longer flying and not recovering: throw the reserve (look – grab – pull – throw), disable the main wing (pull both C risers or gather in the brakes, as practised on day 5), feet together, prepare for a PLF.
7. A very special moment
There is one second almost every student remembers for ever: the last stride that no longer touches the ground, the sound of the wind changing, and the whole valley beneath your feet. A few minutes later you are standing on the landing field, the wing lying behind you, heart still racing, and the landing instructor is the first to come over and shake your hand.
Give yourself a few minutes with that feeling. Then gather your wing and talk the flight through with the instructor while every detail is fresh: what went well, what to fix. The best first flight is an ordinary one, flown to plan, with nothing to tell except the joy of it.
8. Standard for the first solo flight
| # | Criterion |
|---|---|
| 1 | Full kit check, both radios checked, cross-check with the instructor |
| 2 | Inflates, checks the wing and makes the go/abort decision before the decision line (stop line) |
| 3 | Leaves the ground running, no jumping into the seat; hands up if the wing shakes |
| 4 | Flies clear of the slope, checks the wing, sits back correctly |
| 5 | Flies to the field on the heading the instructor gives and follows radio calls |
| 6 | Flies figure 8s on the downwind side to lose height, turns into wind at the right time and flies straight in |
| 7 | Lands on the feet inside the field, kills the wing, signals OK |
9. After day 6
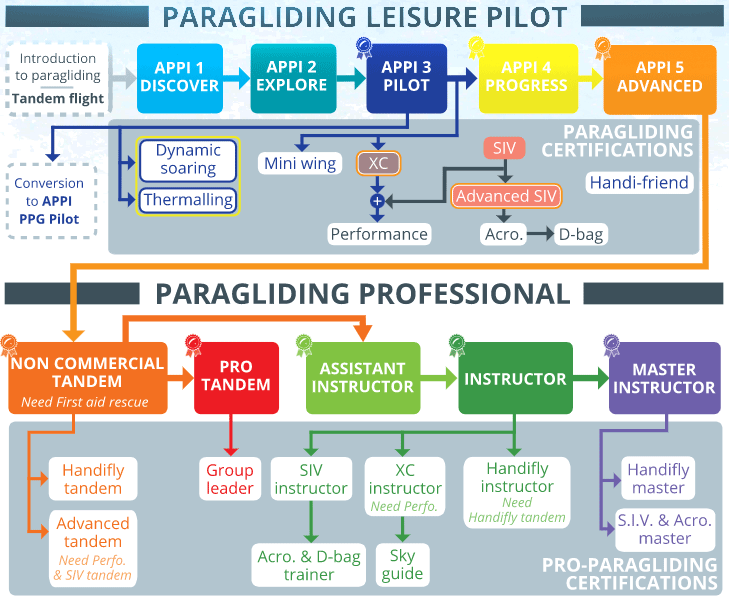
The P1–P2 course lasts 5–7 days (the standard path is 6); the remaining days are for more flights, consolidating launches and landings, or as weather spare days. P1–P2 is a student level, so no licence is issued. For a licence, you train for about 1–3 more months, especially landing on your own, then take the P3 exam directly; see the P3–P4 roadmap.
Want to train on this roadmap? See the full P1–P2 fast-track course (5–7 days) at Khau Phạ, or book and ask an instructor directly.
Book · contact an instructor →
The P1–P2 course series:
- Days 1–2: ground handling
- Day 3: slalom, killing and packing
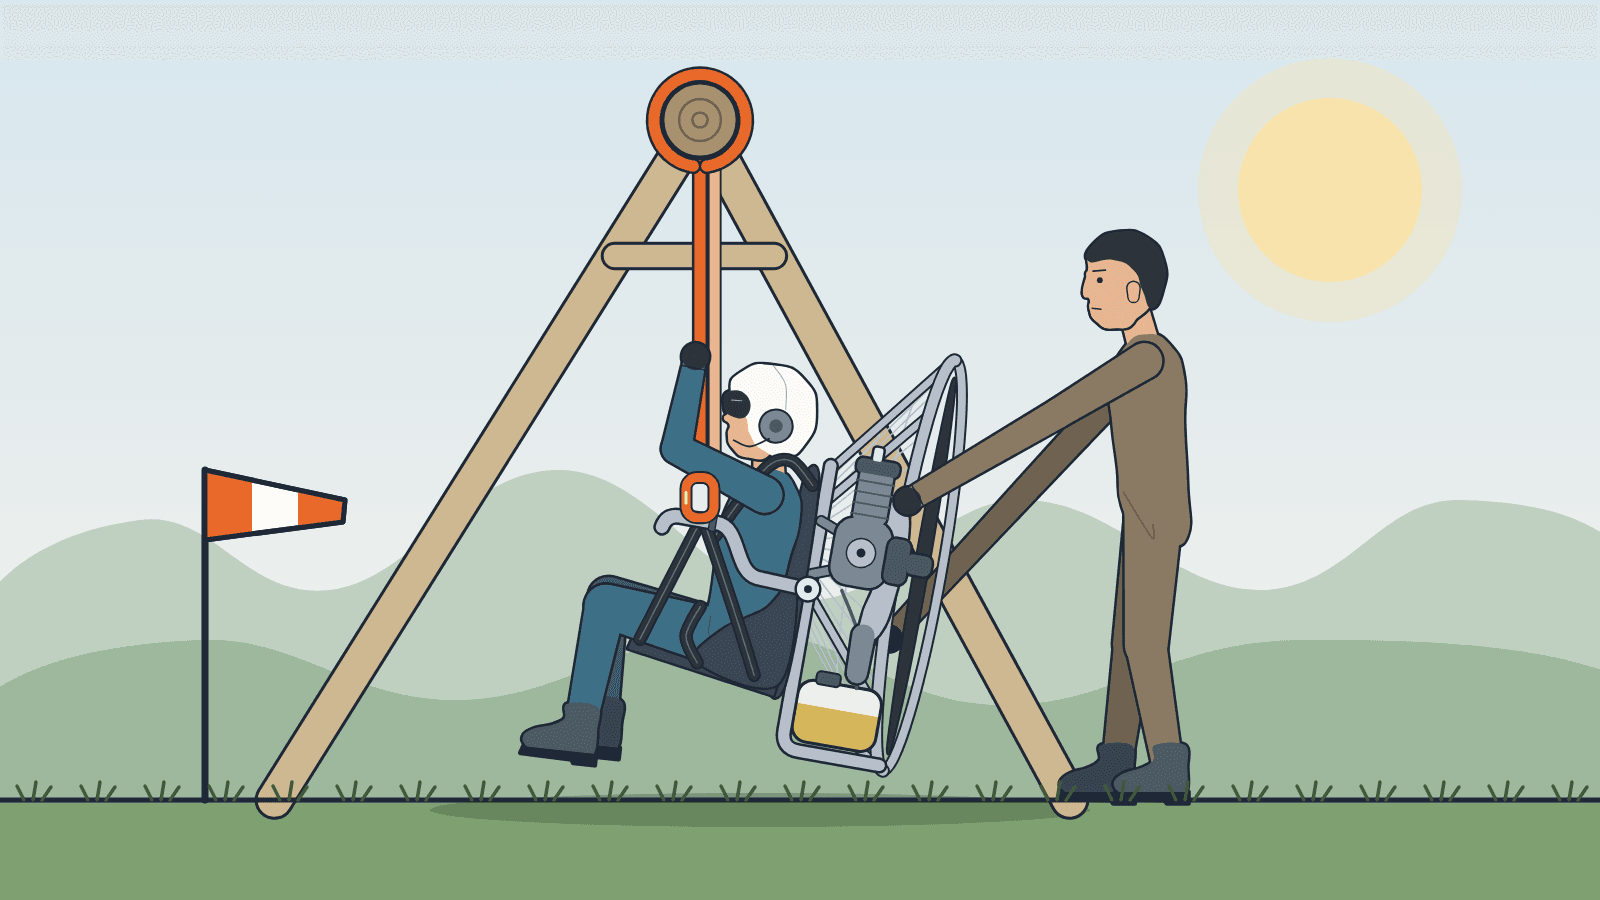
- Day 4: first flights by hand tow
- Day 5: theory, weather and simulator
- Day 6: the first high flight (this article)
Frequently asked questions
Does an instructor fly with me on the first solo flight?
No, you fly alone. But you are never on your own: one instructor at launch coaches the take-off and another at the landing field guides you by radio for the whole flight.
What is the decision line (stop line)?
A mark the instructor shows you on the run. Before it you must have checked the wing; abort if it is not right or you have not looked; reaching it with everything fine means you are committed and run decisively until airborne.
Why carry two radios?
So contact with the instructors is never interrupted: both are on, on the same channel, so if the first runs flat or fails — even in flight — you still hear the instructor on the spare.
What if the weather is bad on day 6?
You do not fly. You do ground handling and the simulator, and the first flight moves to another session or spare day when the section 3 conditions are met.
Do I get a licence after day 6?
No. P1–P2 is a student level with no licence. After the course, train for about 1–3 more months, then take the P3 exam directly.
This is Mebayluon's student handout for stage 5 and does not replace training with an instructor. To book the P1–P2 course at Khau Phạ: the P1–P2 paragliding course.