The main drawback of a new wing is the high price! Currently, the price of a new paragliding set (for beginners, including: canopy, harness, reserve parachute) ranges from 70 million VND to 120 million VND (€2500 to €4000). For many taking their first steps in this sport, this can be a huge sum and is often unaffordable. For this reason, many prefer to choose second-hand equipment. ✅ Advantages of buying used equipment: 🔺 Lower initial cost. 🔺 Possibility of finding very good deals. 🔺 Peace of mind when you accidentally hang your wing in trees/bushes during your first landings. ❌ Disadvantages of buying second-hand equipment: 🔺 Limited selection. 🔺 Risk of scams. 🔺 Shortened wing lifespan. 🔺 Risk of purchasing dangerous or unusable equipment.
🚫 How to avoid scams and make the right choice
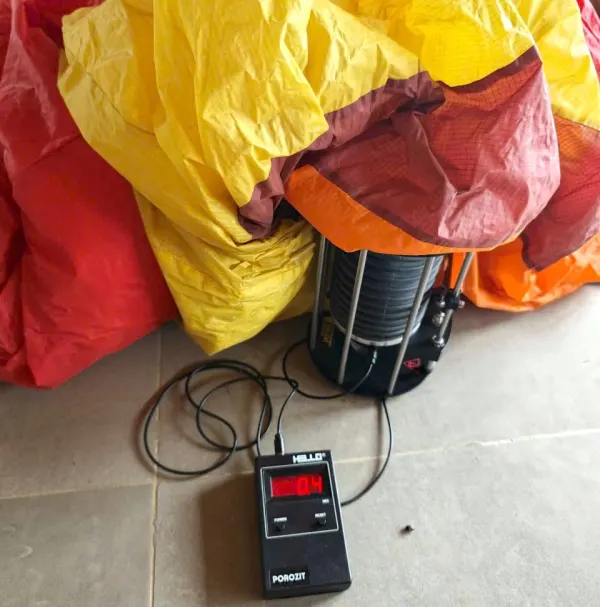
🔺 Choose the right place to buy: Avoid buying from general classifieds websites where you cannot directly inspect the equipment or do not know the seller well, such as eBay, Marketplace, paraglidingforum.com, etc. Instead, buy from reputable sellers in groups dedicated to paragliding equipment sales – for example, paragliding sales groups on Facebook, or buy from official brand dealers since they often sell used test or demo wings. Choosing a reputable seller is the best filter to eliminate scam deals and low-quality or unsafe equipment. ⚠️ Note: Many pilots sell their flight gear but lack the knowledge themselves to check the equipment's quality; therefore, there are many cases where beginners buy dangerous/unusable equipment even though it is not a scam transaction. 🔺 Request a glider test: Always request a glider test if possible. Even if you cannot do a full inspection, at least ask for a porosity test – this is the best way to assess how much life is left in the wing. Avoid sellers who refuse this test, even if you are willing to pay for it yourself.
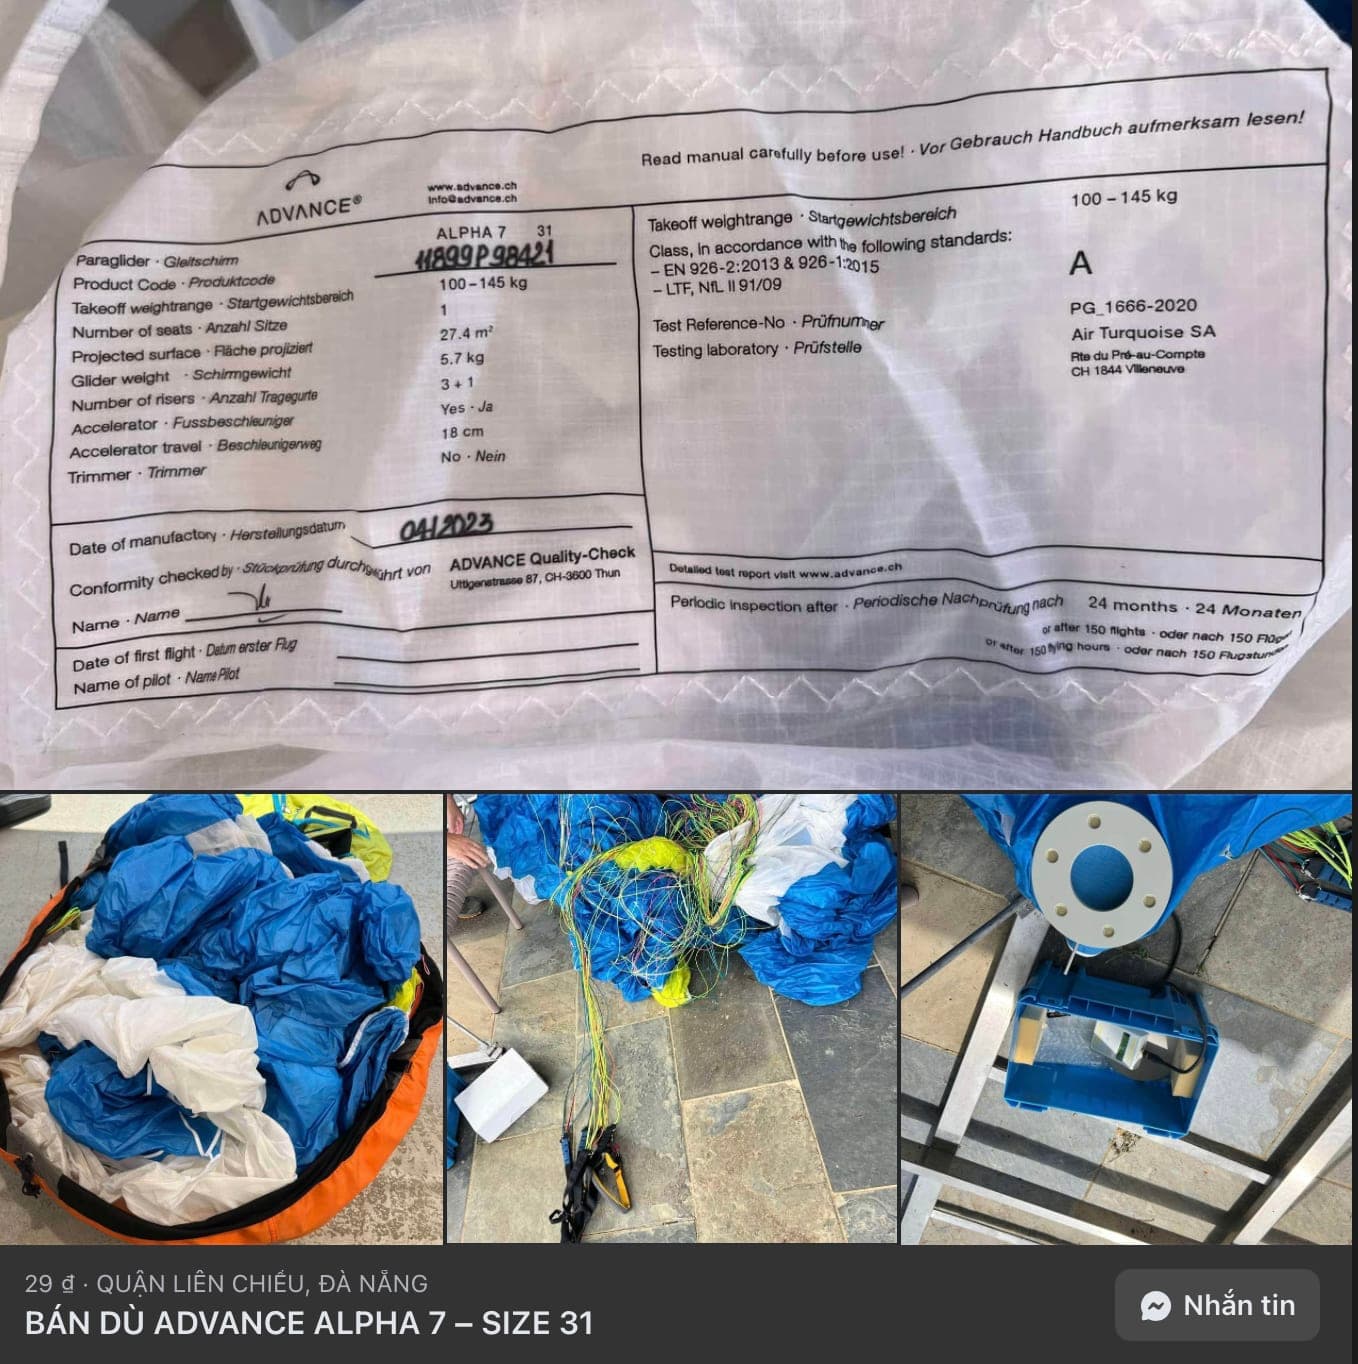
🔺 Check the information label: Although rare, avoid buying wings without an information label or serial number. These wings might be prototypes leaked to the market or stolen goods. Additionally, you will never be certain of the wing's exact size or its specific characteristics. 🔺 Prioritize reputable brands: Avoid lesser-known brands. No matter how attractive the price, most small manufacturers cut costs in R&D, materials, or wing testing. The paraglider brands you can trust for your first wing are: Advance, Nova, UP, Ozone, Niviuk, Skywalk, Mac Para, Swing, Gin. Most of these brands also manufacture harnesses and reserve parachutes. In addition, there are manufacturers specializing only in harnesses, reserves, and accessories with very high quality, including: Kortel Design, Charly, Woody Valley, Sup Air, Companion, High Adventure, Air Vuisa. 🔺 Test flight: If possible, test fly the equipment before buying. 🔺 Consult an expert: Always consult your instructor before purchasing any equipment to know which class and model will suit you.
🔎 How to inspect second-hand paragliding gear
When buying a second-hand paraglider, a thorough inspection is crucial. Ideally, this should be done in person, but often we must rely on photos. Here is what to focus on when evaluating a wing.
🪂 The wing
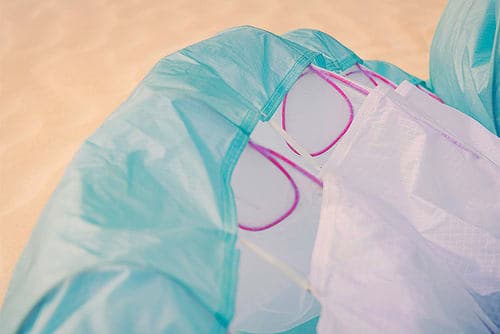
🔺 Check porosity: As mentioned – the ideal way to assess the fabric's condition is by measuring its porosity. If not possible, at least ensure the fabric is sufficiently airtight: try sucking air through the upper surface of the wing near the leading edge. If you can suck air in, the fabric is likely heavily worn. 🔺 Check the inner coating: Look at the fabric from the inside of the upper surface – when the coating ages and cracks, white star-shaped lines often appear at the folds. If the fabric feels "powdery," the coating is likely aged and cracked, meaning the wing is heavily worn. Keep in mind this is harder to detect on certain fabrics and light colors.
🔺 Inspect repairs: Fabric repairs on an old wing are normal and, provided they are done correctly, do not pose a safety risk. If there are patches, they must have rounded edges (no sharp corners), stick firmly to the fabric, and have minimal wrinkles. Tears longer than 10–15 cm should ideally be stitched. If cells have been replaced, this is not a safety concern as long as it was done by a professional – compare the stitching of the new cells with the original ones. 🔺 Assess color fading: Color fading is not always an issue for the wing itself, but it can indicate significant wear. If fading is observed, it is recommended to get a fabric strength test (bettsometer test). In the field, you can test it yourself by gripping the fabric tightly at two adjacent points with two fingers (thumb and index) and trying to tear it – the fabric should not tear when pulled by hand. 🔺 Inspect seams: Check the seams near the leading edge and trailing edge – if they are heavily soiled, the wing has likely seen extensive use. Look for signs of abrasion near the curved areas of the leading edge.
🔺 Inspect internal ribs: Check the condition of the internal ribs – there should be no tears or stretched threads. 🔺 Inflate to observe the shape: Have someone inflate the wing and try to inspect both the upper and lower surfaces. If you notice deviations from the normal profile – such as large wrinkles on the top/bottom or uneven "tumors" on the surface (due to stretched fabric) – this may indicate that the ribs are stretched and the wing is heavily worn. However, such wrinkles can also result from incorrect trim settings, which can be fixed. 🔺 Cross-check the label: Check the wing's information label – ensure it matches the model and size of the wing you are inspecting.
🧵 Lines
🔺 Assess color and cleanliness: The color and cleanliness of the lines are good indicators of how much the wing has been used. Usually, areas in most contact with the pilot's hands wear out first – the color of the lines near the risers will indicate how much it has been flown. The more flight hours, the darker, dirtier, and more worn the lines near the risers will look.
🔺 Main brake line: The main brake line is also a good benchmark – the more frayed it is around the pulley, the more the wing has been used. 🔺 Check line sheathing: Minor tears in the line sheathing are not a major issue and do not compromise the wing's safety, as long as the inner load-bearing core is unaffected.
🔺 Avoid makeshift repairs: Avoid wings showing signs of "field" repairs, such as lines tied in knots. 🔺 Signs of replaced lines: If you see inconsistent lines (different sheathing color or noticeably cleaner lines), this indicates lines have been replaced. Replacements and repairs are fine as long as they were done professionally. If you spot an inconsistent line, stretch it and compare its length with the corresponding line on the other half of the wing – the difference should not exceed 1 cm. 🔺 Compare left/right line lengths: Randomly compare some lines with their symmetrical counterparts between the left and right halves. If you find discrepancies larger than 1–2 cm, the wing's trim is likely significantly off, indicating heavy wear. 🔺 Inspect stitching: Check the line stitching at the trailing edge and stabilizers – if they are frayed, it is a sign of wear. 🔺 Manual strength test: You can perform a field strength test – on low-category wings, you should not be able to break even the thinnest lines with your bare hands. If you can snap a line, it is a sign of severe wear. Even if the fabric is good, you may have to replace the entire line set, which is very expensive. Ideally, the wing should come with a line strength test report. 🔺 Trim test: Accurate trim (line lengths matching manufacturer specs) is essential for both safety and flight performance. On low-category wings, it is rare for lines to show large deviations even after many hours. Signs of bad trim can include abnormal behavior during flight or launch/landing – harder to inflate, slower speed, or flight instability. Another sign is deformation and wrinkles on the inflated wing's profile. The tighter the canopy fabric, the higher the chance the trim is still good. The only way to verify trim is through a "trim test," which involves remeasuring all line lengths.
🔗 Risers
🔺 Riser cleanliness: This is one of the best indicators to assess the wear level of the canopy. Since risers are in direct contact with the pilot's hands, they usually wear out first – the darker and dirtier the risers (especially the upper part of the A-risers), the more the wing has been used.
🔺 Attachment point to harness: The attachment loop to the harness often turns dark grayish-black with a metallic sheen after many flight hours due to friction with the metal carabiners. Small tears in the outer fabric layer often appear – these do not compromise safety but are signs of wear. The newer and cleaner this attachment point looks, the better preserved the wing is.
💺 Harness
🔺 Visual inspection: When buying a harness, hidden flaws are rarely an issue since the load-bearing strap system is usually exposed. 🔺 Avoid overly old harnesses: Avoid strap systems that are heavily worn or faded in color, as this suggests the material may be weakened. Stay away from harnesses with frayed or compromised load-bearing straps. 🔺 Check the seat board: When buying a harness with a hard seat board, check its condition. In most harnesses, you can remove the board for inspection. A cracked or broken board can pose a severe safety risk if the reserve parachute needs to be deployed. Boards are usually easy to replace, but for some harnesses using carbon boards, replacement can be quite expensive. 🔺 Check reserve bridles: Check the Y-bridles used to connect the reserve parachute – some harnesses are sold without them, and you may need to buy them separately. If the harness has them, ensure they are not frayed. 🔺 Check buckles: Verify the function of all buckles – ensure they lock completely and do not pop open under tension. 🔺 Repack reserve: If you buy a used harness with a pre-installed reserve parachute, ALWAYS check and repack the reserve before use. 🔺 Replace carabiners: It is highly recommended to replace the carabiners on a used harness – you never know if they have been subjected to shock loads. This is MANDATORY if the harness uses aluminum carabiners! Absolutely do not trust heavily used carabiners!
🪂 Second-hand reserve
The reserve parachute is the only piece of gear that may never "pay off," but when you need it, it provides life-or-death value in just 3 seconds. The reserve is not your second chance at survival – it is your last! For this reason, compromising on quality when buying a reserve is not recommended. We always advise buying a brand-new reserve parachute! If you still need to buy a used reserve, keep in mind: 🔺 Never buy a reserve that has been repaired. 🔺 Never buy a reserve with obvious signs of mold or water damage. 🔺 Do not buy a reserve older than 12 years from its manufacturing date – the fabric ages naturally over time even if unused. 🔺 Do not buy a reserve without an information label specifying its size and load capacity. 🔺 Ask to see the maintenance logbook, which should contain records of periodic repacks, including where and by whom they were done. If you doubt the logbook's reliability, verify it with the last person who repacked it. 🔺 Always repack a used reserve parachute yourself before installing it into your harness.
🔺 You should repack the reserve at least once a year. Always have a professional do this. If you buy a special type of reserve (e.g. a Rogallo or a square ram-air reserve), make sure there are professionals in your area who know how to repack that type. No matter what equipment you choose, always consult your instructor or club. Fortunately, paragliding is a sport with a fairly high level of community moderation and self-regulation.
🏪 Some trusted dealers to consider
🔺 Toan Tran (HNAA): #1 Dealer in Vietnam - Official & Exclusive Distributor of Advance Paragliders in Vietnam 🔺 Dang Van My (Mebayluon Paragliding): Distributor of NOVA, UP, Kortel Design, Air Vuisa 🔺 UniSky Friends: Paragliding equipment manufacturing (harnesses, canopies), repair, and distribution 🔺 Bach Le (Back2Fly shop): Paragliding equipment distributor and repairer, also designs and manufactures harnesses 🔺 Cao Ha Tan (VNAA): Distributor of Skywalk 🔺 Kim Tran (May Paragliding): Distributor of GIN and BGD 🔺 Luke Tran (Lam Dau Bac): Specialist in second-hand paragliding gear Good luck and wishing you many safe flights with your first set of gear!
Skynomad.com
— Translated by Dang Van My