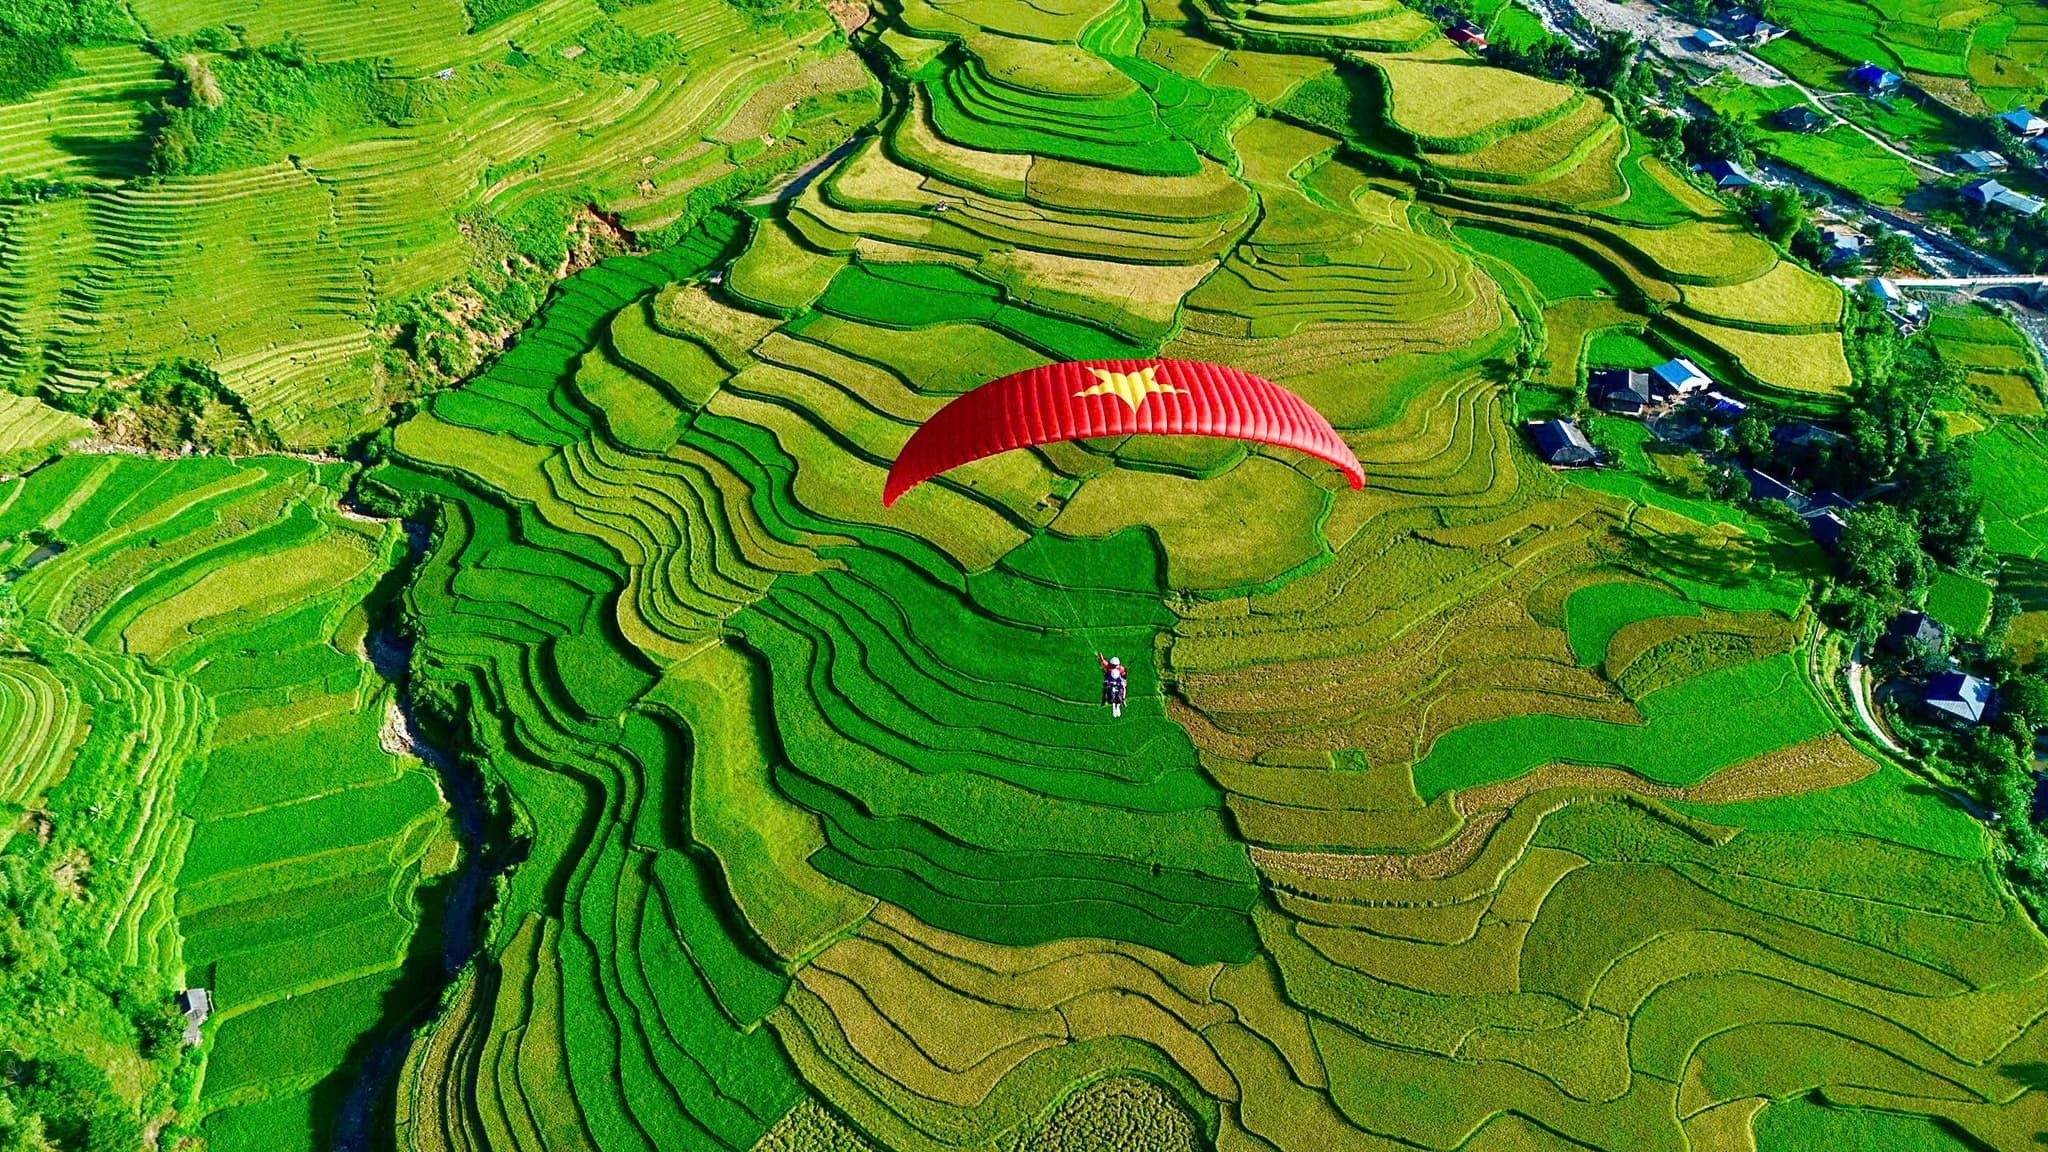
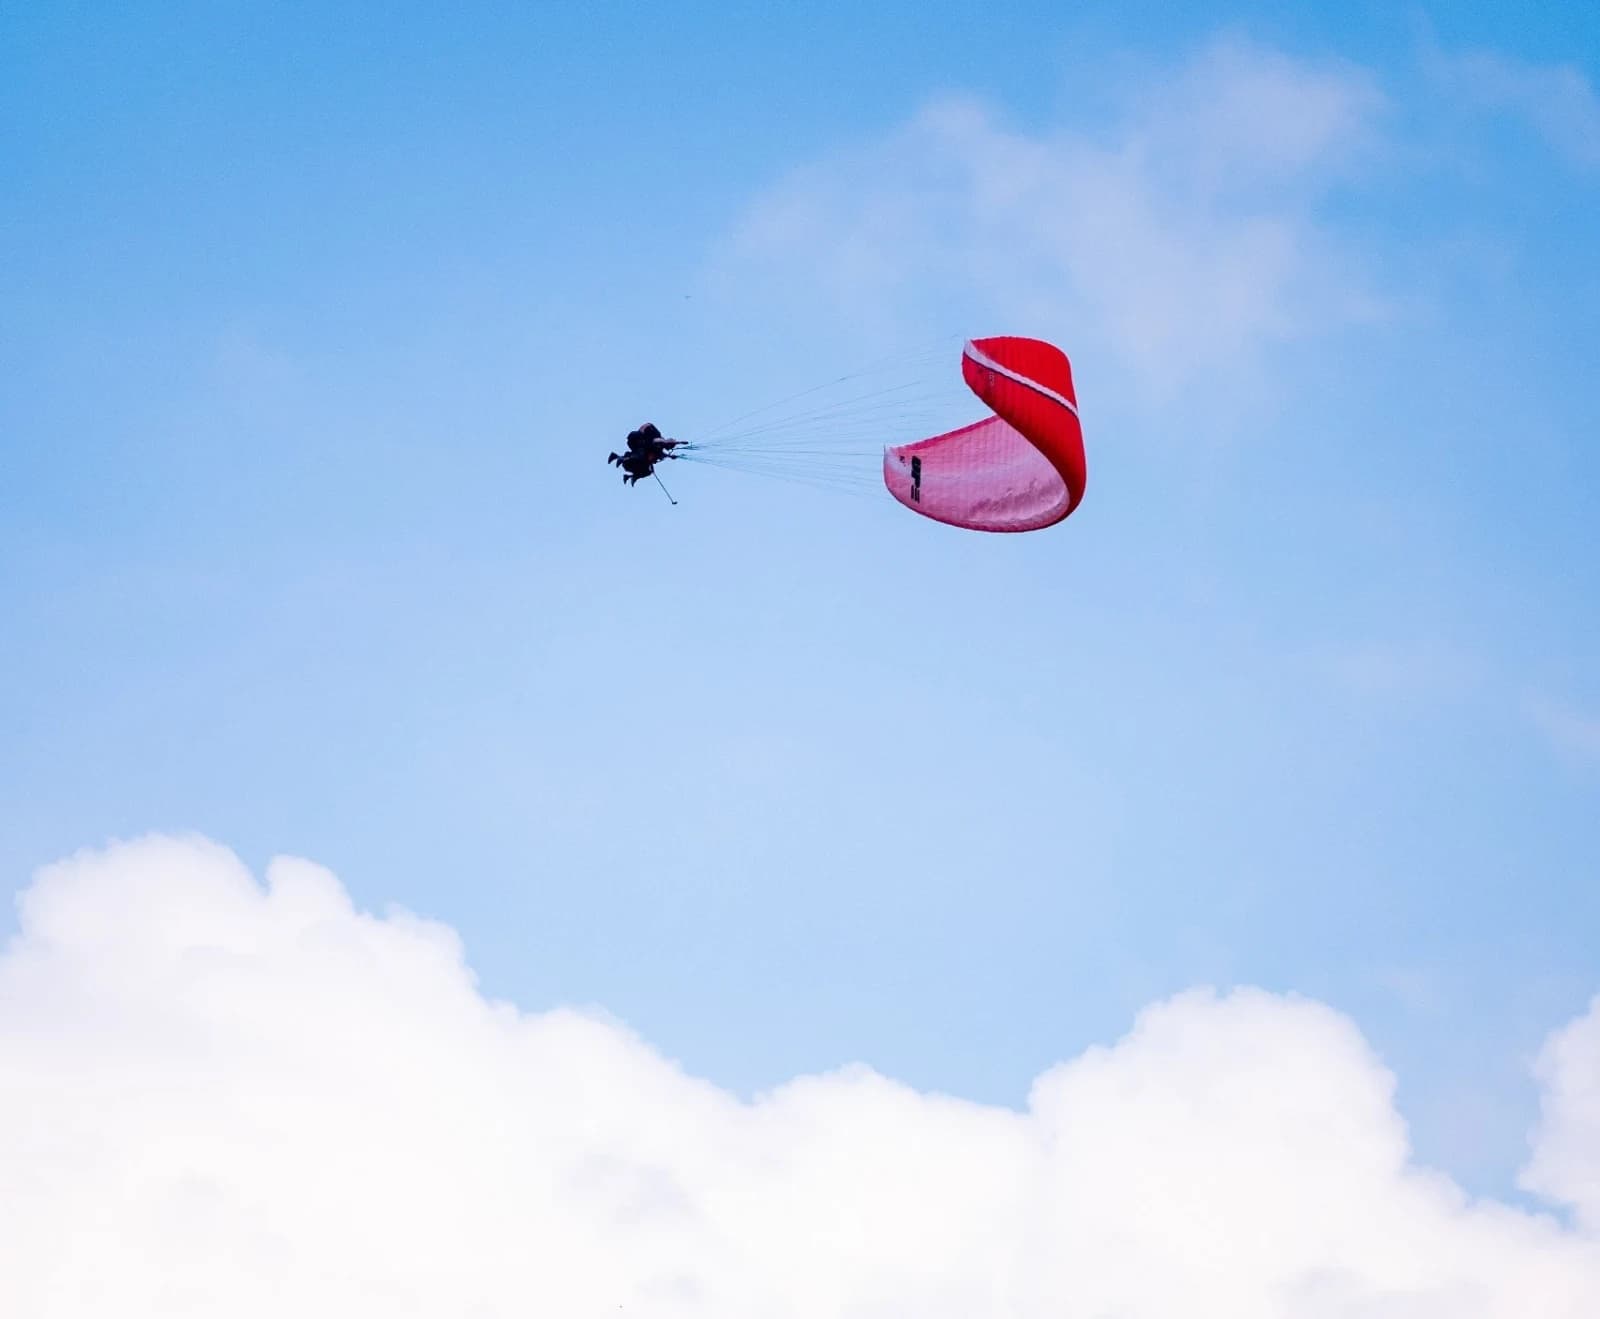
Paragliders are self-stabilizing flying devices, and they can even take off and fly themselves without a pilot's control. This is due to their aerodynamic design and inherent pendulum stability. Thermalling or cross-country (XC) flying is of great interest to pilots, but first, you need to learn how to control your canopy and fly safely before chasing distant horizons! 🌄
💡 Active flying includes:
💡 Active flying includes: ▶️ Understanding the nature of paraglider movements and their limits; ▶️ Understanding how the paraglider's controls work and their limits; ▶️ Awareness of dangers ⚠️ – what outside conditions like wind gradients, gusts, vortexes, and turbulence can do to a paraglider; ▶️ Preventing unusual attitudes, like stalls and collapses, and when they do occur, knowing how to help the glider recover faster; ▶️ Flying efficiently 🚀. Let’s see what is behind the beginner’s mantra when flying in turbulence: 🛑 STOP THE DIVE/SURGE (KEEP THE GLIDER ABOVE YOUR HEAD) 🦅 LET IT FLY 🧭 KEEP DIRECTION
📐 REFERENCE FRAMES & BASIC MOTIONS
To analyze the motion of a paraglider canopy, we need a frame of reference. There are two main rectangular coordinate systems: 🌍 Earth-axis coordinate system OXYZ: Where the OZ axis is vertical and perpendicular to the Earth's surface, while OX and OY lie on the horizontal plane; 🪁 Body-axis coordinate system OX1Y1Z1: Where OX1 points from the center of the canopy's profile, along the main axis (chord line); OY1 is perpendicular to OX1, and both originate from the plane of symmetry of the canopy. OZ1 is perpendicular to this plane, pointing sideways. Point O is the canopy's Center of Pressure (CP). The complex movement of a paraglider canopy consists of 6 basic motions: 3 translational motions along the OX, OY, OZ axes; 3 rotational motions around the OX1, OY1, OZ1 axes: 🎢 Pitch: rotation around the lateral OZ1 axis; 🔄 Roll: rotation around the longitudinal OX1 axis; 🚁 Yaw: rotation around the vertical OY1 axis.
⚖️ PENDULUM STABILITY
The soft fabric wing can be seen as a solid body, suspending the pilot in the harness via the lines and riser system. The paraglider has two important points: 🎯 Center of Pressure (CP): Located 25% back from the beginning of the main chord line (the line connecting the leading and trailing edges of the wing profile). ⚓ Center of Gravity (CG): This is the center of mass of the whole system – canopy, risers, lines, pilot's body, and harness. It depends on body posture and is located somewhere above the pilot's navel. The total aerodynamic force (R) and wind gusts act on the center of pressure (CP), while gravity (G) and inertial force (Fi) act on the center of gravity (CG). The paraglider can be viewed as a simple pendulum body (CG) with a moving pivot point (CP) 🍎. Environmental disturbances, like gusts, wind gradients, vortexes, and pilot inputs (pulling brakes or weight-shifting), change the tilt and magnitude of the total aerodynamic force – R. This change in force accelerates the center of pressure (CP) in one direction or another and is called upper pendulousness ⬆️. Forward or backward CP accelerations cause pitch motion and rotate the wing around its lateral OZ1 axis, changing the pitch angle – the angle between the canopy's surface and the horizon. Pitch angle is different from the angle of attack – the angle between the canopy's surface and the direction of the airflow. Sideways CP accelerations cause roll motion, rotating the glider around its longitudinal OX1 axis, changing the paraglider's bank angle – the angle between the paraglider's plane of symmetry (OX1Y1) and the vertical Earth axis (OY).
When the paraglider is unbalanced by outside disturbances or pilot inputs, the CP is no longer aligned with the CG, and an unbalanced component of the G force appears, pulling the CG back under the CP. This is called lower pendulousness⬇️.
🔗 Interconnection: The movements of CP and CG are strictly interconnected! Every CP motion (upper pendulousness) unbalances the wing, causing an immediate CG reaction (lower pendulousness). Every CG motion changes the pitch or roll angle. This directly alters the angle of attack and the aerodynamic force R. The change in aerodynamic force accelerates the entire wing in one direction or another, and this is how the CP moves due to CG motion. Ultimately, of course, the great distance between the CP and CG makes lower pendulousness prevail over upper pendulousness. After a few oscillations, the CG will reach a balanced position below the CP.
🎢 PITCH CONTROL
The purpose of this exercise is: ✅ To help the pilot get used to the large oscillation amplitudes of pitch motions; ✅ To learn how to control pitch motions and stop (dampen) them. Pitch motions are easily noticed when looking straight ahead towards the horizon 🌅. The human eye judges distance rather poorly but is highly sensitive to angles and comparisons. If the pilot looks straight ahead without moving, they can detect even a 2-3 degree pitch angle change relative to the horizon. The vestibular system 👂 in the pilot's inner ear also registers these movements, and sooner or later, pilots must get used to them because they are perfectly normal. Another way to register all types of paraglider movements is to feel the body's acceleration through contact with the harness 💺, interpreting the specific behavior of the wing. A useful exercise is to close your eyes while riding as a passenger in a car and try to guess if the car is turning, loaded, unloaded, accelerating, or decelerating – essentially trying to feel normal, longitudinal, and lateral accelerations. It is completely normal for new pilots to feel uncomfortable looking forward and seeing the sky or ground rise and fall, or feeling their body surge forward or drop backward. The pitch motions of a paraglider are like a kid's swing 👧👦. Step by step, swing by swing, new pilots need to get used to large pitch surges, expand their amplitude, and learn to recognize their limits. Too high of a pitch and angle of attack means approaching the stall point 🛑; too low of a pitch and angle of attack means approaching the collapse point 💥. Why panic during a big swing if you are still far from a stall or collapse point? The pitching control exercise consists of two parts: 1️⃣Simulating pitch motions; 2️⃣Stopping the pitch and dampening oscillations. The hardest part is generating the pitch motion. The timing of the brake pull needs to be very precise; accuracy in timing is even more important than the exact amount of force applied. Nevertheless, it involves several distinct stages: 1️⃣ Initiation: First, lightly pull both brakes (only down to the carabiners) to increase the angle of attack and slow the glider down. The pilot's body continues moving forward by inertia until it is held back by the canopy. At this point, the paraglider is unbalanced – the CP shifts behind the CG, fully activating lower pendulousness, which tries to pull the CG back under the CP. 2️⃣ Holding brakes: In the second stage, the pilot keeps holding the brakes, which kills both lift and airspeed; the glider stalls momentarily and increases its sink rate. This activates its self-acceleration ability, which builds momentum to shoot the wing forward to fly again, but at this moment, it is still weak and cannot overcome the brakes being held by the pilot. The glider continues to lose altitude 📉, increasing the airflow from below, and then, the pilot suddenly releases the brakes, fully unleashing this powerful self-accelerating ability. 3️⃣ The Release (Golden Timing): Sudden brake release – this requires precise timing as the pilot quickly throws their hands up 🙌. Holding the brakes in the previous two stages lasts about 2-3 seconds. If the pilot releases the brakes too early, there won't be enough drop and airflow from below to generate a strong self-acceleration and forward surge. If the pilot releases the brakes too late or hesitantly, they will miss the glider's forward shoot, and there is even a risk of stalling. The release timing requires the pilot to focus on the peak of the acceleration force, a feeling similar to unleashing a fierce dog 🐕. (⚠️ Note: If the pilot holds the brakes too long and too deep, there is a risk of a full stall. That is why pitching must start with a shallow brake pull). 4️⃣ Pitching Forward: In this stage, the canopy is unleashed and shoots forward 🚀. This is a sign that the wing is healthy and wants to fly. If you feel the surge is too aggressive or the canopy dives too deep with a risk of collapsing, be ready to stop it with the brakes. Normally, the glider doesn't dive too fast on the first brake pull, but with each subsequent pull-and-release, it will build up speed and dive deeper, getting closer to the collapse point. 5️⃣ Amplifying: The fifth stage is when the canopy reaches its forward pitch limit and stops. The CP is now far ahead of the CG. Lower pendulousness swings the pilot forward, chasing the wing. The entire paraglider system translates forward, but to the pilot, the swing of the CG chasing the CP creates the sensation that the glider is flying backward. The pilot amplifies this "backward" motion with a new brake pull just as the canopy almost reaches its "backward limit." The timing of the brake pull must be precise 🎯 - (Note: if you start pulling the brakes when the wing is directly overhead, the effect will be poor and will force you to pull more brake. A little tip of mine is to apply the brakes when the wing is almost fully pitched back). If the pilot wants to increase the oscillation amplitude, the next brake pull can be slightly stronger, but beautiful oscillations are the result of precise timing, not pulling with brute force. At some point, the oscillations can increase and reach the collapse point, even without increasing the pulling force on the next brake input.
🛑 Interruption Warning: Pendulum motions can be interrupted by a gust of wind or a thermal bubble 🫧 because these disturb the sequence of processes and because the canopy is very sensitive to changes in the angle of attack. Additionally, lifting air ⬆️ clears pendulum imbalances faster, while sinking air ⬇️ prolongs them. In case of wind or thermal disturbances, the pilot should not continue to pull the brakes hard, as this can cause a stall or make the canopy dive forward too aggressively. It is best to practice this when the air is calm. ✋ Stopping the dive: When the wing pitches forward, stop the dive by simply pulling both brakes. The depth of the brakes depends on the aggressiveness of the dive – the more violent the dive, the faster and harder the brake pull must be. In extreme cases, you may need to pull full brakes.
In all cases, the pull must be fast, and what is extremely important is – after stopping the wing, you must release the brakes; you don't need to release them too hastily, but you absolutely must release them, hands all the way up TO LET THE GLIDER REGAIN AIRSPEED AND FLY AGAIN ON ITS OWN 🦅.
🚨 RISKS:
1️⃣ A classic cause of accidents is pilot overreaction. Inexperienced pilots can panic when the glider pitches heavily forward (with or without a collapse), to the point where they "freeze," holding the brakes stiffly for too long and stalling the wing. The forward pitching motion is limited by the inertia of the pilot's body mass, and at the end of the dive, the wing will lose airspeed, meaning the canopy can stall with a much lighter brake pull than normal. That is why with every forward pitch, determining the appropriate amount and duration of the brake pull is very important. No more, no less. 2️⃣ Another very common cause is the pilot pulling the brakes at the wrong time, usually too early. Remember, the correct timing to pull the brakes is when the glider is almost fully pitched back. Most new pilots apply the brakes too early (meaning the glider hasn't pitched fully back yet), or too late (the glider has already begun surging forward). Pulling the brakes at the wrong time results in the pilot feeling that the brake effect is too weak, leading to a tendency to pull harder and deeper, and even hold the brakes for too long. The result is a stalled glider. 🎷 Practice pitching by gradually increasing the amplitude, then gradually decreasing it without coming to a complete stop, and without reaching the collapse point. Do it like playing music, like jazz: increase gently, increase almost to the point of a collapse, then decrease almost to a stop, and then increase again. Explore the rhythm like a child on a swing.
💥 COLLAPSES
A collapse occurs when the leading edge quickly folds downward and backward due to a negative angle of attack(airflow hitting from above), which is completely different from a Stall, where the angle of attack is too high. 🌪️ Nature and Causes There are two main scenarios leading to a collapse. First is the Meteorological cause, when the glider suddenly enters sinking air or a vortex; this is an external factor that a pilot can rarely prevent. Second is the Aerodynamic cause, where the wing self-accelerates aggressively and surges forward past the collapse point. This self-acceleration is often triggered by turbulence or inaccurate aerobatic manoeuvres by the pilot. ⚠️ Risks and Consequences Collapses are extremely dangerous because they happen suddenly and cause the wing to stop flying, entering a free fall at speeds of up to 7-8 m/s 📉. Large collapses can develop into energetic swings, spiral dives, or complex complications like riser twists and cravats (lines tangled in the canopy). Notably, a collapse close to the ground can whip the pilot into the terrain with immense force, leaving no time to react or adjust body position for impact. 🛡️ Prevention and Handling Tactics Statistics show most accidents occur due to collapses right after takeoff, as this is when it is hardest to judge invisible turbulence. For prevention, pilots must train their "anticipation" skills: after every sink or being tossed upward, expect the canopy to "bite back" with a powerful surge like a snake 🐍. Always be ready with the brakes to catch this surge in time. 🎷 Conclusion Practice Pitch and Roll exercises like playing a piece of Jazz music—with rhythm and subtle changes in amplitude without breaking the flow of motion. Explore the pendulum's rhythm like a child on a swing; once you understand and master it, turbulent situations in the real world will become much easier to control. 🏆
In reality, aerobatics 🤸 or strong thermals/turbulence can cause an asymmetric forward pitch, leading to an asymmetric (one-sided) collapse. This may require asymmetric braking – the side of the canopy that surges harder needs deeper braking. Another useful pitching control exercise is practicing continuous oscillations using asymmetric braking ⚖️, carving out a 360-degree circle to one side and then the other. If you can combine this with the previous oscillation increase/decrease exercise, you will become a pitching master 🏆.
— Edited by Dang Van My