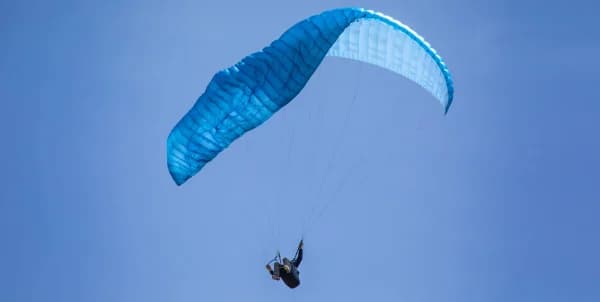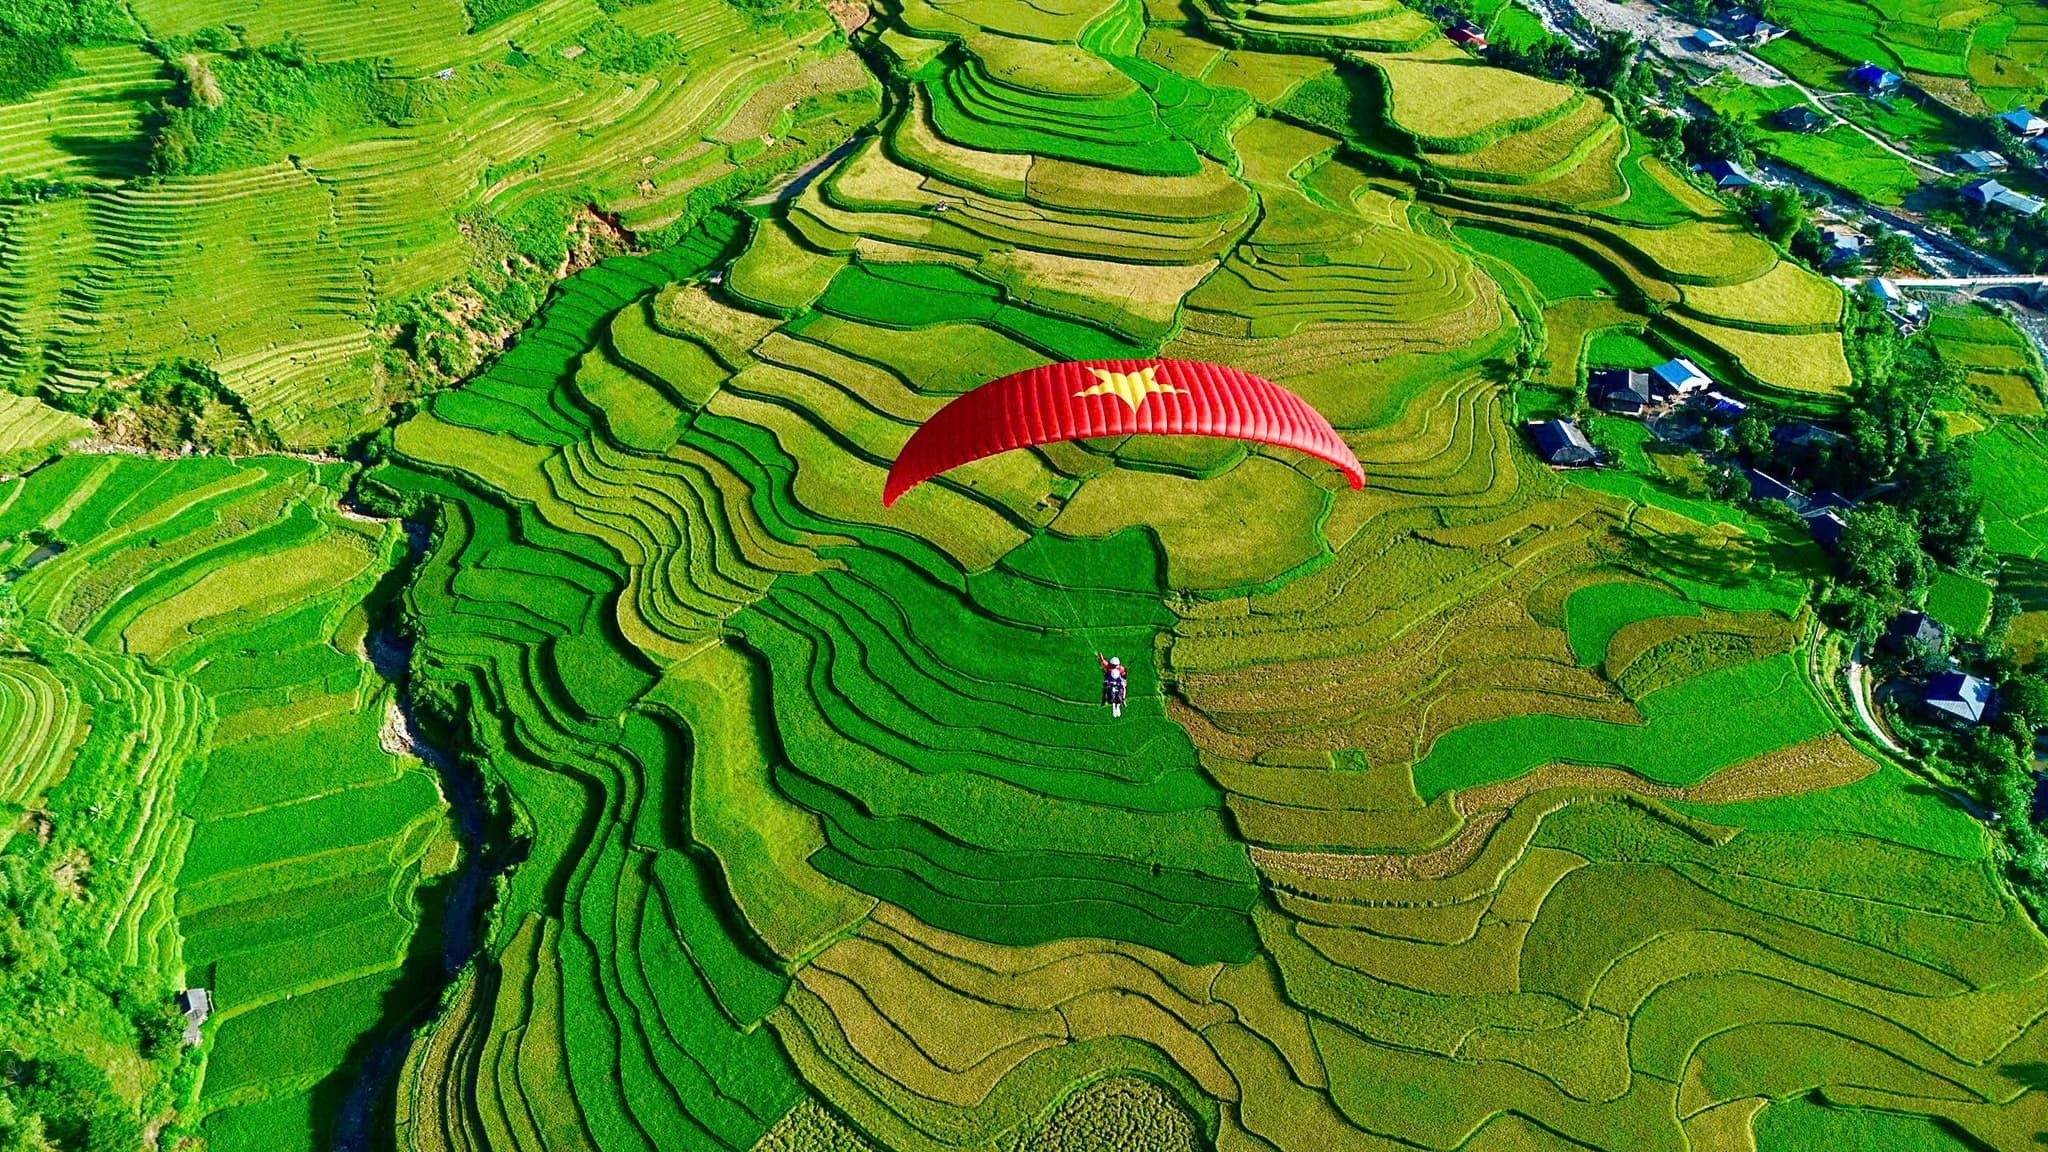
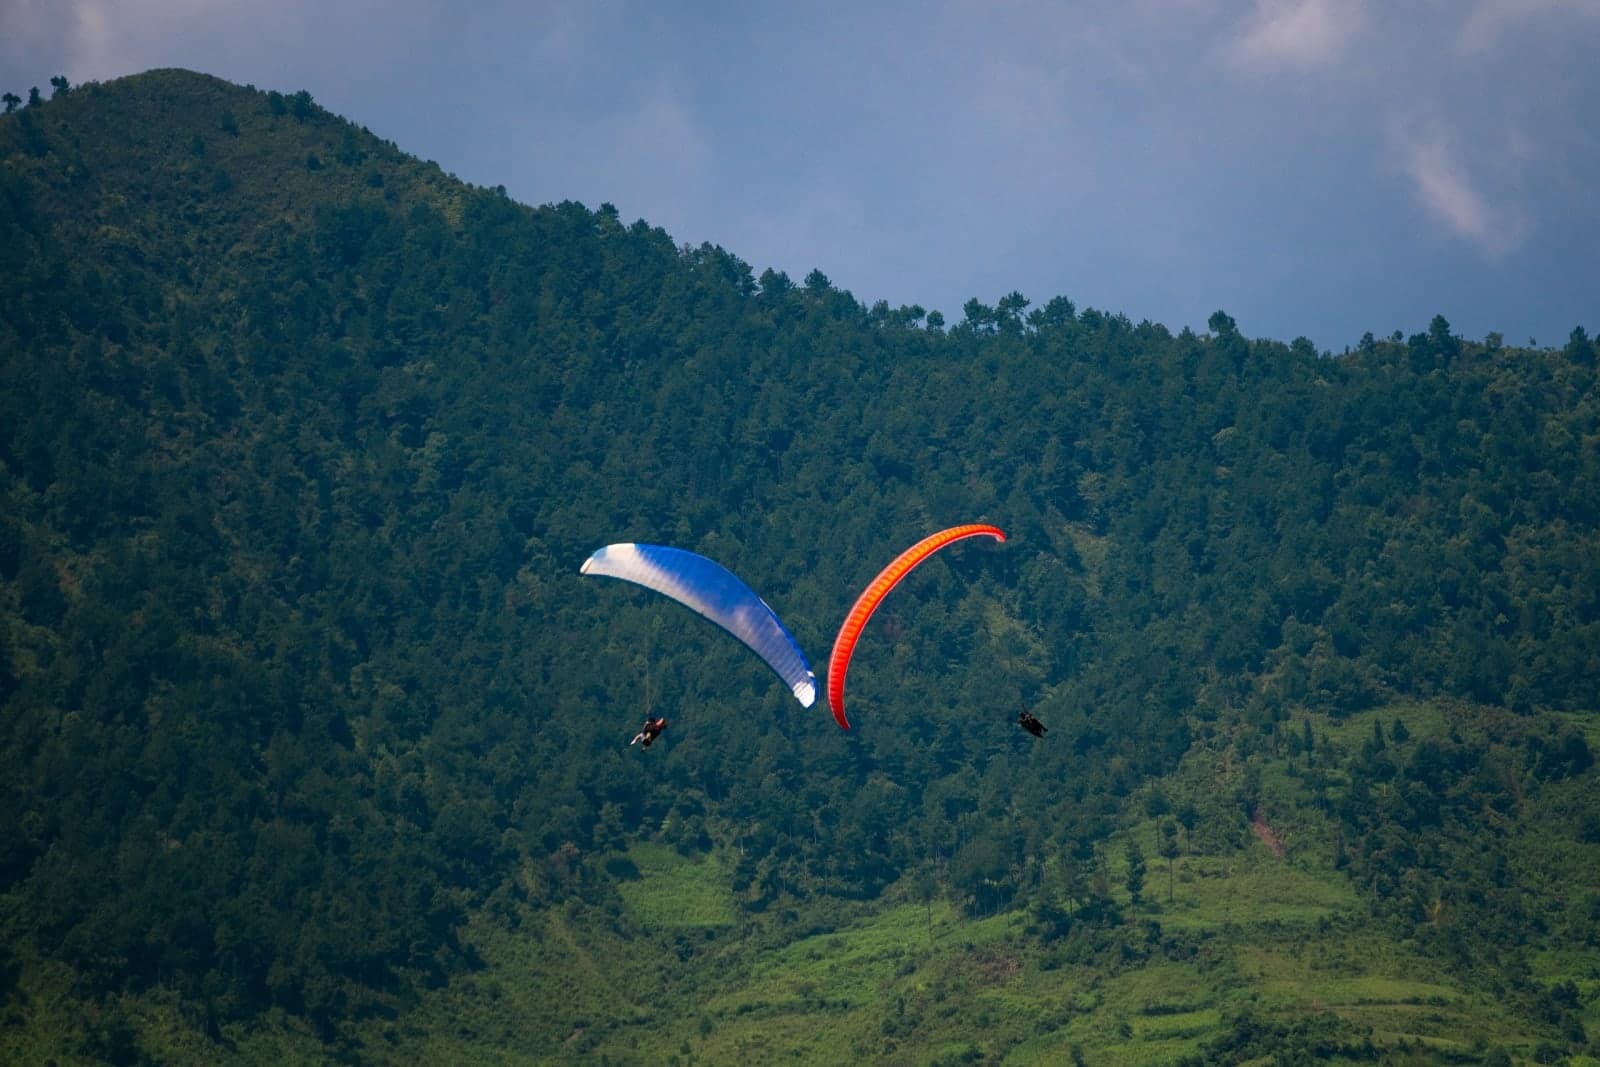
🌀 A Deep Spiral is a fast 360-degree drilling maneuver and a rapid descent technique with high G-forces, maintaining constant pitch and roll angles. When observed from above, the flight path resembles a coil spring.
🚀 Unlike a simple 360 turn, a deep spiral reaches much higher speeds. ⚛️ The centripetal force in this rotation is the aerodynamic force acting at the Center of Pressure (CP), while the centrifugal force is the pilot's body inertia acting at the Center of Gravity (CG). The faster the wing flies and turns, the faster the lift changes direction. The pilot's body resists this change through inertia, leading to higher line tension and wing loading.
🌪️ Higher G-forces and wing loading mean a stronger airflow blowing up from underneath, making the induced acceleration (inductive ability) stronger and causing the wing to fly even faster. This does not mean the rotation speed will increase infinitely. It means the pilot's body inertia creates the conditions for the spiral to self-accelerate and then self-maintain its rotation and rapid descent rate.
🛡️ IMPORTANCE AND TECHNICAL SPECS
⚠️ Understanding and practicing the spiral is crucial because any wing collapse can throw us into a deep spiral. A deep spiral can reach descent rates of 15 - 20 m/s, much faster than a full stall which only descends at 8 m/s. The linear speed of the pilot during a spiral can reach 100 km/h, and G-forces of 2 to 3G can cause dizziness or gray-outs. 🌈 A spiral can also be a "friend" – it is a reliable escape maneuver that helps us avoid the suction of a thunderstorm cloud. The high wing loading during a spiral makes the canopy rigid and resistant to air turbulence.
🛠️ THE THREE STAGES OF SPIRAL PRACTICE
🟦 STAGE 1: SPIRAL ENTRY
You enter a spiral simply by progressively tightening a turn until the wing enters a self-perpetuating rotation due to its induced acceleration. The first turn begins by shifting your weight fully to one side, followed by a progressive pull of the brake on that same side. 🔑 The key to entry is being "progressive" (increasing gradually). There are cases where students pull the brake indecisively, reducing the airspeed of the wing and causing a sudden spin. Pulling the brake too aggressively without shifting weight first or while the wing is oscillating can also cause a spin. If the pilot feels the wind on their face decrease or a sudden backward surge on the braked side, they should release the brake immediately to avoid a spin. 📈 To achieve a progressive "drill" and a smooth entry after shifting weight, the brake can be pulled in increments: pull 10 cm and wait for the wing to speed up, pull another 10 cm and wait for more speed, then 5 cm, and another 5 cm until the wing enters the spiral. If, after each pull, the pilot does not feel the wind speed increase on their face, they should abort the spiral by immediately releasing the brake and returning to a neutral position to let the wing fly normally. Then try again. Sometimes, a thermal pulse or a gust can stabilize the wing, opposing control attempts and decreasing airspeed. 🔄 Spiral aerodynamics are complex as pitch, roll, and yaw motions are closely linked. There are static and dynamic cross torques. The most important thing to remember to avoid a spin is that a spiral needs a distinct initial roll impulse. This means a strong weight shift combined with a decisive initial brake pull, followed by deepening the brake gradually. Another technique is to first roll the wing to the opposite side (e.g., left) to create a swing, then use that momentum to roll right into the spiral. 🔔 The moment of entry is easy to recognize; it feels like a gentle kick or surge. Airspeed on the face increases automatically without further brake input, the rotation intensifies, and G-force increases, pressing the pilot into the seat. The inner wingtip (on the braked side) will touch and rotate around the horizon. The air becomes noisy, and students may not hear radio commands.
RECOMMENDATION: Students should practice spirals with two radios, one for each ear.
🟩 STAGE 2: IN A SPIRAL
✨ Once the pilot recognizes the entry, they should release the brake slightly (about 10 cm) to ease the spiral while still maintaining it. Initiating a maneuver always takes more effort than maintaining it. Some wings have very distinct and spontaneous entry characteristics; others enter very smoothly, almost unnoticeably, with perfect control throughout. 🎓 Initially, students should only practice the entry, trying to recognize the entry point and then releasing the brake completely. Once confident, they can hold the spiral for 2-3 turns before exiting. Inside the spiral, despite high speeds and G-forces, the pilot can still control it with small weight shifts or by using the inner and outer brakes. 🔄 Most wings will self-exit the spiral. That is why most spirals must be maintained with the inner brake. Experienced pilots sense the self-exit tendency before it happens and use minimal brake to keep the spiral going. Students are often less sensitive to these entry/exit points; they often hold the spiral too deep with excessive brake and suffer high G-forces. The spiral is one of the safest and easiest "aerobatic" maneuvers to learn, so with practice, students should achieve full control over maintaining, increasing, or decreasing the spiral. 🧤 Once in the spiral, work with the brakes to find the "spiral control point" or "feathering point." This is the position where adding a little more brake deepens the spiral and releasing a little causes a self-exit. This brake setting is like adjusting a steering wheel left and right when taking a sharp high-speed turn in a car. The feathering point is very close to the exit point. Staying near this point allows for a mild spiral with good balance and control. A mild spiral is achieved by a gradual entry; an entry that is too fast and intense usually overshoots the feathering point and produces heavy G-forces. ⚖️ For a milder experience, the pilot can apply a bit of outer brake, roughly 10-20 cm. The exact amount isn't critical because brake drag depends on the square of the airspeed (which is very high in a spiral, around 100 km/h). This makes even a small amount of outer brake very effective at slowing the fast-moving outer half of the wing.
🩸 PHYSICAL AND PSYCHOLOGICAL IMPACTS
👁️ While spiraling, the pilot should look at the horizon and occasionally look down to check altitude and around to determine spatial position. Looking at the canopy or at blurred images nearby increases the chance of vertigo. Fixing your gaze on different objects helps reduce disorientation. 🧠 High G-force pushes blood from the brain to the legs; your vision may temporarily fade from the periphery to the center, but the brain still functions, giving enough time to exit. G-force effects are cumulative, depending not just on strength but also on duration. Untrained pilots have been known to blackout and lose consciousness from excessive or prolonged G-exposure. ⛈️ When escaping a storm, you may need to spiral for a long time to lose altitude. One solution is to perform a series of shorter spirals with a few seconds of rest in between to restore blood circulation. G-force tolerance also depends on your health and alertness. If you feel a blackout coming, a trick is to stiffen your body (like straining). This contracts blood vessels and restricts blood from draining out of the brain.
🟥 STAGE 3: SPIRAL EXIT
🔓 To exit, the pilot releases the inner brake and returns the body to a neutral position. The wing continues to spiral due to inertia. Releasing the brake reduces the self-perpetuating rotation; as it passes the exit point, it slows down quickly, then suddenly throws the pilot's body (accelerated by inertia) away tangentially from the rotation. 🎢 This powerful body motion creates a massive "pitch back" – the wing goes far behind the pilot. Then the pilot's body swings back like a pendulum and falls under the wing. A distinct vertical fall follows because the massive pitch back killed all airspeed and lift, causing a temporary stall. 🚀 The prolonged vertical fall creates a strong airflow from below, triggering powerful induced acceleration, causing the wing to surge forward aggressively. The pilot MUST catch this surge by pulling both brakes to prevent an asymmetric or frontal collapse. Then, go "hands up" slowly to recover airspeed, similar to pitch control exercises.
🆘 SIV PRACTICE AND EMERGENCY NOTES
👨🏫 Deep spirals should first be practiced on a tandem with an instructor because the exit is particularly difficult for students. The entry is fine and fun, like playing with intense sensations. However, once the spiral truly "kicks in," high Gs, speed, noise, and vertigo can overwhelm a student. They may "freeze", curling into a fetal position and grabbing the risers for support. 🎧 During panic and sensory overload, the body's first defense is to cut off sound from the image (auditory exclusion). The instructor might be shouting into the radio, but the student hears nothing. Eventually, the student may remember to release the brake to exit. There is a brief moment of relief as the wing starts to exit, but the student may panic again when their body is thrown tangentially. They might want to do something, perhaps grab the risers again. 🚫 The wing pitches back strongly. The pilot wants to do something; they might try to "check" the brakes. OH MY GOD! DO NOT BRAKE when the wing is pitching back! That is a recipe for a dynamic full stall. Do not hold the risers as it may affect the brakes without you realizing. Look for the "zero brake" position near the pulleys on the rear risers. The ordeal isn't over. After the pitch back, the wing will fall for a long time. Do not touch the brakes yet. Resist the urge to be a control freak. The wing knows what to do. Just keep your hands up for a clean profile and let the wing handle it. Feel the induced acceleration and be ready to "check" the wing when it "bites" the wind, meaning pull both brakes when the wing surges forward. Kill the surge, go hands up, and fly back.
🎭 DIFFERENT EXIT CHARACTERISTICS
🌈 Some wings have very gentle and smooth exit points. Others have a very distinct exit point with a hard pitch back, regardless of how gently you release the brake. 📉 A hard exit can be softened by RE-PULLING THE INNER BRAKE immediately after the exit point. The idea is to prevent the pilot's body from converting all the massive rotation energy into a single linear motion. Re-pulling the inner brake converts the high speed into a wide turn in the same direction. This keeps the wing in a new turn, reducing the pitch back, the vertical fall, and the forward surge. ⏱️ There is a very narrow window to re-pull the inner brake for a soft exit. If you miss it, accept the hard exit and do not brake while the wing is pitching back. Another trick is to maintain your weight shift into the turn (same direction as the spiral). Remember that entries and exits depend heavily on roll impulses.
🔒 DANGER: SPIRAL LOCK (LOCKING INTO A SPIRAL)
The most dangerous scenario is being locked in a spiral, which can happen due to: ⫸ COLLAPSE: The reduction in wing area changes lift and the Center of Pressure. ⫸ CRAVAT: Creates constant drag and maintains the rotation. ⫸ HARNESS TOO LOOSE: Causes the pilot to slide to one side, maintaining the spiral. ⫸ Unintentional weight shift: A large-shouldered pilot in a low-attachment harness has a high Center of Gravity (CG); even a slight unintentional weight shift has a massive impact during a spiral. ⫸ Glider design: Some wings, especially beginner wings with a low aspect ratio, can self-lock into a spiral and won't exit even if the brake and weight shift are released. 🆘 If you are "locked in," shift your weight in the opposite direction or pull the outer brake to stop it. These should be short, sharp impulses, as roll impulses help exit just as they help enter. 🚫 Do not panic and pull the outer brake too aggressively, as this can cause a violent, messy exit. Aerobatic pilots use spirals to build speed for maneuvers (like looping/tumbling) by shifting weight and braking hard on the outside, but there is a risk of falling into the wing. To fix a spiral lock, a beginner should pull the outer brake strongly but cautiously while observing the wing's tendencies. 🌀 If you are dizzy or a sudden collapse confuses you about the direction of rotation, pull both brakes hard for a "reset." If that fails, try again with a steady, stronger, and deeper pull. Some locked spirals require significant arm strength to stop.
📐 NOSE-DOWN SPIRAL
🔻 After establishing a spiral, you can explore the limits by pulling the inner brake further until you reach a "nose-down spiral." At this point, you cannot pull further because the wing's force is enormous and G-force is at its peak (around 3G). The wing rotates steadily and falls like a stone, descending at 20-25 m/s. Most wings will lock in this state or require many turns and significant altitude loss to self-recover. Exiting a locked nose-down spiral requires massive outer brake force. 🧩 If an aggressive collapse throws the wing directly into a nose-down spiral, a beginner might be confused about the direction of rotation. In a moderate spiral, the lower wingtip is on the inside. In a SAT-style spiral, it’s the opposite—the higher wingtip is on the inside. In a nose-down spiral, the wing is parallel to the horizon. Stay sharp and remember the sequence of events to decide which brake to pull.
🏹 RESERVE PARACHUTE
🆘 If for any reason you cannot exit a spiral, throwing the reserve parachute is the final solution. It will open very quickly due to high airspeed. However, remember that high G-force pins you to your seat and makes moving your arms extremely difficult. In a 2-3G spiral, your arm can feel 2-3 times heavier than normal. Finding the handle and pulling the container out in the right direction is a major challenge. If possible, throw the reserve into clear space in the SAME DIRECTION as the rotation to reduce the chance of it tangling with the wing. 🏋️ Practicing the reserve throw on a G-force simulator on the ground is very helpful. Physical fitness is essential for enduring high G-forces, stopping spirals, or opening a reserve quickly.
🏎️ HIGH-PERFORMANCE WINGS (HIGH ASPECT RATIO)
🏎️ Sporty wings with high aspect ratios are not ideal for using spirals for rapid descent. They "drill" easily and reach high Gs, but they don't actually descend much because they are designed to fly too well. To achieve high glide performance, they use fewer and thinner lines, and the wing structure is balanced very precisely. High G-forces can deform the structure, permanently damaging performance and flight characteristics. 🐌 This is why spirals on high-performance wings should be combined with an Anti-G parachute. During a spiral, the Anti-G creates extra drag on the pilot's body and slows the rotation. It also increases the pitch angle, which increases the descent rate. The Anti-G reduces overall rotation speed and harmful G-forces for both the pilot and the wing. 👂 Without an Anti-G, you can perform "big ears" first and then enter a spiral using only weight shift. The reduced wing area increases the descent rate and lowers G-force. A "big ear" spiral can be well-controlled with weight shift. You cannot use brakes because your hands are holding the big ears. You can also pull a big ear on one side and spiral to the other. The collapsed side creates enough drag to keep the spiral from becoming too fast or aggressive. Another variation is to intentionally collapse one side and let the wing spiral toward it.
⛈️ CLOUD SUCK
Inexperienced pilots often panic when they experience cloud suck. Experienced pilots can fly confidently and exploit lift under big dark clouds because they trust themselves, their gear, and their emergency descent capabilities. 🌤️ Don't panic in a large area of lift, and don't spiral in the strongest part as it will take too much time and effort. It is better to find a weaker area of lift and spiral there. Of course, prevention is better than cure. 🔄 If you need to spiral hard for a long time and start feeling G-effects like dizziness, instead of one long spiral, do several shorter ones and use the entry/exit phases as rest periods (spiral in beats). Change the direction of rotation if you find it helpful.
🌊 PARAGLIDING CASCADES
🌪️ For a pilot, a "cascade" is a series of consecutive extreme events: Collapse (frontal or asymmetric) > spiral (with or without cravat) > stall > surge > spin or line-twist. These are terrifying even for experienced pilots due to the unpredictable and mixed nature of the maneuvers. You don't know what comes next, when, how strong it will be, or how to react. In reality, a cascade usually consists of 2-3 events and rarely lasts long unless the pilot maintains it through incorrect inputs. 🌀 Most cascades end in a cravat-induced deep spiral, which isn't too bad as it is a stable and predictable motion. In the worst case, a cascade can wrap the pilot in the wing and lines, preventing the use of a reserve. Always learn to deal with the chaos and look for predictable situations. Prior experience with individual extreme events is vital for deciding what is recoverable and when it is time to throw the reserve.
🧘 MANTRA AND HANDLING CASCADES: In a cascade, use the "Golden Mantra" for flying in turbulence: STOP THE DIVE, LET IT FLY, KEEP DIRECTION!
🎯 Catching a strong surge has several key points:
1️⃣ A dive shouldn't be a surprise if you know it's caused by induced acceleration from airflow below. Every strong dive is followed by a drop. 2️⃣ The direction of the surge is usually predictable—the open, clear part of the wing shoots more; the collapsed part shoots less. However, a symmetric stall in turbulence can shoot in any direction. 3️⃣ Recognizing the surge early requires less brake input and reduces the chance of overreacting. 4️⃣ Don't kill the dive motion entirely when catching a surge; it provides vital airspeed. Catching is primarily to prevent a collapse and large oscillations. Catching too strictly can cause another stall and fall. This is also true for the rotation after a collapse. Let it turn a bit to regain airspeed and internal pressure.
🛠️ Other important points:
🔄 A flat rotation from an asymmetric collapse or spin requires an instant decision: either grab the risers and pull them apart to prevent a twist, or use the outside brake to stop the turn. You can combine both. Shrink your body and keep your legs tucked under your seat to follow the wing's rotation. ➰ If a twist is inevitable, release the brakes before it happens to prevent them from being locked in an asymmetric pull. 👐 Use minimum brakes and maximize the wing's self-recovery. "LET IT FLY," but stay sharp. Usually, the second and third brake inputs are lighter than the first. 🦶 A "scissors" kick with the legs combined with pushing the risers apart can help recover from a twist. 🛑 It is nearly impossible to recover from a twist during a nose-down spiral; decide to throw the reserve immediately, especially if combined with a cravat and low altitude. ⛵ You can land safely with up to a 40% cravat if the wing is stable, you have directional control, and the air is not too turbulent. ⚠️ There is always a risk of the reserve tangling with the wing. A 4-5 m/s descent can still break a limb on rocks. Directional control is very limited. Two reserves are better than one.
🏁 FINAL WORDS
Active flying is about understanding your wing and the air, taking control, and taking responsibility in all situations. Do not panic or "freeze" like a passive victim. Active flying is also about prevention—not doing something stupid against the laws of nature. Experience makes us better and safer, but it goes hand in hand with risk. Progress step by step. Risk wisely, for luck is a limited commodity. And when you become a good pilot, remain careful. Self-complacency kills—stay sharp!