This course is for students who have completed P2 and already fly high flights on their own under instructor supervision. You do not start again from scratch: you learn to take charge of the flight — launching actively in different winds, flying an active approach and landing, controlling the wing in the air and ridge soaring along the slope. It is the transition stage between P2 and P3. The course follows the IPPI/APPI pilot-skill standards, adapted by Mebayluon to flying conditions in Vietnam. It is skills training and does not issue a licence — see the P3 section below.
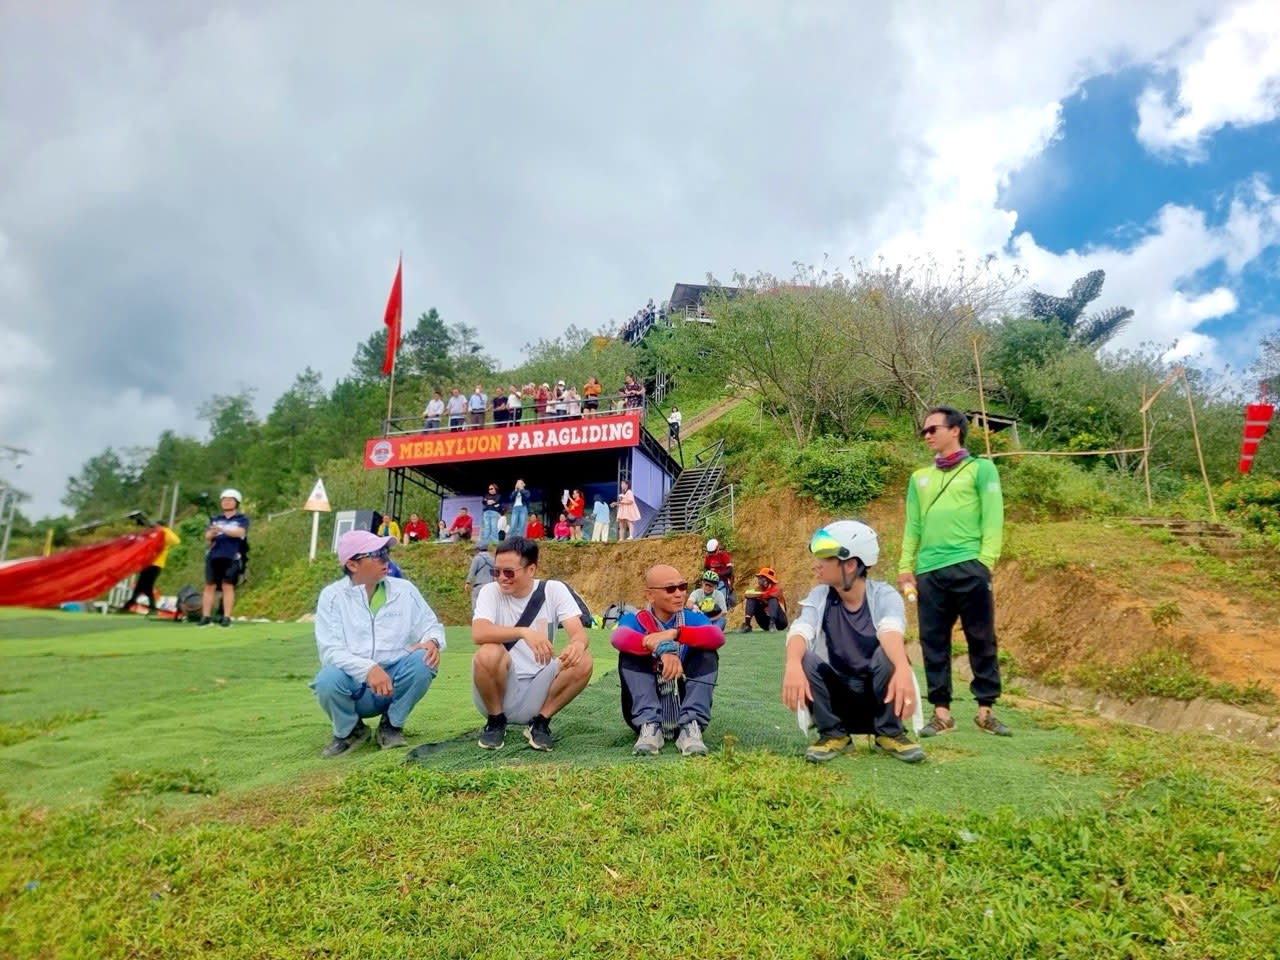
Who the course is for
- Students who have completed P1–P2 (at Mebayluon or another school) and have flown solo from launch to the landing field.
- Able to inflate, launch and land with an instructor guiding by radio.
- Want to move on to P3 but are not yet confident in stronger wind, with the landing pattern or with techniques in the air.
If you have not flown for a long time, the instructor reassesses you on day 1; if you need a lot of revision, start with the refresher course.
What you will learn — based on IPPI/APPI standards
- Pre-flight checks and flight planning. Your own equipment check and a standard cross-check; reading the wind at launch and at the landing field; local weather in the Khau Pha valley (slope wind, valley wind, midday thermals); planning each flight yourself: route, height-loss area, landing pattern, backup field.
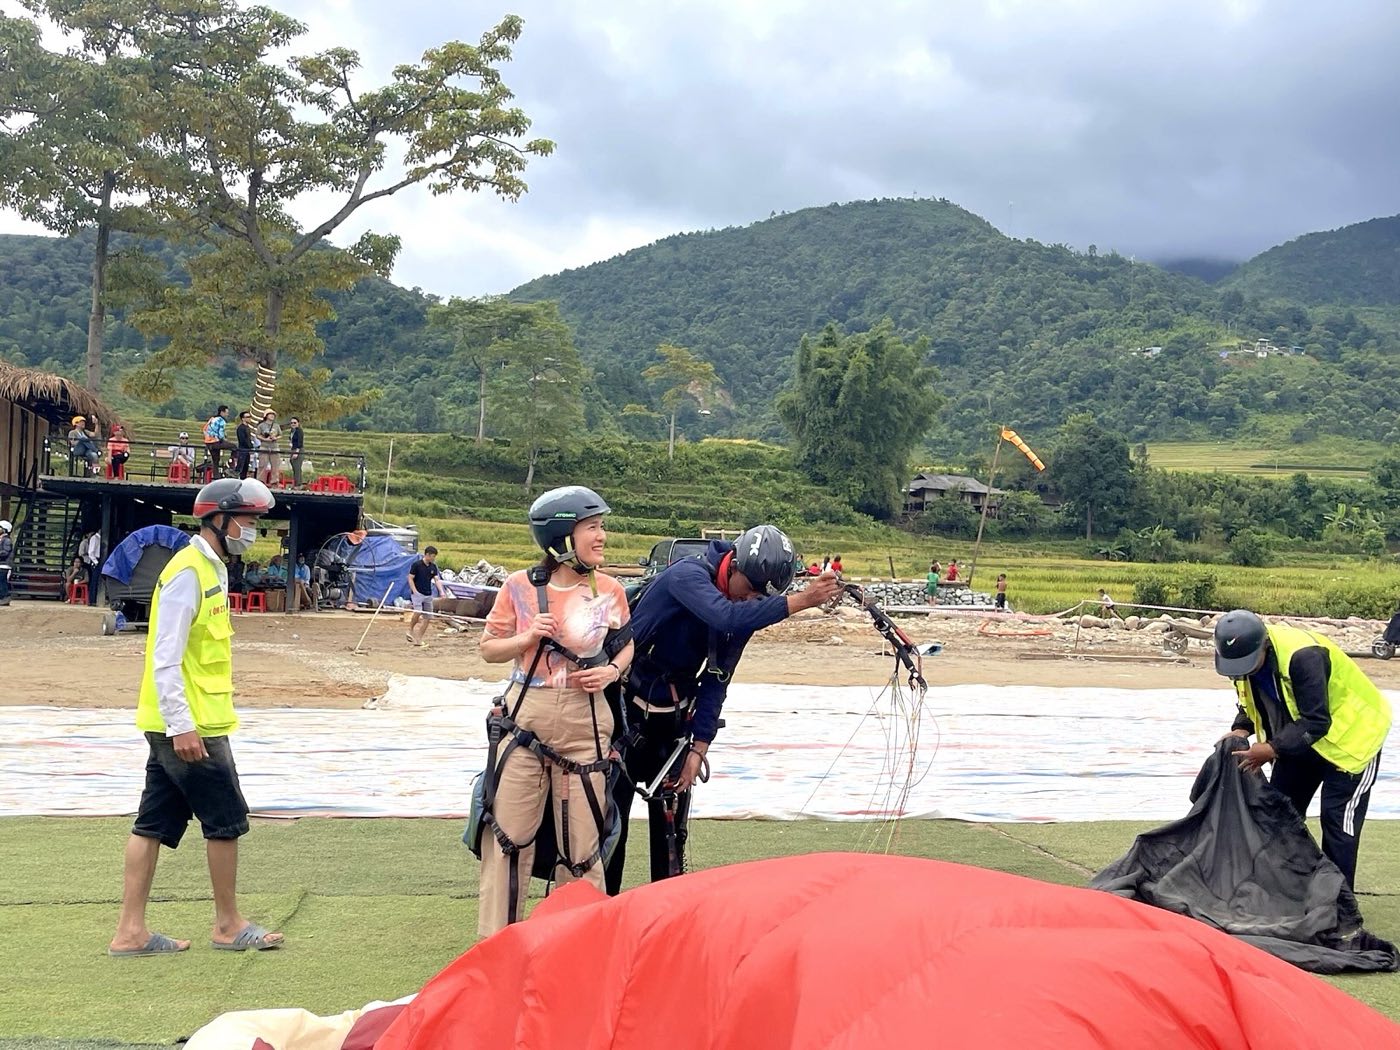
- Active launching. Forward launch in light wind and reverse launch in moderate wind; controlling the wing overhead before the run, correcting a wing that drifts to one side; deciding to go or abort before the stop line; launching in stronger wind and slight crosswind.


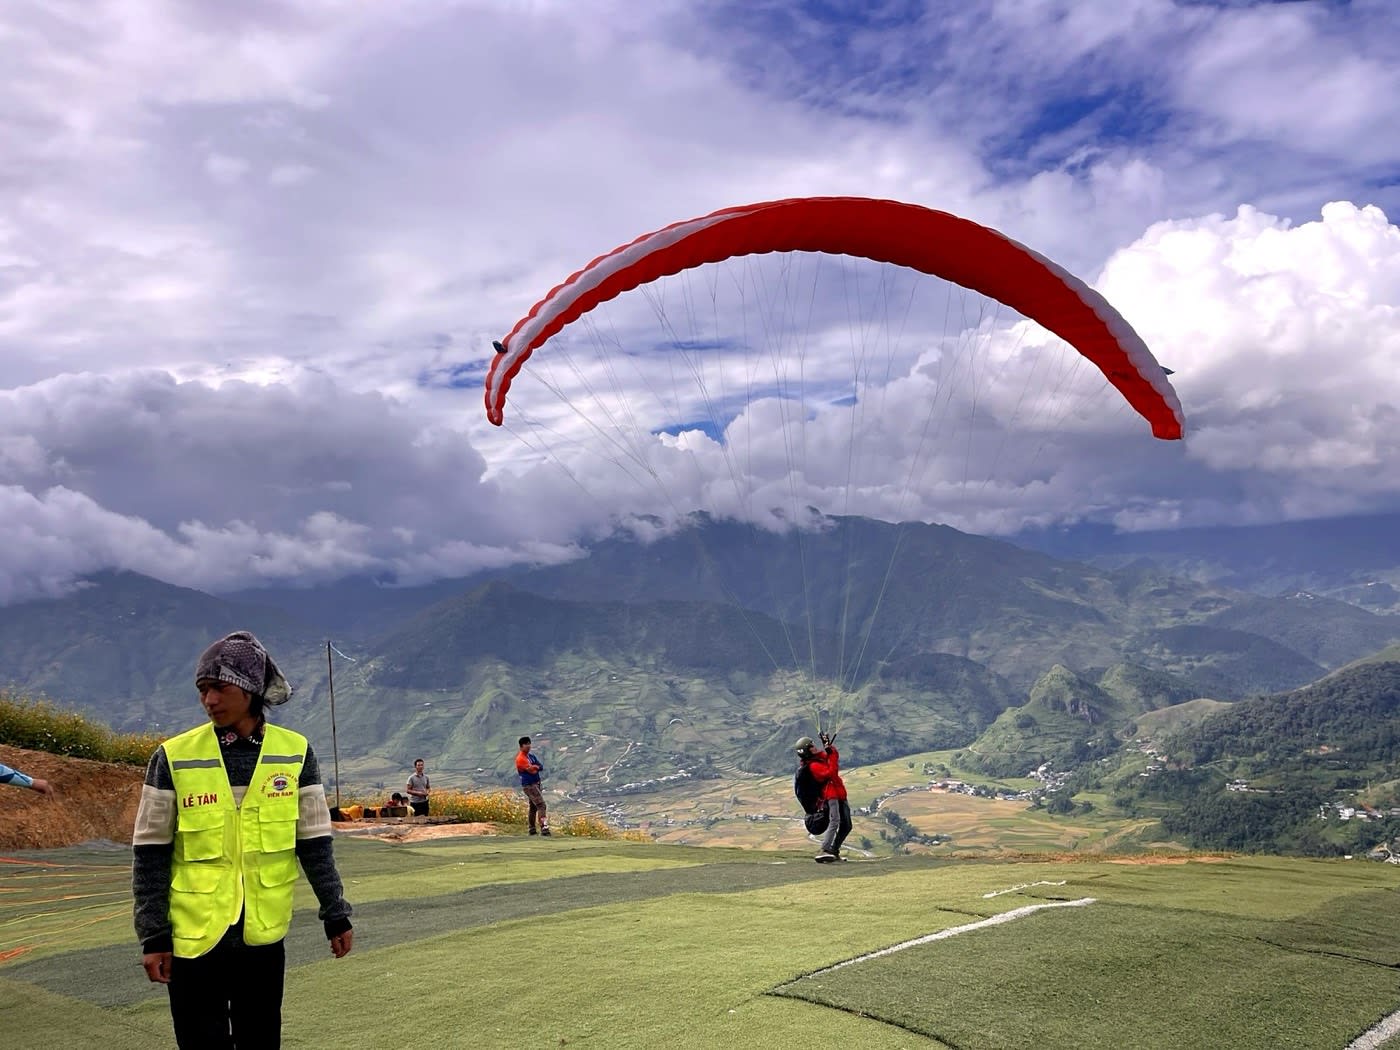
- Wing control in the air. Pitch control exercises: inducing and then damping pitch; inducing and damping roll; coordinated turns combining weight shift and brakes; active piloting: feeling the wing's pressure through the brakes and keeping it even when you fly into turbulent air.
- Speed range. Flying at minimum sink and at best glide; an introduction to the speed bar at a safe height.
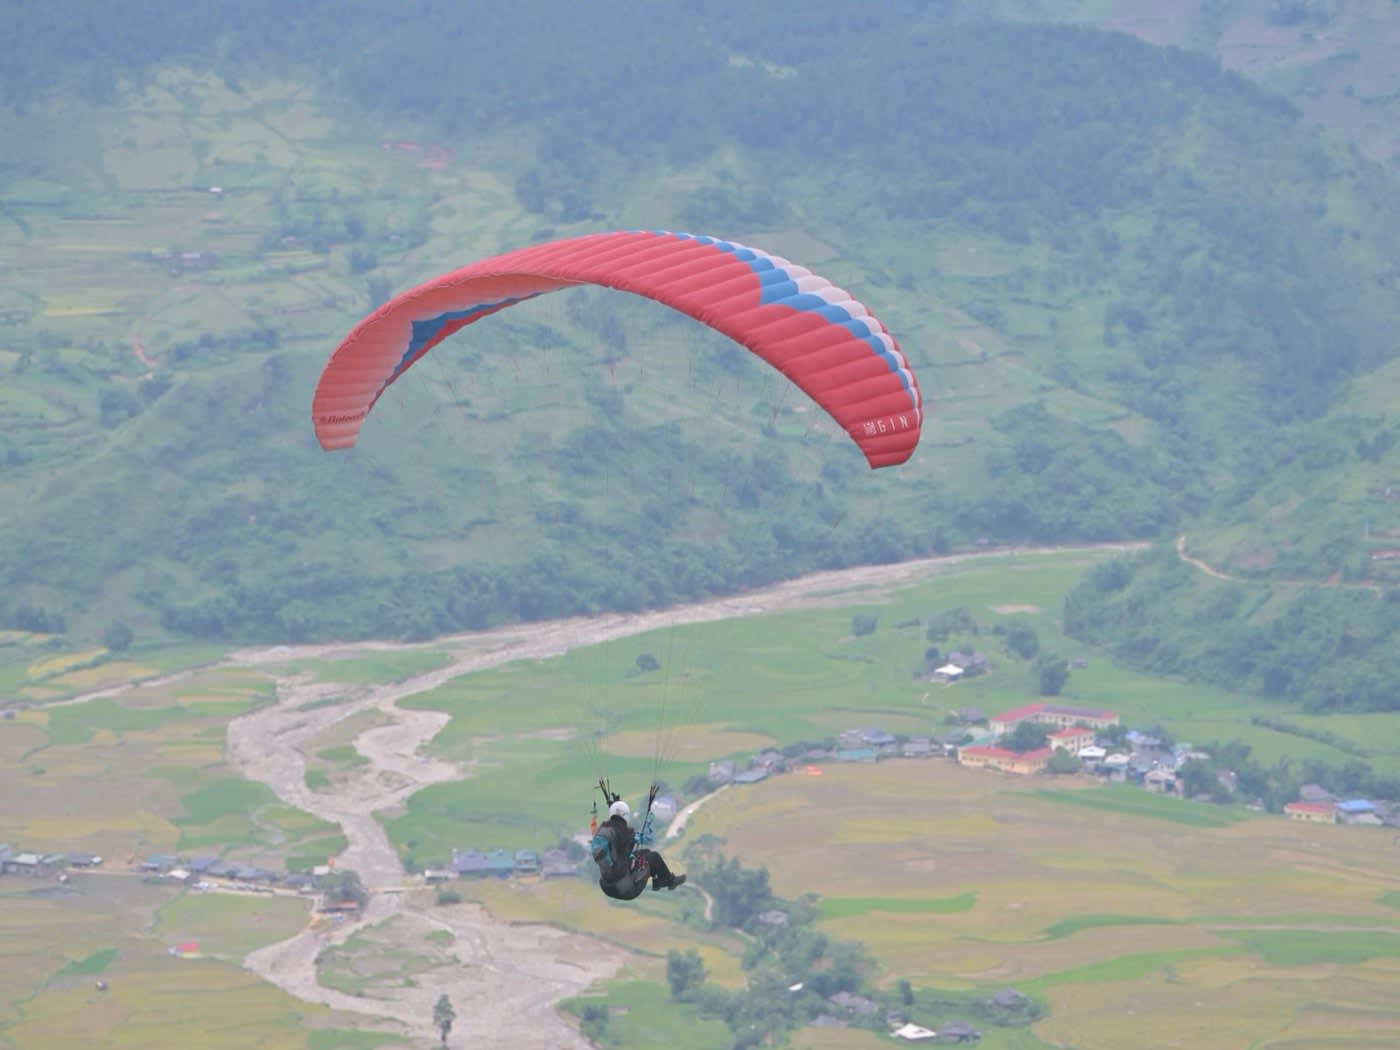
- Big ears and descent. Before pulling the outer A-lines, release or stow the brakes following the safety procedure; hold the ears and steer by weight shift; add the speed bar in the order the instructor teaches; reopen the wing correctly. Practised only at a safe height above the terrain set by the instructor; knowing when big ears help you come down quickly and safely.
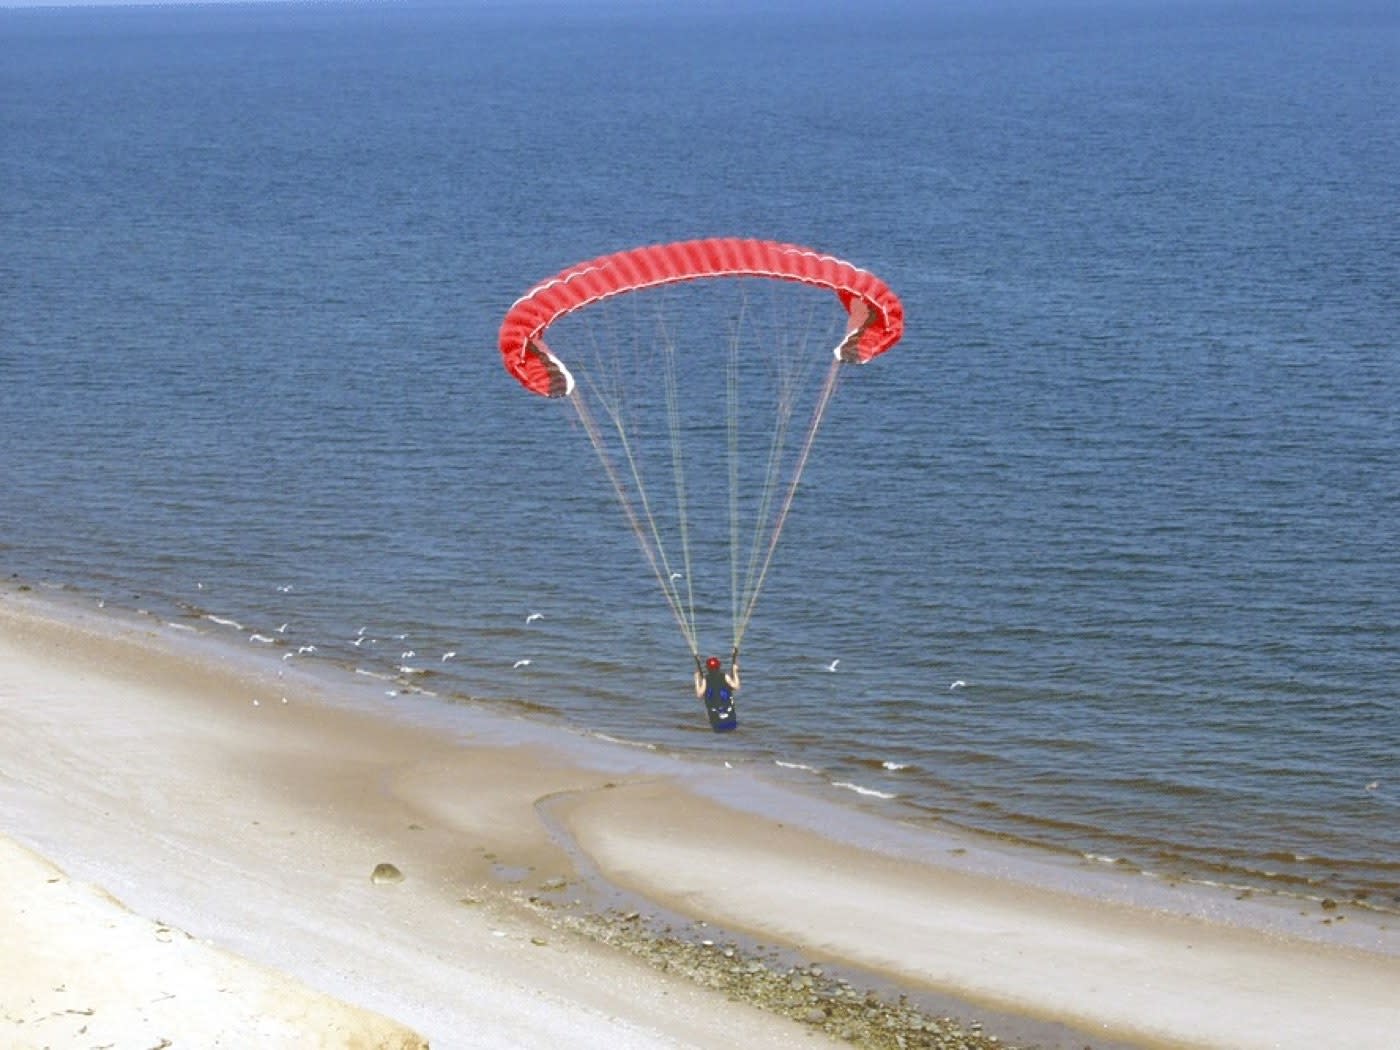

- Ridge soaring. Recognising ridge lift when the wind blows onto the slope; flying figure 8s in the lift band; ridge right-of-way rules (the pilot with the slope on their right has priority); keeping clear of the slope and always keeping a way back to the landing field.

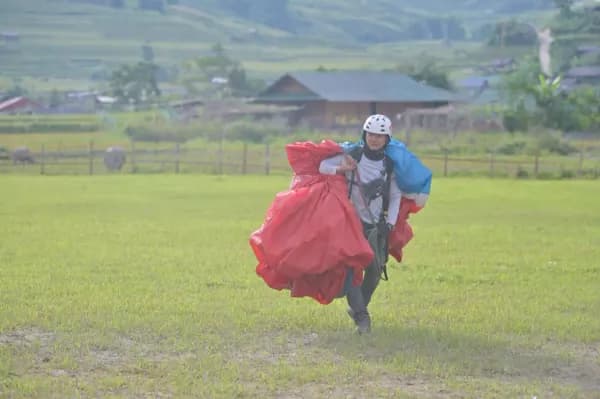
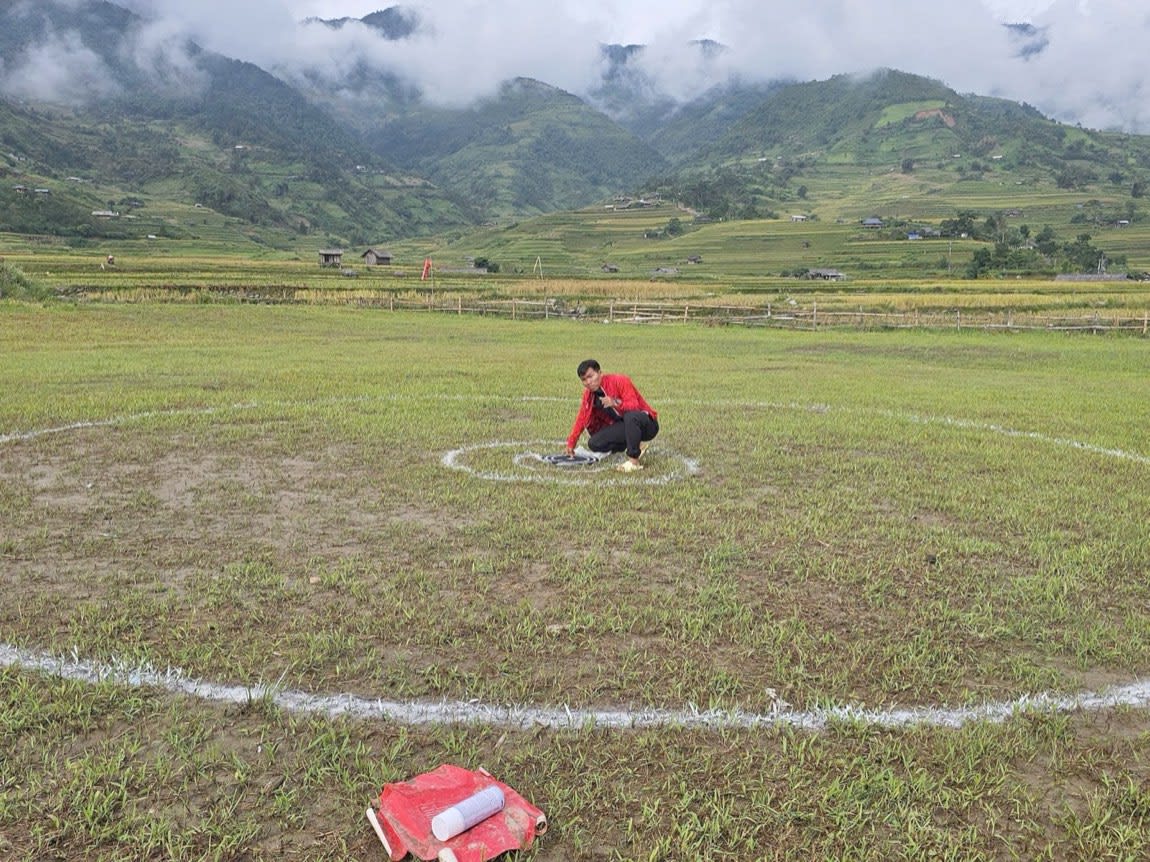
- Active landing. The U-shaped landing pattern (downwind – base – final); choosing your turning points for the day's wind; adjusting height within the pattern; precision landing in the area the instructor sets.


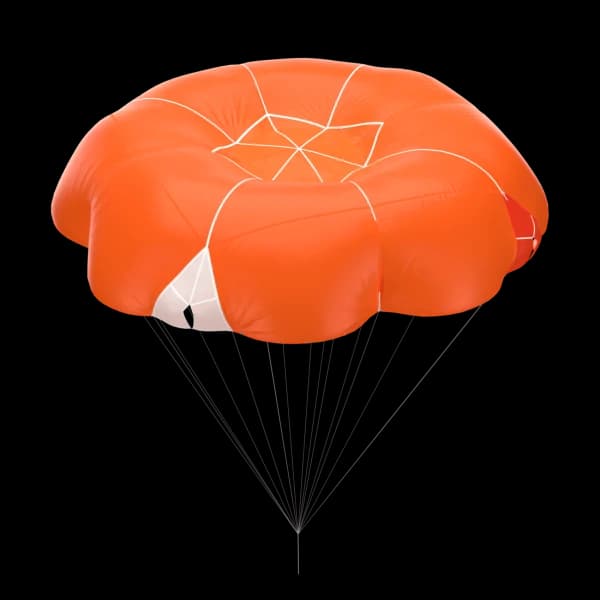
- Supporting theory. Causes of collapses and stalls and how to prevent them; the reserve parachute and when to throw it; air law and collision-avoidance rules; assessing yourself and knowing when not to fly.
Safety first. Exercises in the air (pitch, roll, big ears, speed bar) are done only at a safe height, away from the slope, in smooth conditions and always with an instructor guiding by radio. Ridge soaring happens only when the wind blows steadily onto the slope and the instructor judges conditions suitable. The course does not include strong manoeuvres such as spirals, full stalls or large induced collapses — those belong to an SIV course over water.
Day-by-day plan
The standard plan runs 6 days, with day 7 kept for weather or extra flying. Paragliding depends on the weather, so the order of the exercises may change with each day's wind; on days you cannot fly, you do theory and ground handling.
| Day | Content |
|---|---|
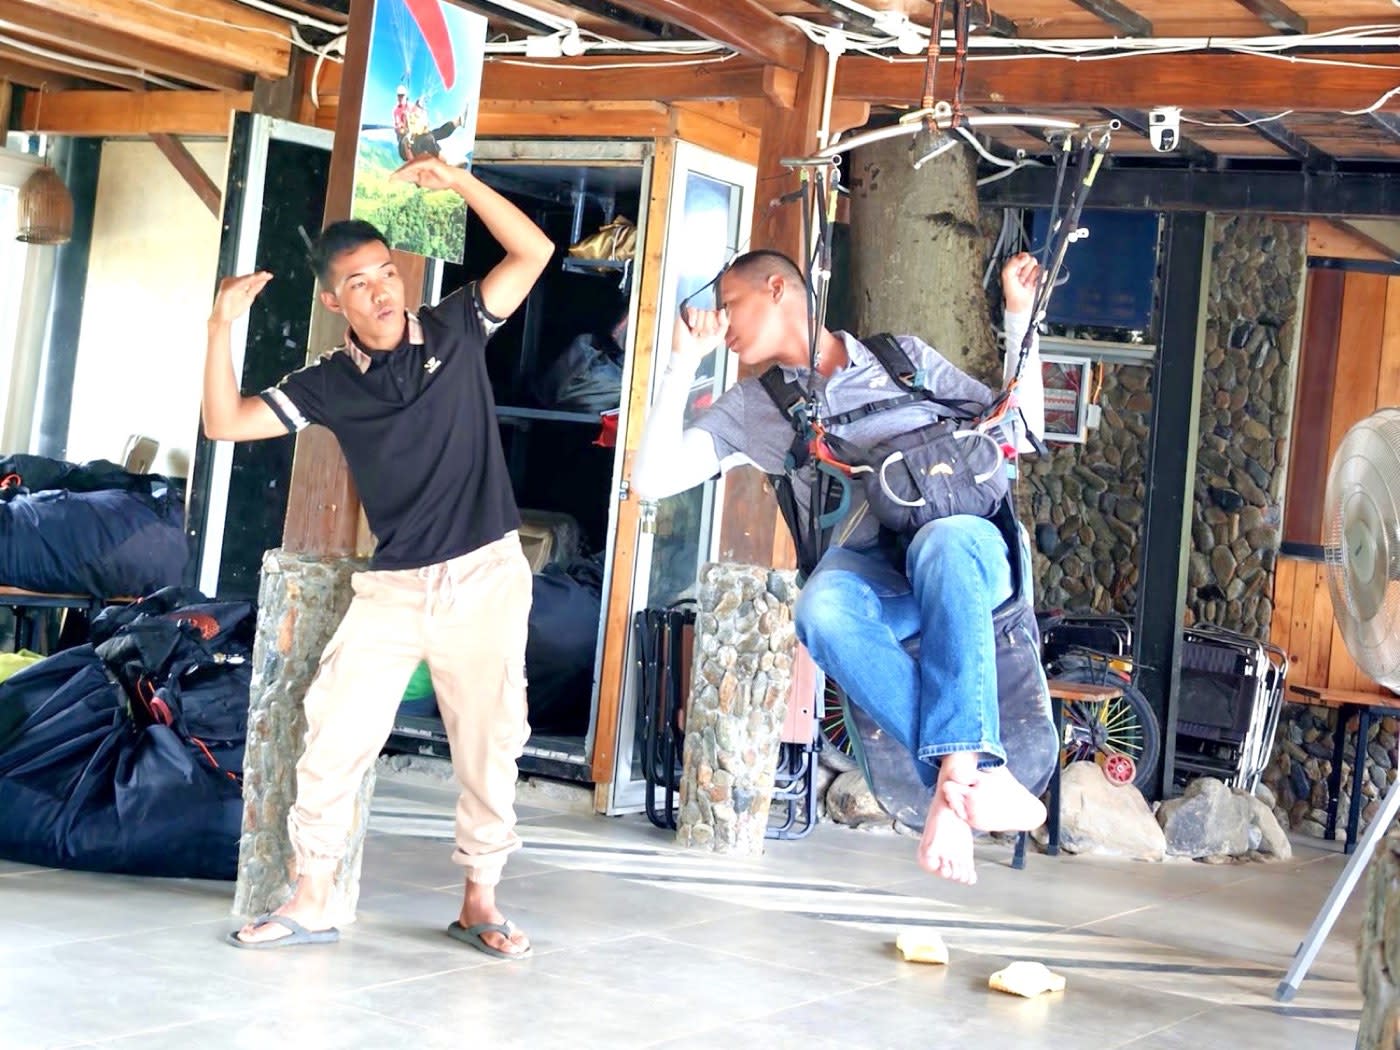
| Day 1 | Assessment and advanced ground handling. Logbook review and a talk about your experience; ground handling with forward and reverse inflations, holding the wing overhead, correcting it; pre-flight check review; a simulator session (harness rig) to adjust your posture and get used to the harness; safety theory: collapses, stalls, when and how to throw the reserve, with a reserve-handle drill on the simulator; then one check flight in calm conditions so the instructor can assess your level. |
| Day 2 | Active launching, speed range. Theory: Khau Pha valley weather, flight planning. At launch: inflating to suit the wind, go or abort decisions. In the air: minimum sink, best glide, coordinated turns. |
| Day 3 | Wing control, landing pattern. Pitch and roll exercises at a safe height; active piloting; the U-shaped landing pattern, landing in the set area. |
| Day 4 | Big ears, speed bar, precision landing. Big ears with weight-shift steering, combined with the speed bar; a quick recap of emergency procedures; precision landing on a target. |
| Day 5 | Ridge soaring. Theory of ridge lift and right-of-way rules; launching when the wind blows steadily onto the slope, figure 8s in the lift band under instructor guidance, leaving the lift for the landing field as planned. |
| Day 6 | Combined flights, final assessment. You plan and fly each flight yourself: active launch, exercises in the air, precision landing. Debrief, logbook entries and a plan for further practice towards the P3 exam. |
| Day 7 (reserve) | Makes up for a bad-weather day or adds flights on weaker skills. |
Students who progress well in good weather can finish in 5 days. Ridge soaring depends on the wind: if no suitable day comes during the course, the instructor covers the theory and prepares you to practise it when conditions allow on later visits.
Can I take the P3 exam afterwards?
The P2–P3 course teaches skills and does not issue a licence. It prepares you for the P3 exam (IPPI/APPI level-3 skills): after the course you need more flying so the skills become habits. When the instructor judges that you have enough skill and experience, you register directly for the P3 exam. How long that takes depends on the person and on the flyable days; at the final debrief the instructor tells you exactly what is still missing.
Fee and what is included
15,000,000 VND per student Included: • Accommodation at the Mebayluon Clubhouse, beside the landing field, for the whole course • Direct instruction and radio supervision • 10–20 guided flights during the course (20 at most); once the instructor judges it safe, on some flights you plan the flight and handle the launch and landing yourself — the instructor still monitors you by radio throughout; no flight is ever unsupervised • School flying equipment if you have none: a wing suited to your level, harness, helmet, reserve parachute, radio Bonus: 2–3 tandem flights with an instructor (weather permitting). Not included (at your own expense): the daily ride up to the take-off, meals, drinks, travel. Group of two: 14,000,000 VND per person. Bring your own flying equipment (wing, harness, reserve): 3,000,000 VND off per student.
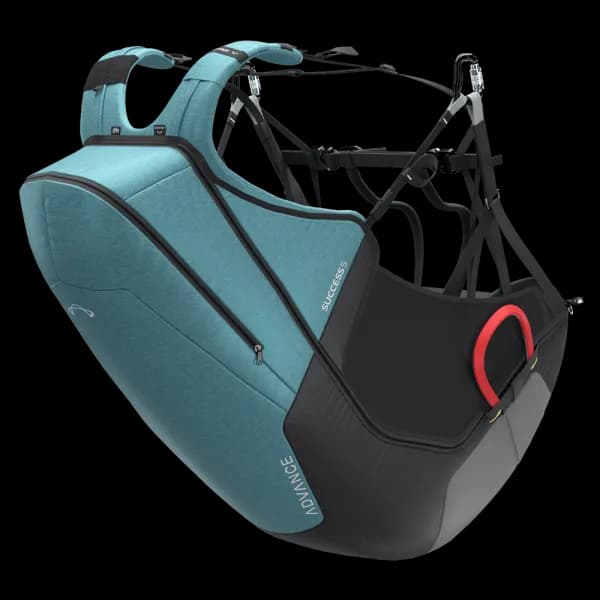
Condition for the own-equipment discount: a complete set suited to your level — an EN-A or low EN-B wing in good condition (cloth and lines not aged, especially after years in storage), flown within its weight range; a harness with back protection; a reserve repacked within the recommended interval. The instructor checks everything on day 1; if any item is not safe, you use the school's equipment and the discount does not apply.
Location: Khau Pha only
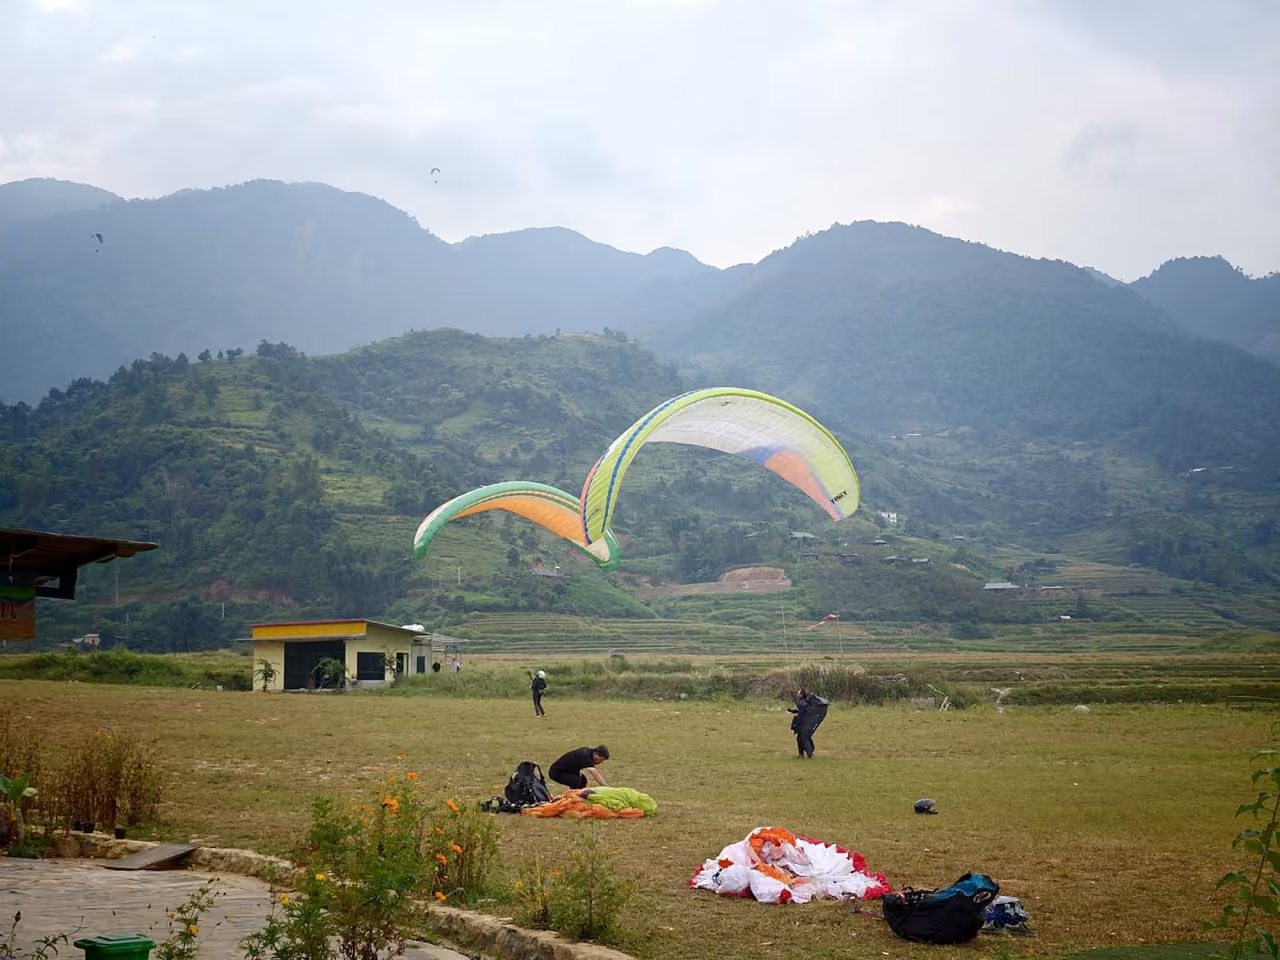
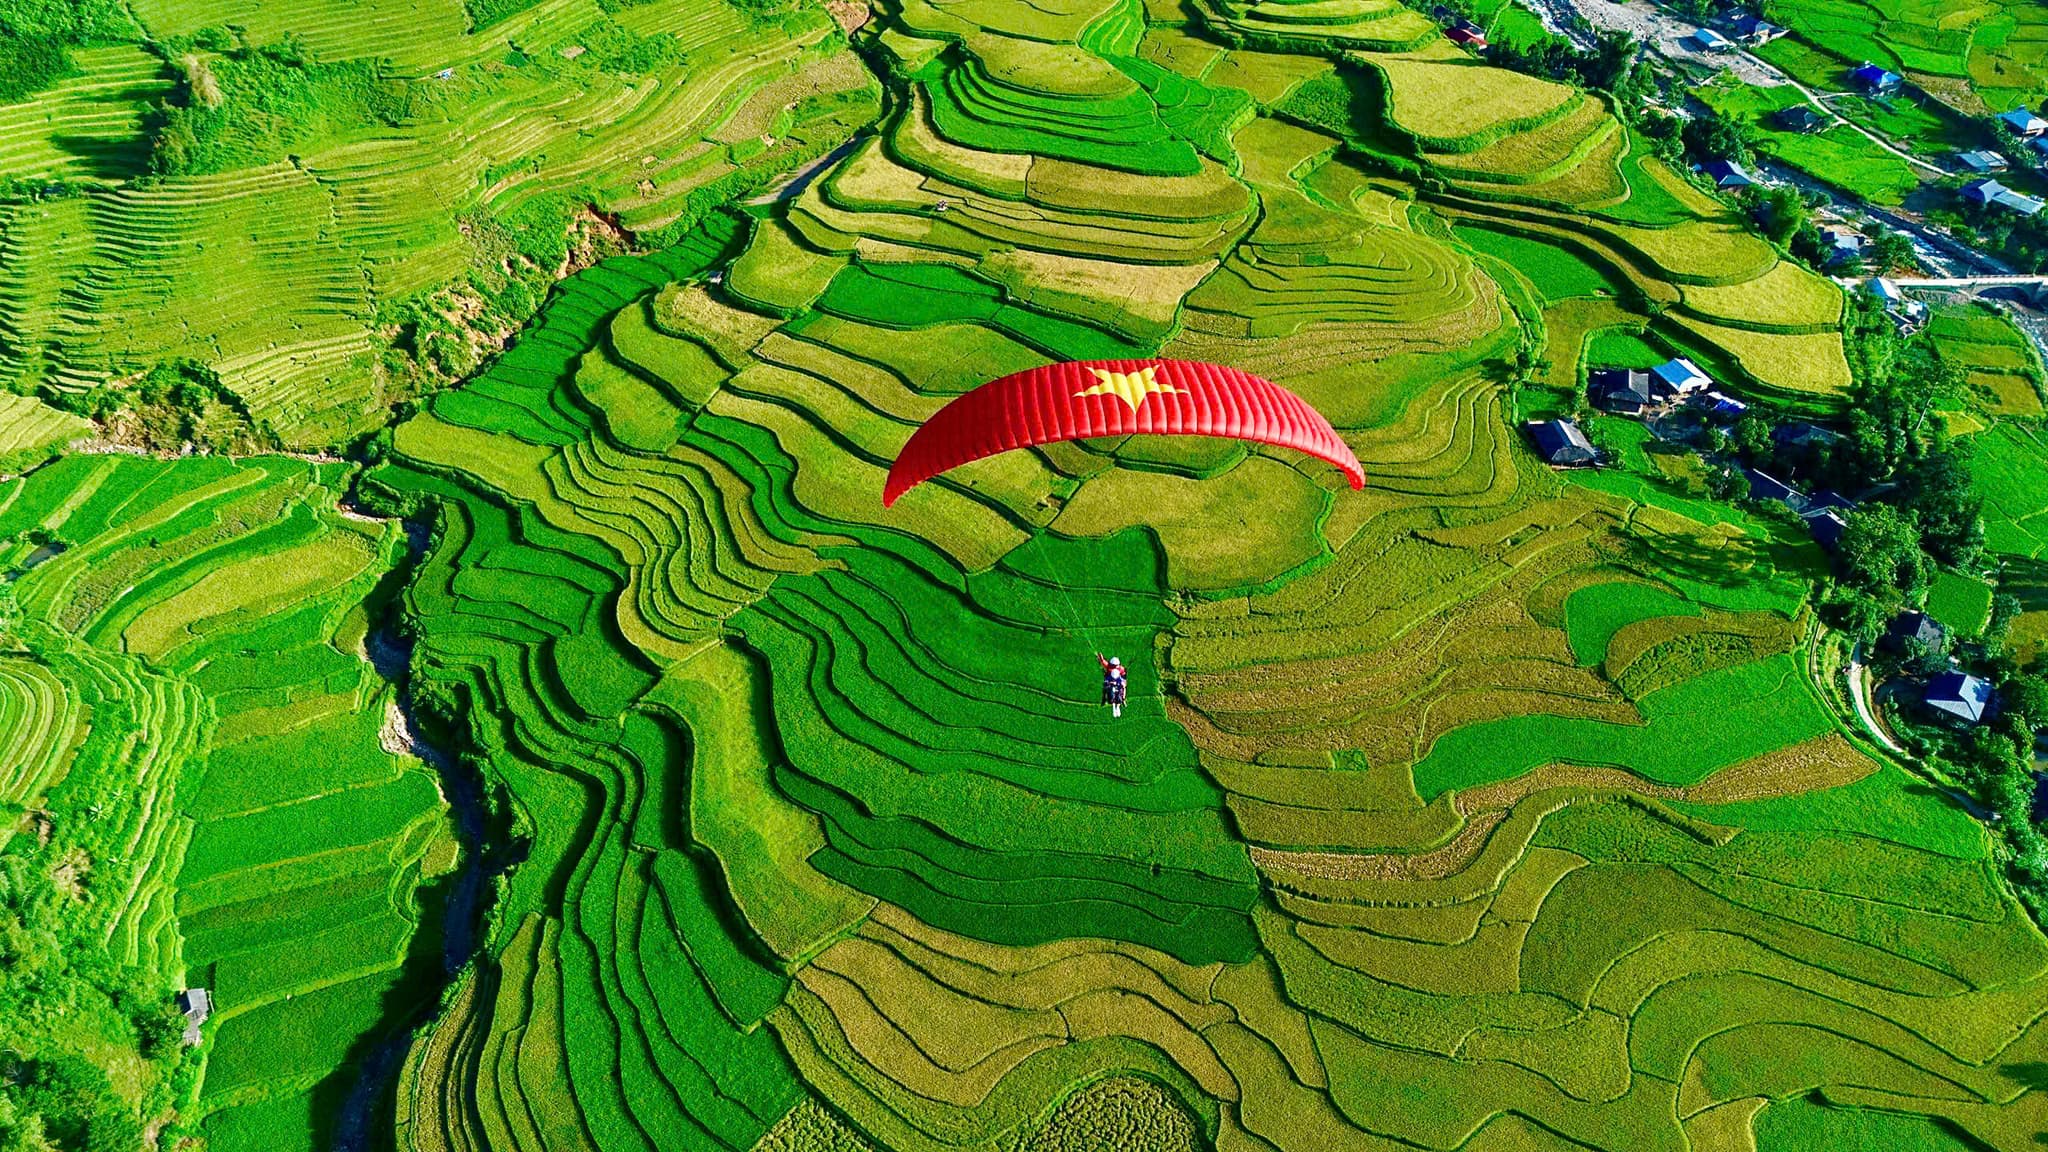
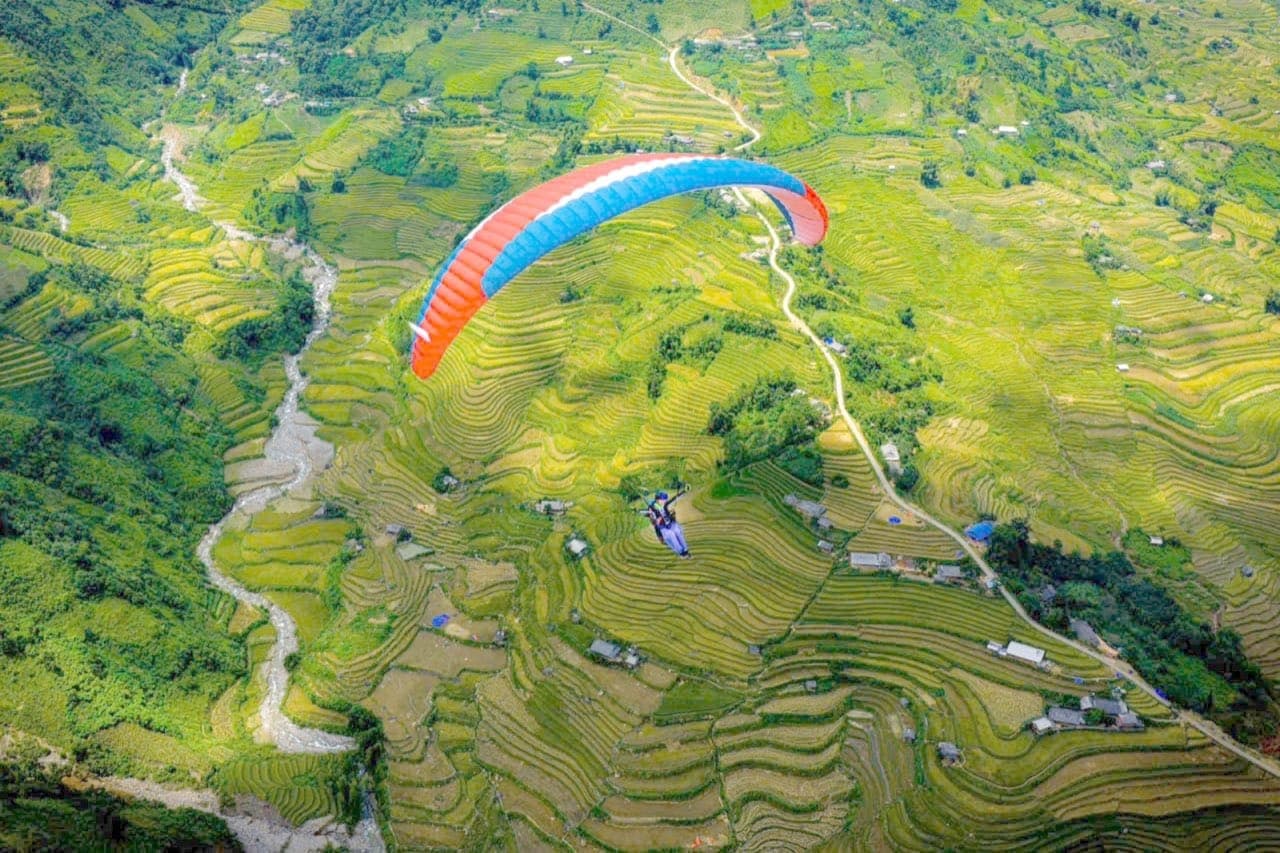
The course runs only at the Khau Pha Pass flying site in Mu Cang Chai: launch near the top of the pass at 1,268 m, right by National Road 32; landing in Lim Thai village, among the terraced fields of the Lim Mong valley. Students stay at the Mebayluon Clubhouse beside the landing field. Training field, launch, landing and accommodation are all close together, so when conditions are good you fly, with no travel time lost.
About the Khau Pha flying site →
Start dates
Taught one to one or in a group of two; the pace follows your progress, not a class average. The course runs 5–7 consecutive days: 5 if you progress well and the weather helps; 6–7 when a weather reserve day or extra time is needed. Start dates are flexible and arranged around you, not fixed intakes. Contact us in advance to confirm dates and reserve a room at the Clubhouse.
Frequently asked questions
I did P1–P2 at another school. Can I join? Yes. On day 1 the instructor looks at your logbook and assesses your actual skills, then adjusts the plan.
Does the course teach thermalling? The course focuses on launching, landing, wing control and ridge soaring. Proper thermal flying is the next step, once these skills are solid.
When is the best season? The finest seasons at Khau Pha are the water season, when the terraces are flooded (May–June), and the ripe-rice season (September–October); other months still have good flying days, and the instructor advises on dates based on the forecast.
What should I bring? Ankle-high shoes with good grip, long clothes, gloves, sunglasses; your logbook and your own flying equipment if you have them.
Can I take the course at another site? No. It is taught only at Khau Pha, where the training field, launch, landing field and accommodation are close together.