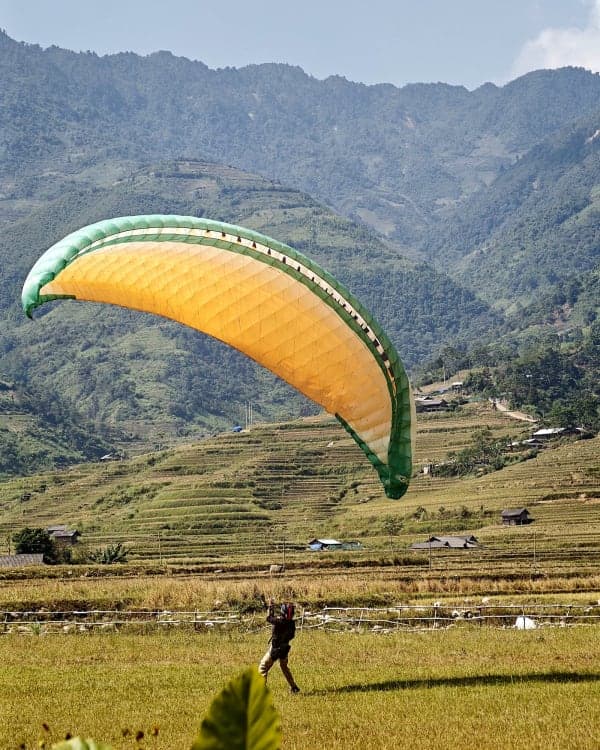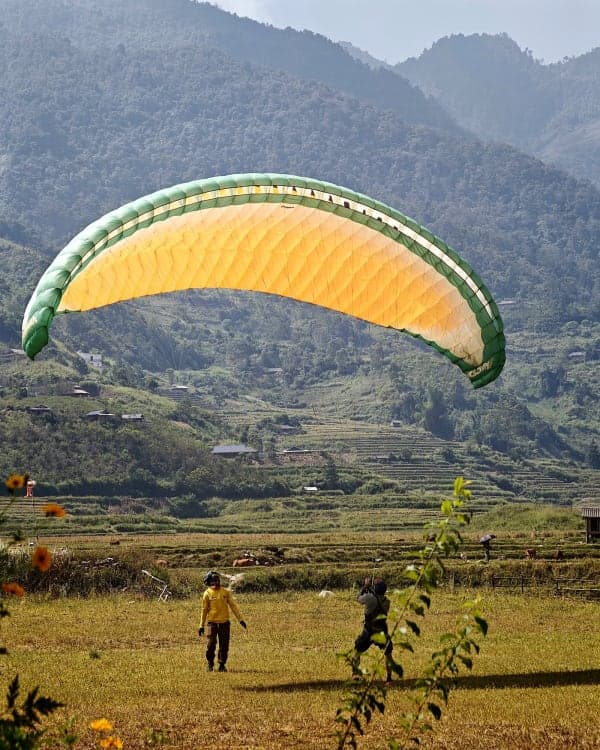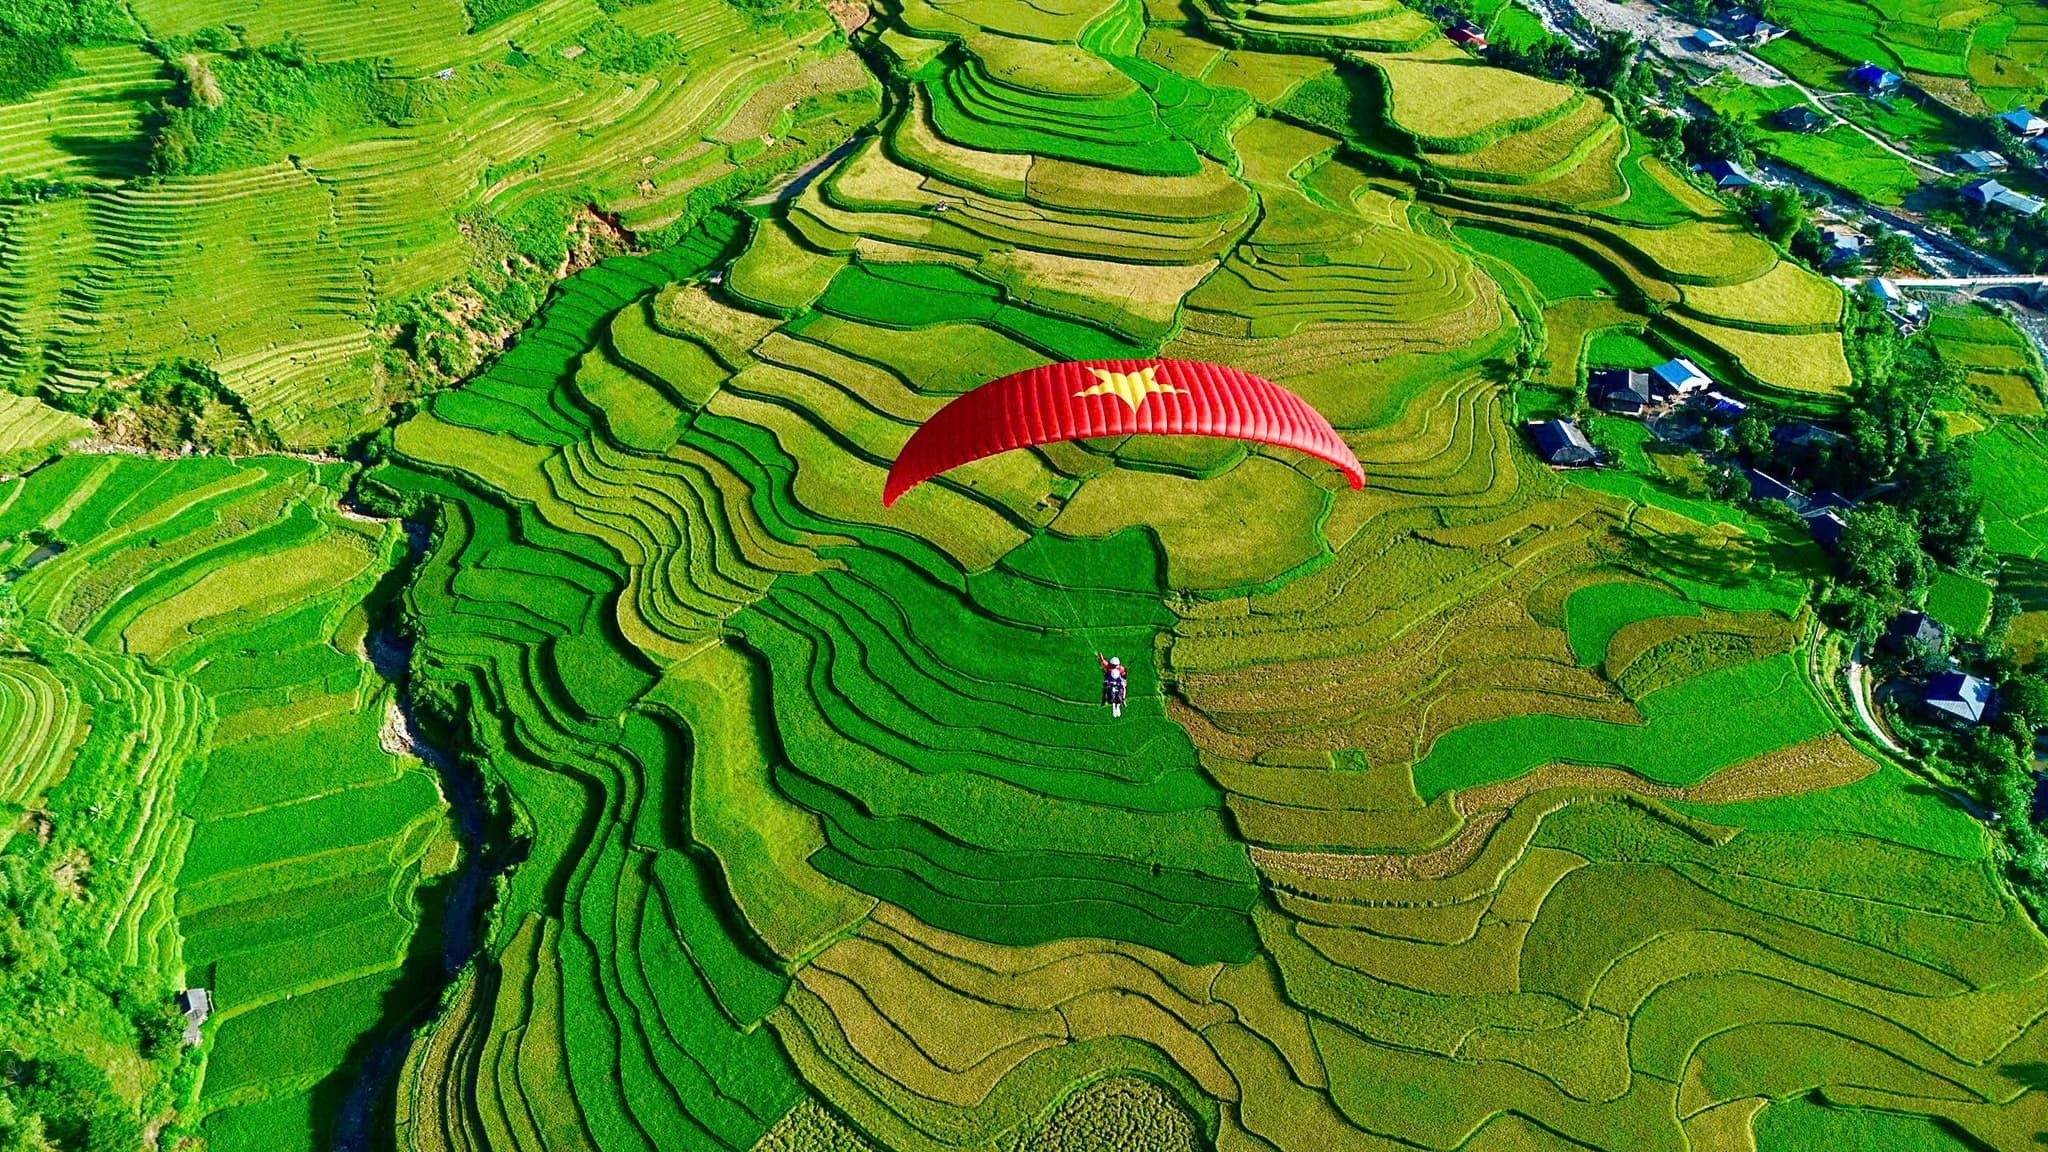
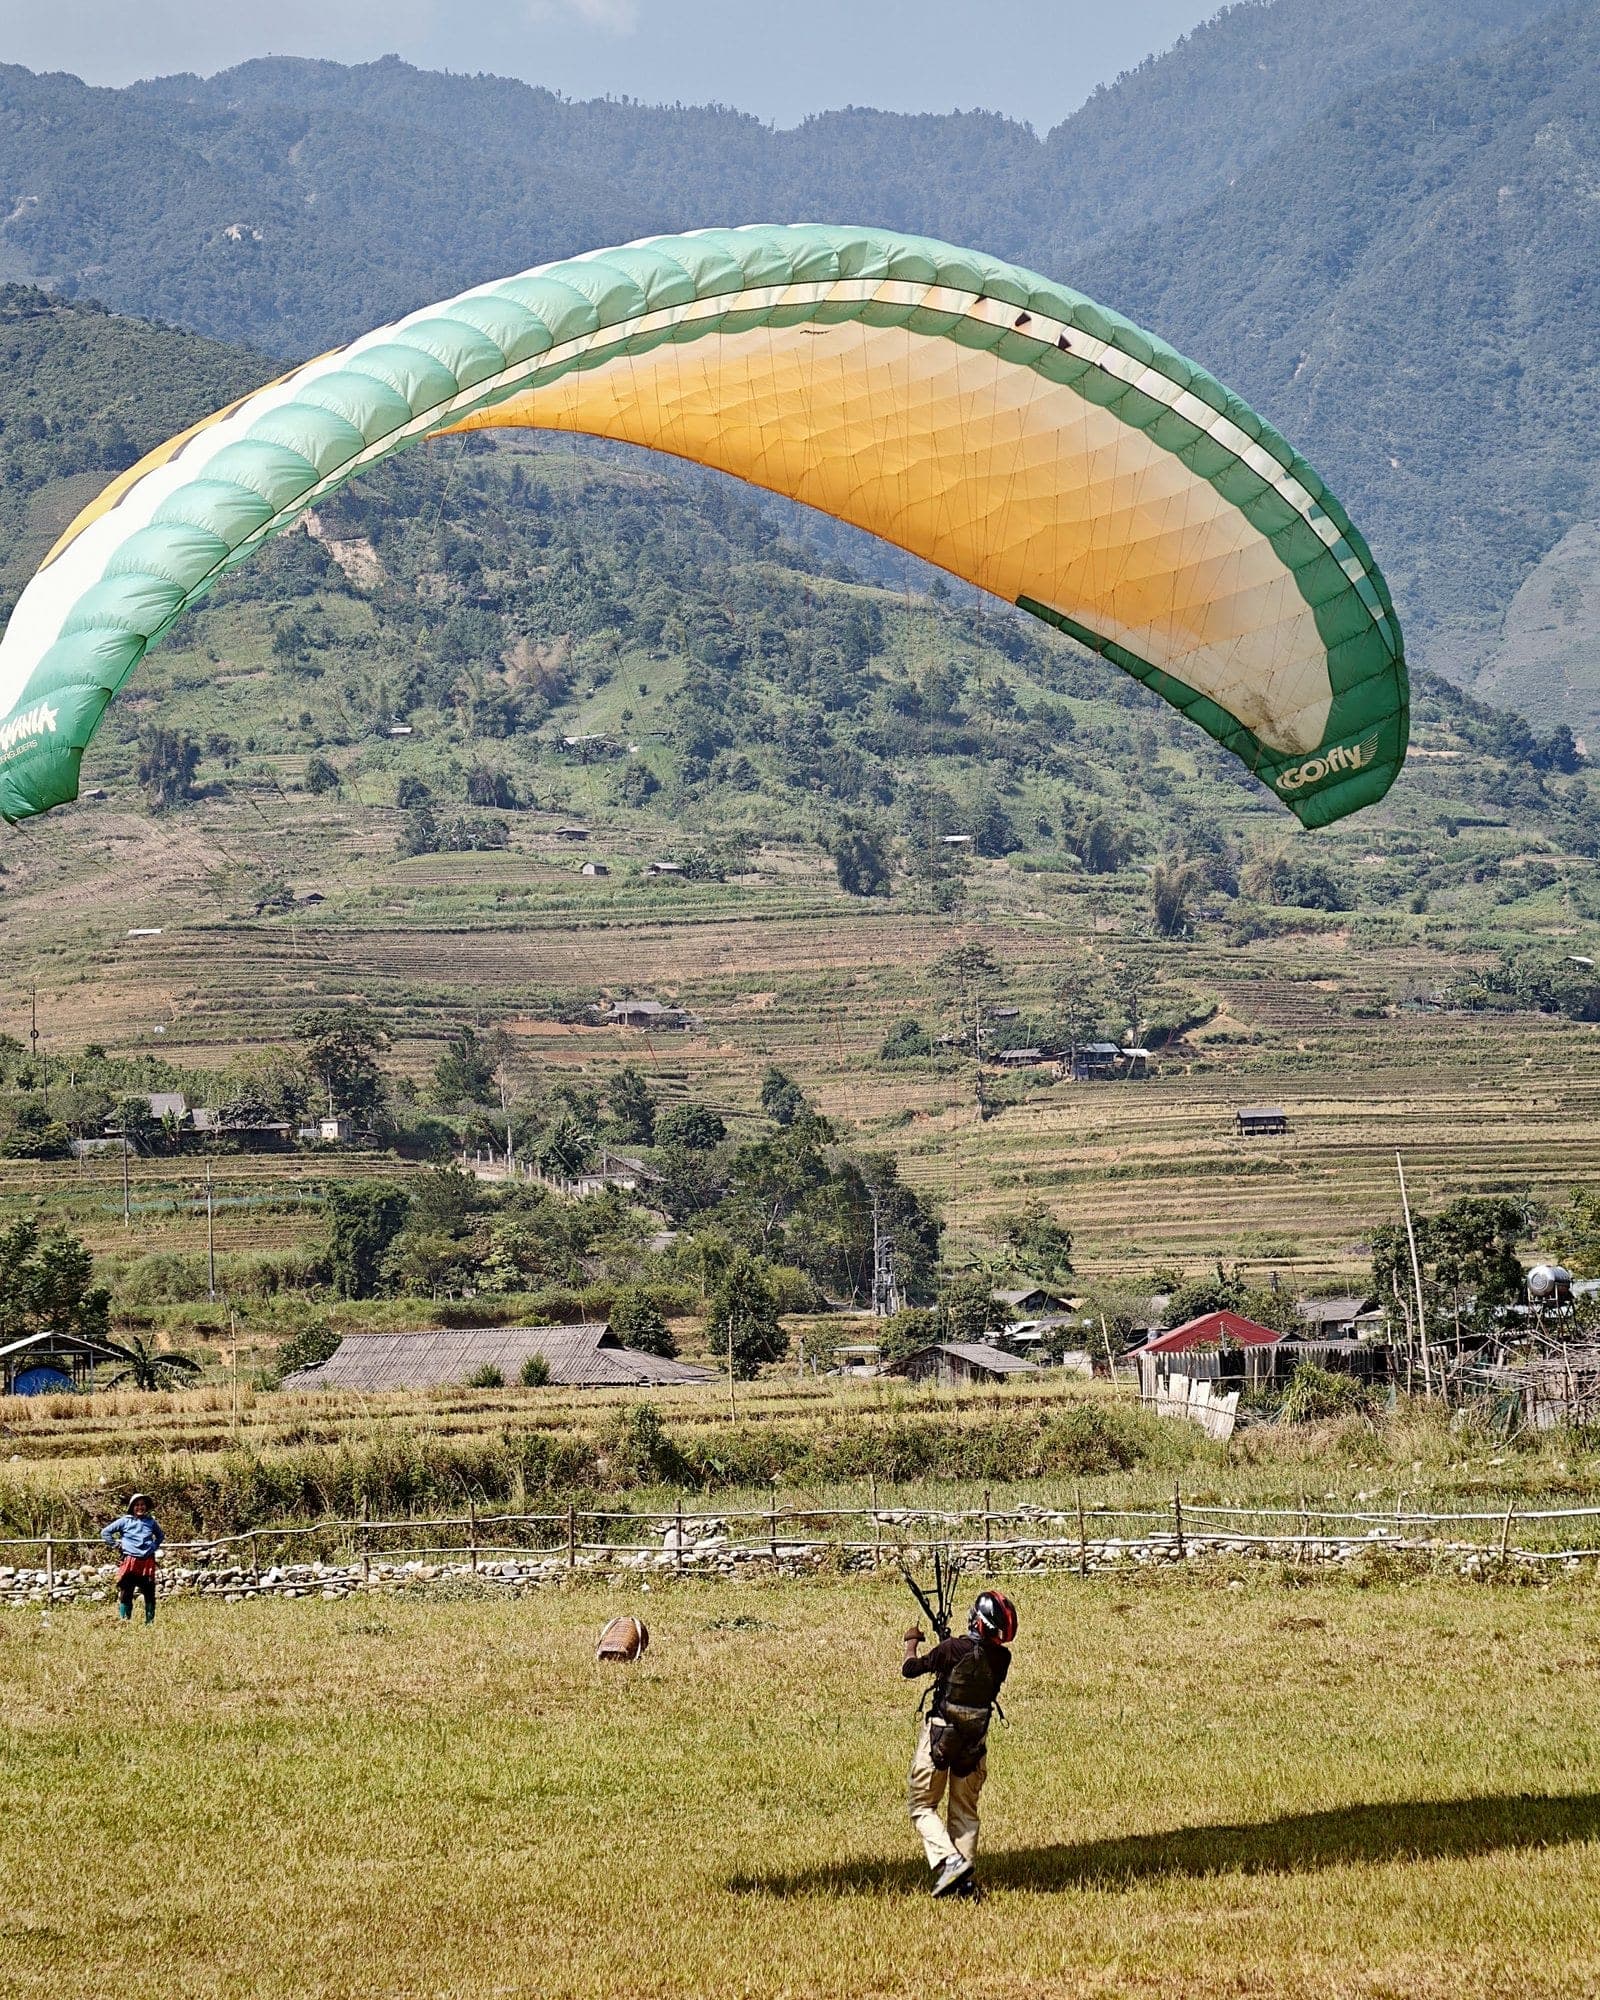
This is lesson 3 of a five-lesson series for students on Mebayluon's P1–P2 course, taught to the school's own standard (built on the APPI and IPPI syllabuses and adapted to Vietnam). It covers stage 3 (day 4, possibly continuing on day 5): low flights (P1) by hand tow. For the first time, your feet leave the ground.
Stage 2 recap. You can steer the wing on the ground, slalom, kill it in strong wind and pack it yourself (see day 3: slalom, killing and packing). Towed flights start only once stages 1 and 2 are passed. All of those skills are used today: inflating, checking the wing overhead, keeping it centred and killing it.
1. What hand towing is
Mebayluon does not use a training hill. Students make their first flights over flat ground: a crew pulls the student on a line about 10 m long, up to about 5–7 m, then lets them down. This keeps the height under control, allows many repetitions in a session, and the instructor is always right there. Each flight covers the full sequence: a simulated launch run, following steering commands, straight flight, landing posture and landing.
- Tow crew (usually 2–4 people) and crew leader: pull evenly, ease off and stop on the instructor's command.
- Instructor: picks the tow direction from the wind, checks the student and gives every command by voice or radio.
- Student: inflates and runs as in a real launch, steers on command and lands.
- The tow line is attached to the student's harness in the way the instructor shows and checks before every flight. Students never attach or detach it themselves.
2. The day 4 timetable
| Time | Content |
|---|---|
| 08:00–08:30 | Meet, warm up, briefing on commands and towing rules; theory if the instructor chooses the morning |
| 08:30–11:30 | Practice, 3 h: drills 1–3 (check, simulated run and abort, landing posture), then the first tows |
| 11:30–13:30 | Lunch, rest |
| 13:30–17:00 | Practice, 3 h 30: drills 4–6 (towed flights, steering on command, landing), instructor's exit check |
| 17:00–17:30 | Debrief, logbook (drill 7); theory if not done in the morning |
3. The theory you need
A towed flight has 6 phases: (1) the G-V-M-Đ-D-A-H check and attaching the tow line; (2) inflation, looking up to check wing and lines; (3) go or abort: wing centred, evenly inflated, lines clear, then go; anything wrong, abort at once; (4) the launch run, the crew tensions the line, your feet leave the ground; (5) straight flight at about 5–7 m on command; (6) the crew eases off, you stand up, brake near the ground and land on your feet.
Run until your feet leave the ground by themselves. Lean into the harness, take long strides and keep "running" even after your feet leave the ground. Never jump into the seat: the lines go slack, the wing loses power and you drop onto your bottom. Sit back slightly only when you are clearly flying; at hand-tow height, stay nearly upright so you are always ready to land.
Straight flight. Hands up or very light brake, eyes far ahead, not at your feet. To correct direction, pull that brake gently and release at once; the wing answers about one breath late. If you have drifted off line, landing into wind comes first; do not try to force your way back.
Landing. As the crew eases off and you start coming down: get out of the seat, stand upright, one foot ahead of the other. Keep your hands up so the wing keeps its speed. At about 1 m above the ground, or when the instructor calls "Brake", pull both brakes fully down, touch down on your feet and run on a few steps. Brake too early and the wing runs out of speed high up and drops; too late and you hit the ground fast. In stronger wind a full flare may not be needed; the instructor will say.
When to abort. The wing is off-centre or tilting beyond quick correction, the lines are tangled, a tip is folded, you stumble, or the instructor calls "Abort". How: full brakes or both C risers, move towards the wing, and the crew stops pulling and lets the line go slack. Aborting is the right call, not a failure.
4. The G-V-M-Đ-D-A-H pre-flight check
Before every flight, always in the same order, by eye and by hand, saying each letter aloud. If interrupted, start again from the top.
| Letter | Check |
|---|---|
| G | Gió (wind): direction and strength suitable for towing, as the instructor says |
| V | Vòm (wing): laid out correctly, facing into wind, no snagged lines |
| M | Mũ (helmet): on, fitted, strap closed |
| Đ | Đai (harness): left and right leg straps, chest strap, both carabiners locked, A riser at the front, no twists; tow line attached and checked by the instructor |
| D | Dây lái (brakes): correct hand and side, running freely through the pulley |
| A | All clear: run, tow path and airspace ahead clear, nobody on the line |
| H | Hướng quay (turn direction) for a reverse inflation: towards the riser that is on top where they cross |
5. Commands
The instructor gives commands by voice or radio; before the first session the class and the tow crew rehearse each one on the ground. Hear it, do it, ask afterwards.
| Command | What the student does |
|---|---|
| "Inflate" | Inflates, checks the wing overhead |
| "Run" | Launch run, leaning into the harness, until the feet leave the ground |
| "Left" / "Right" | Gentle pull on that brake, then release |
| "Cao tay" (hands up) | Release the brakes fully so the wing keeps its speed |
| "Stand up" | Out of the seat, one foot forward, ready to land |
| "Brake" | Full brakes near the ground, land on the feet, run on |
| "Abort" | Kill the wing at once (full brakes or C risers); the crew stops |
6. Towing safety rules
- Wind: tow only in a steady, light wind (as for ground handling, about 5–15 km/h), not gusty, blowing nearly straight along the tow line. The instructor measures it and decides.
- Tow line: nobody wraps it round hands or body; the crew holds it so they can let go instantly. Nobody stands on or steps over the line during a tow.
- The crew builds up and eases off gradually and stops at once on the instructor's call. No jerking.
- If the line suddenly goes slack (the crew stops): hands up to keep speed, stand up, look ahead and get ready to land into wind; no deep braking up high.
- The tow field is flat and clear of stones and obstacles; onlookers stay well away from the tow path and both sides. One student in the air at a time.
7. The seven drills
Drill 1. The pre-flight check
- Purpose: know G-V-M-Đ-D-A-H so well it needs no thought.
- How: harness on and connected as in part 1 → say each letter aloud, touching each buckle → the instructor re-checks and attaches the tow line.
- Reps: before every flight.
- Avoid: reciting without looking or touching; skipping letters when rushed; not restarting after an interruption.
- Passed when: all 7 letters correct before every flight of the day.
Drill 2. Simulated launch run and abort
- Purpose: practise inflate, check and run without leaving the ground, and abort decisively.
- How: tow line attached but the crew holds only light tension → "Inflate": inflate and look up to check → "Run": run 10–15 m, leaning into the harness → on some runs the instructor calls "Abort" without warning: full brakes or both C risers, move towards the wing.
- Reps: 5–8 times.
- Avoid: running before checking the wing; leaning back while running; half-hearted abort.
- Passed when: 3 correct runs and 2 correct aborts on command.
Drill 3. Landing posture and the parachute roll
- Purpose: have the right landing posture, and know how to roll after a hard touchdown to avoid injury.
- How: on grass, not yet clipped in: stand upright, one foot ahead, knees slightly bent, hands high as if on the brakes → simulated "Brake": hands down to the hips, run a few steps. Then practise the roll: feet and knees tight together, knees slightly bent, chin tucked, arms in → land on both feet together and roll sideways over calf, thigh, buttock and back.
- Reps: 10 posture runs, 5 rolls each side.
- Avoid: putting a hand down; landing on one foot; dropping onto your bottom.
- Passed when: correct posture and rolls to both sides without prompting.
Drill 4. The first towed flights
- Purpose: leave the ground for the first time, fly a short straight line and land on your feet.
- How: check (drill 1) → "Inflate" → check the wing → "Run": the crew builds up gradually and you run until your feet leave the ground → at first only 2–3 m, then gradually up to about 5–7 m once the instructor sees you flying steadily → hands up, eyes ahead → "Stand up", "Brake" → land and run on → kill the wing, gather the lines.
- Reps: 4–6 flights in the morning.
- Avoid: jumping into the seat; looking at your feet; braking while climbing; standing up too late.
- Passed when: 3 flights in a row leaving the ground running and landing on the feet.
Note: everyone is nervous on the first flight. Breathe steadily and follow each command; the instructor and crew are right there.
Drill 5. Straight flight and steering on command
- Purpose: keep the wing flying straight at about 5–7 m and make small corrections on command.
- How: towed flight as in drill 4 → at height, the instructor calls "Left" or "Right": gentle pull on that brake for 1–2 seconds, then release → "Cao tay" (hands up) → land.
- Reps: 4–6 flights in the afternoon.
- Avoid: pulling deep and long; mixing up left and right; holding brake after "Cao tay" (hands up).
- Passed when: 3 stable straight flights, each with at least 2 steering commands done correctly.
Drill 6. Landing into wind on the feet
- Purpose: brake at the right moment, touch down softly on the feet and run on.
- How: at the end of every towed flight: "Stand up" → hands up, one foot forward, eyes ahead → at about 1 m or on "Brake": both brakes fully down → touch down, run a few steps → kill the wing (as in stage 2).
- Reps: every flight of the day.
- Avoid: braking too early (the wing drops); touching down still seated; stopping dead instead of running; looking down.
- Passed when: 5 correct landings on the feet without falling.
Drill 7. End-of-day logbook
- Purpose: review each flight yourself and know what to fix.
- How: note the number of flights, the height the instructor gave, what went well and one thing to fix for each → the instructor reads and signs.
- Reps: every evening.
- Avoid: vague notes; leaving out the bad flights.
- Passed when: every flight is logged and signed by the instructor.
8. Stage 3 exit standard
The instructor checks each line and signs the logbook. Any line not met is practised on day 5 before stage 4.
| # | Criterion | Checked by |
|---|---|---|
| 1 | Correct G-V-M-Đ-D-A-H before every flight | Drill 1 |
| 2 | Checks the wing overhead before running; decisive abort on command | Drill 2 |
| 3 | Landing posture and rolls to both sides | Drill 3 |
| 4 | Leaves the ground running, no jumping into the seat | Drill 4 |
| 5 | Stable straight flight at about 5–7 m, steering commands followed: 3 flights | Drill 5 |
| 6 | Lands into wind on the feet, braking on time: 5 landings | Drill 6 |
| 7 | At least 8 successful towed flights in total | Logbook |
| 8 | Can explain the 6 phases of a towed flight, when to abort, why not to jump into the seat | Oral |
| 9 | Attitude: acts on commands at once, does not fly when unsure | All day |
9. Kit, health and mindset
Kit and health as in the days 1–2 lesson: helmet, ankle boots, gloves, long sleeves and trousers, plenty of water, rest between rounds. One thing more today: nerves on your first time off the ground are normal. Follow each command and tell the instructor if you are not ready; nobody makes you fly when you are unsure.
10. The next stage
With stage 3 passed, you move on to stage 4: the hanging simulator, flight planning, weather and risk warnings, then your first high flight.
Want to train on this roadmap? See the full P1–P2 fast-track course (5–7 days) at Khau Phạ, or book and ask an instructor directly.
Book · contact an instructor →
The P1–P2 course series:
- Days 1–2: ground handling
- Day 3: slalom, killing and packing
- Day 4: first flights by hand tow (this article)
- Day 5: hanging simulator and first high flight
- Day 6: P2 consolidation flights
Frequently asked questions
Why hand towing rather than a training hill?
Hand towing over flat ground keeps the height under control (about 5–7 m), allows many flights in a session and keeps the instructor right beside the student.
How high do I fly?
Only 2–3 m at first, then gradually up to about 5–7 m on a roughly 10 m line, once the instructor sees you flying steadily.
What if the crew stops suddenly?
The wing keeps flying. Keep your hands up for speed, stand up, look ahead and land into wind as usual; no deep braking up high.
Do I sit in the harness?
Only lean back slightly once clearly flying. At hand-tow height, stay nearly upright and stand up fully before landing.
What counts as passing stage 3?
All 9 criteria in section 8, including at least 8 successful towed flights and 5 correct landings on the feet.
This is Mebayluon's student handout for stage 3 and does not replace training with an instructor. To book the P1–P2 course at Khau Phạ: learn to paraglide in Vietnam.