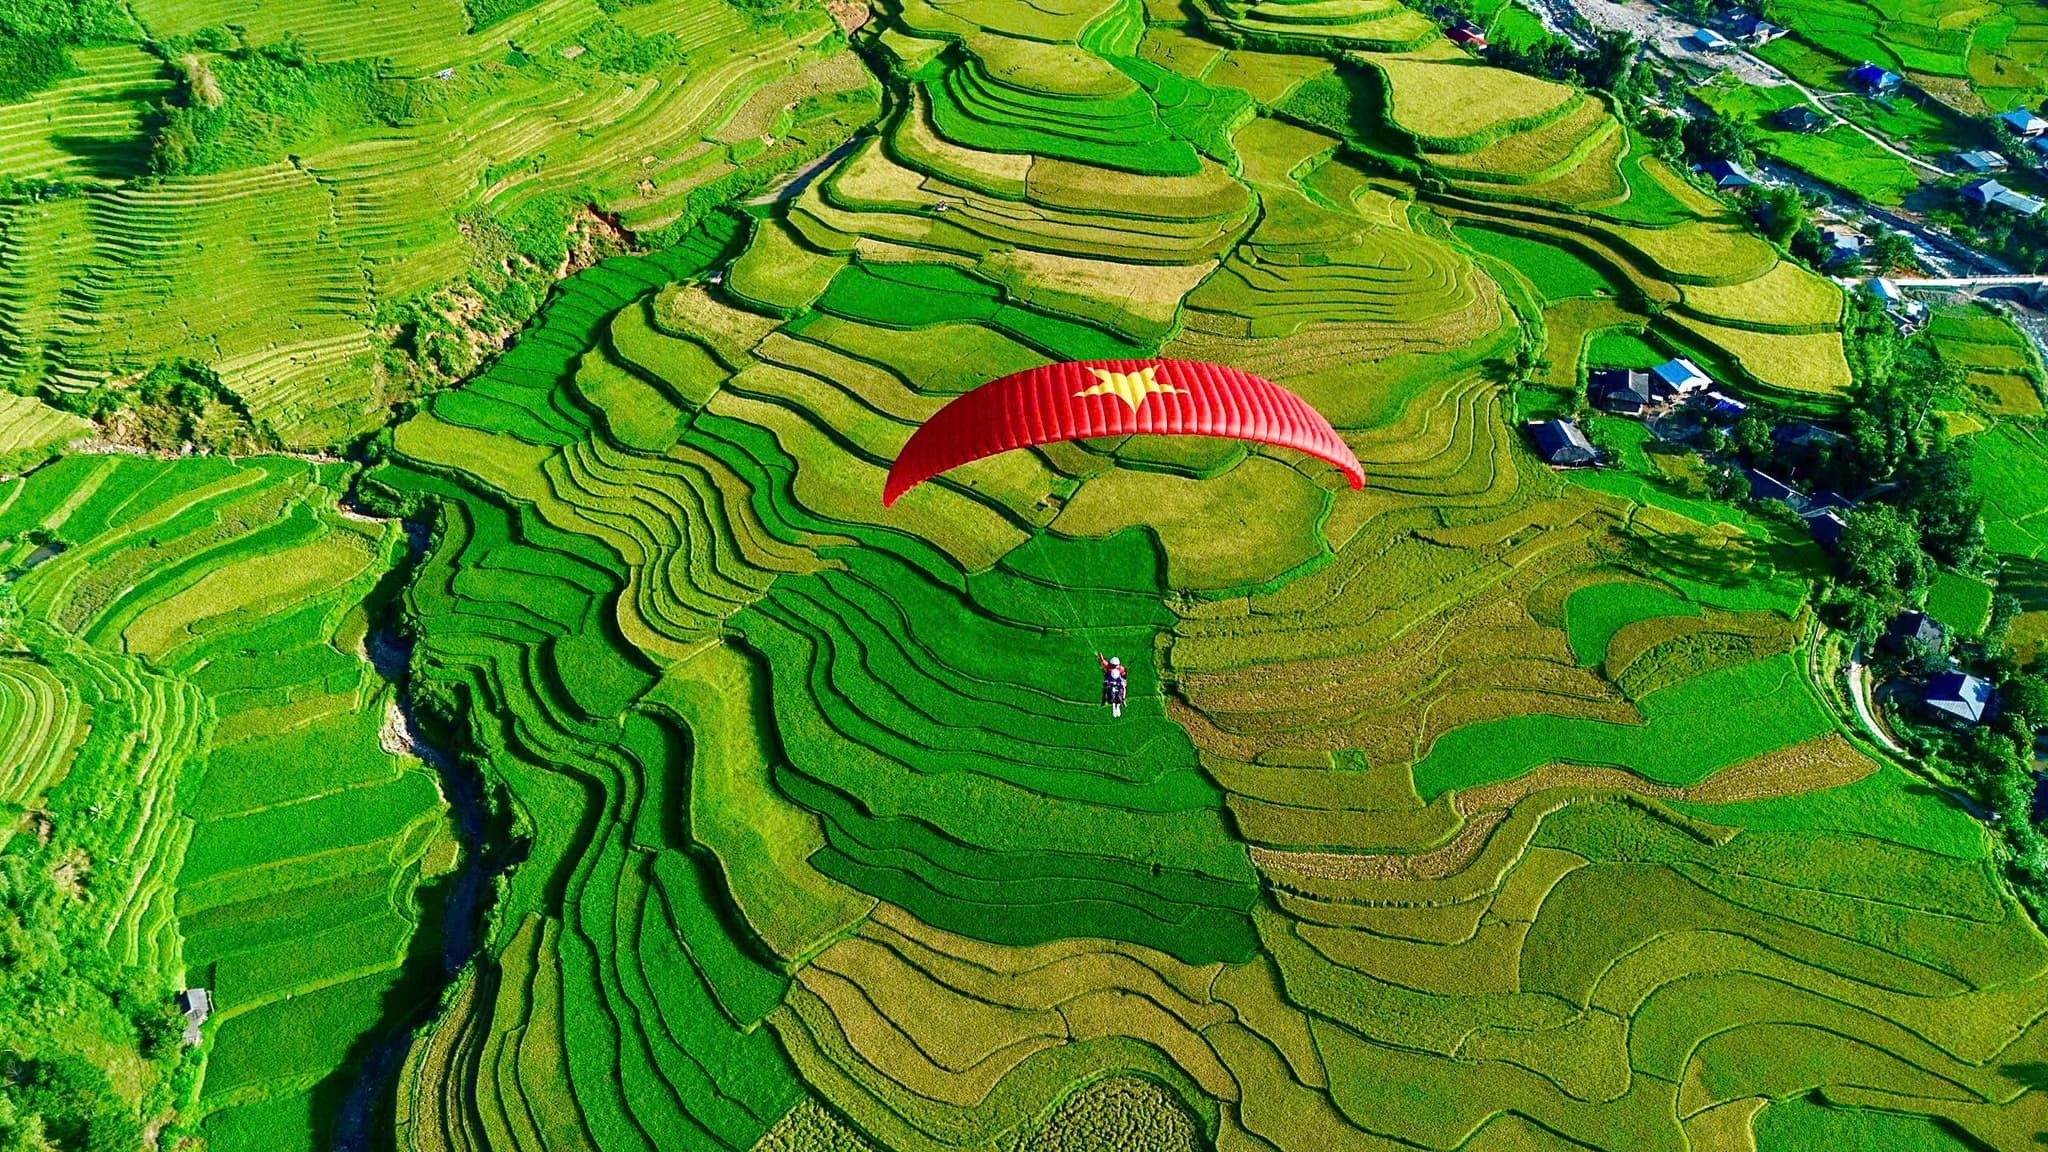
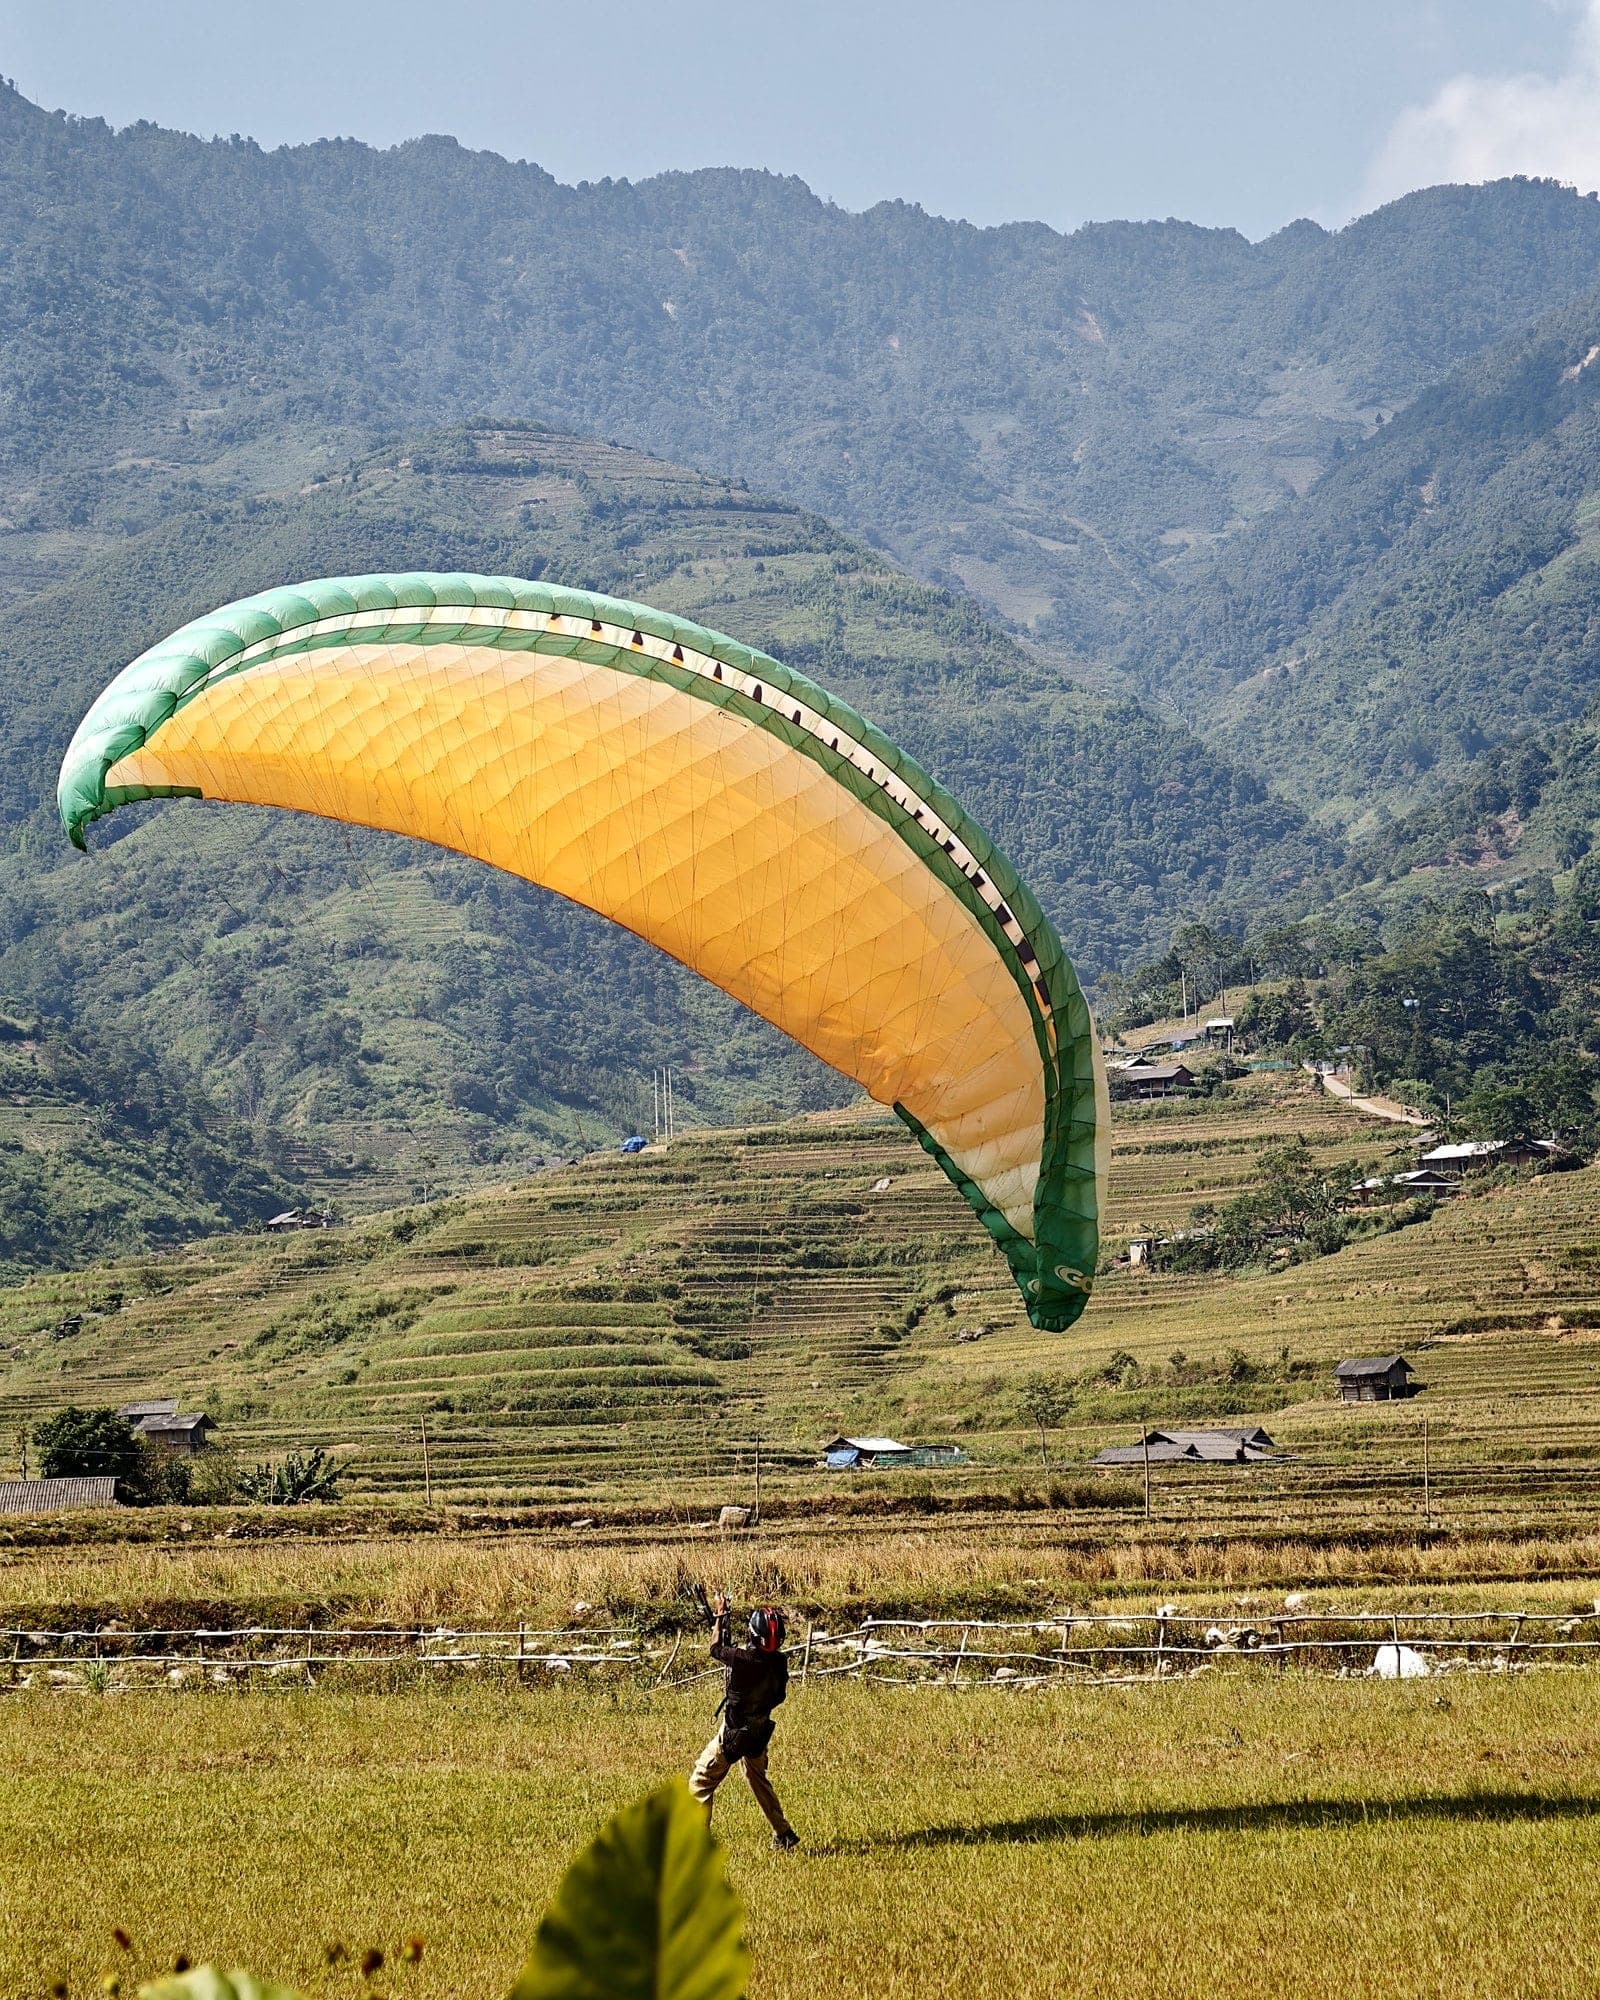
This is lesson 2 of a five-lesson series for students on Mebayluon's P1–P2 paragliding course, taught to the school's own standard (built on the APPI and IPPI syllabuses and adapted to Vietnam). It covers stage 2 (day 3): inflation and active steering. Read it before the session and again in the evening.
Stage 1 recap. On days 1–2 you learned to connect correctly, lay out, inflate forward and reverse, keep the wing centred and bring it down on command (see days 1–2: ground handling). Day 3 starts only once the stage 1 exit standard is met. Today the wing no longer just stays overhead: you walk, change direction and steer it.
1. Stage 2 goals
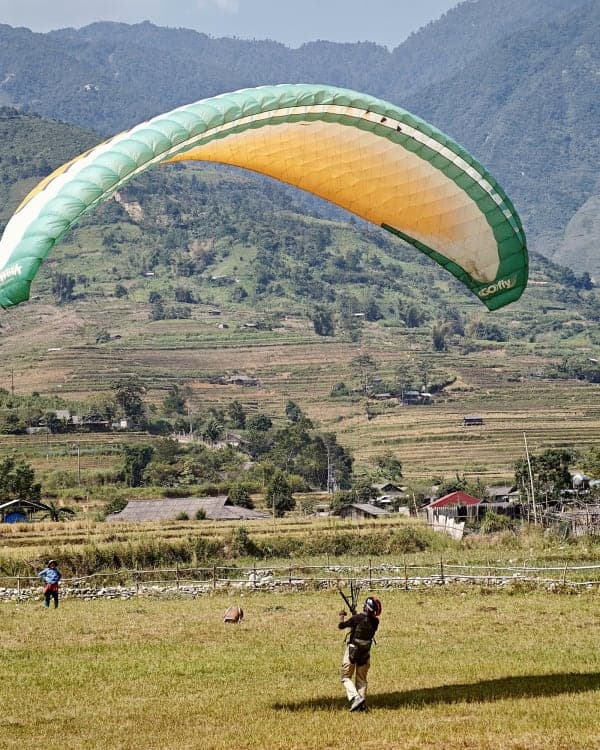
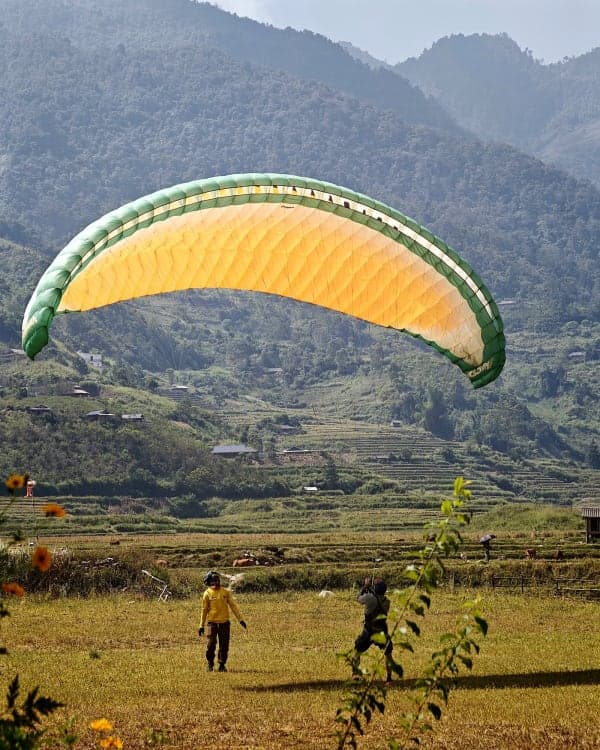
- Steer the wing on the ground with brakes and feet: walk straight, zigzag, then slalom round markers with the wing overhead.
- Steer in your chosen position (forward or reverse, depending on the wind); get familiar with the other one, and turn the correct way after a reverse inflation.
- Kill the wing (collapse it) decisively in strong wind or on command, and know how to stop if you are dragged.
- Gather, fold and pack the wing alone, without bending the leading-edge rods.
2. The day 3 timetable
| Time | Content |
|---|---|
| 08:00–08:30 | Meet, warm up, connect, 5 review inflations; theory if the instructor chooses the morning |
| 08:30–11:30 | Practice, 3 h: drills 1–5 (steering, forward and reverse slalom, turning round) |
| 11:30–13:30 | Lunch, rest |
| 13:30–17:00 | Practice, 3 h 30: drills 6–9 (kill, being dragged, gathering, packing), then the instructor's exit check |
| 17:00–17:30 | Debrief, logbook; theory if not done in the morning |
3. The theory you need
Steering with hands and feet. Pulling one brake lowers that side of the trailing edge, so that side slows and the wing turns and moves towards it. But the hands are only half of it: you must stay under the wing. Wherever the wing goes, step after it so you are always beneath its centre, then fine-tune with the brakes. Pull gently, pull early, release gradually; a deep, long pull can stall that side and make it drop.
Moving and stopping with the wing overhead. When you speed up, the wing tends to drop back: ease off the brakes. When you slow down or stop, it overshoots: brake lightly on both sides before you stop. So every change of speed should be gradual.
Reading the wing's feedback. The pressure in the brakes and harness tells you where the wing is before you see it: one hand suddenly going light means that side is dropping or collapsing; a steady rise in pull means the wing is surging. Glance up briefly, then look where you are going. The aim of day 3 is to steer by feel, not by sight.
Why slalom. Slalom means zigzagging round markers with the wing overhead. At every turn you look ahead to the next marker, brake before the turn, step after the wing and release as you come out. That is the same sequence you will use to steer in the air in later stages.
Why kill the wing fast in strong wind. A wing full of air can pull you along, knock you over or lift you off your feet. To take its power away you destroy its wing shape: pull both C risers (rear risers) so the trailing edge drops and the wing falls back, or haul in one brake so it spins and falls to one side; at the same time move towards the wing to slacken the lines. The rule: decide early. As soon as the wing is about to get away from you, kill it; do not try to save it.
What gathering and packing protect. The leading edge of a modern wing has plastic rods that hold the shape of the cell openings. Bend them repeatedly and the leading edge deforms and the wing gets harder to inflate. Packing properly also keeps the lines tangle-free, the fabric unscuffed and the next layout quicker. Do not leave the wing in the sun when not in use, as UV ages the cloth; if it is wet, dry it in the shade before storing it for long.
4. The nine drills
Drill 1. Kiting in a straight line
- Purpose: keep the wing overhead while you move.
- How: inflate forward or reverse depending on the wind → steady it in the centre → walk slowly 20 m in the direction the instructor shows, always under the centre of the wing → brake lightly on both sides, then stop → bring it down.
- Reps: 10 runs.
- Avoid: staring at the wing and wandering off line; stopping dead without braking (the wing overshoots).
- Passed when: covers 20 m without the wing falling, 5 runs in a row.
Drill 2. Zigzag on command
- Purpose: change the wing's direction on purpose for the first time, with brakes and feet.
- How: walking with the wing overhead, the instructor calls "Left" or "Right" every 5–10 steps → look in the new direction → pull that brake gently → step after the wing → once it points the right way, release and walk on straight.
- Reps: 10 runs, 4–6 changes of direction each.
- Avoid: using only your hands without stepping; pulling so deep that side drops; forgetting to release so the wing keeps turning.
- Passed when: 6 correct changes of direction in a row with the wing still overhead.
Drill 3. Forward slalom round markers
- Purpose: steer the wing along a set course, continuously and smoothly.
- How: the instructor sets 4 markers as in the diagram: 10–20 m apart front to back, 5–10 m left to right (wide at first, then narrower) → forward inflation at the start line → pass outside each marker, braking before you reach it, not when you are level with it → at the finish, brake lightly and bring the wing down.
- Reps: 8 runs.
- Avoid: turning late and then yanking the brake; running so fast the wing is left behind; cutting inside a marker.
- Passed when: 3 runs in a row round all 4 markers, wing overhead all the way, no marker touched.
Tip: look at the next marker, not the one you are passing; brake first, then follow with your feet.
Drill 4. Reverse slalom (facing the wing)
- Purpose: steer while watching the wing and clearly feel what each brake does.
- How: inflate in reverse → steady the wing → walk backwards round the 4 markers, watching the wing and glancing over your shoulder for the markers → bring it down at the finish. Because the risers are crossed, steering feels reversed at first: pull one hand gently, see where the wing goes, then build up.
- Reps: 6 runs, when the wind allows reverse inflation.
- Avoid: mixing up the brakes; tripping by walking backwards too fast; hands too low so the wing sinks back.
- Passed when: if reverse is the student's exit-check technique (depending on the wind): 2 runs round all 4 markers with the wing overhead all the way; otherwise: familiarisation.
Drill 5. Turning round the correct way
- Purpose: go from facing the wing to having your back to it without dropping the wing.
- How: reverse inflation, steady → the instructor calls "Turn" → turn towards the side of the riser that is on top where they cross, so the risers uncross → walk 10 m straight with the wing overhead → bring it down.
- Reps: 10 times.
- Avoid: turning the wrong way (risers twist twice and the brakes lock); turning before the wing is steady; letting go of the brakes while turning.
- Passed when: if reverse is the student's exit-check technique: 8 out of 10 turns the correct way without the wing falling; otherwise: familiarisation, a few turns the correct way.
Drill 6. Killing the wing in strong wind
- Purpose: collapse the wing at once and decisively, before it can pull you along.
- How: while holding the wing overhead, the instructor calls "Kill" → method 1: pull both C risers (rear risers) down hard and move towards the wing → method 2: haul in one brake, hand over hand, until the wing spins and falls to one side → if your back is to the wing, turn to face it, then use method 1 or 2 → once it is down: keep the riser or brake tight, walk towards the wing and gather it. Start in moderate wind and build up once the instructor sees you are solid.
- Reps: 10 times; a few extra unexpected "Kill" calls during the afternoon.
- Avoid: leaning back against the wing (you get pulled harder); half-killing it and letting it re-inflate; letting go of the riser as soon as it collapses.
- Passed when: the wing is down within 3 seconds of the call, 5 times in a row, without being pulled more than 2–3 steps.
Drill 7. Being dragged: how to stop
- Purpose: know what to do if the wing pulls you to the ground.
- How: simulated on grass in light wind with the instructor beside you: (1) do not try to spring up against the pull; (2) grab one brake (or one C riser) and haul it in hand over hand until the wing loses its air; (3) roll onto your front, turn towards the wing, get up and walk towards it; (4) gather the wing.
- Reps: 3 times.
- Avoid: pulling both brakes evenly (the wing keeps flying); letting go altogether; practising near rocks or fences.
- Passed when: does the 4 steps in order without prompting.
Drill 8. Gathering the wing
- Purpose: get the wing from the field to the packing spot without tangling the lines or dragging the fabric.
- How: wing down, still clipped in → walk towards the wing, gathering the lines from the risers outwards in loops or a daisy chain → gather the canopy from the trailing edge into one bundle (a "rosette") → throw the bundle over your shoulder and carry it, lines clear of the ground.
- Reps: after every afternoon run.
- Avoid: dragging the wing over stones or thorns; stepping on lines; letting the wind blow it open again while gathering.
- Passed when: gathers the wing neatly within 2 minutes, lines untangled.
Drill 9. Folding and packing
- Purpose: fold the wing and pack the rucksack yourself, neatly, protecting the leading-edge rods.
- How: lay the wing out on a clean spot, unclip the harness if the instructor asks → gather the leading edge, stacking the cells concertina-style with the rods side by side, not bent → do one half, then the other, the two halves meeting in the middle → fold the canopy lengthwise into one long strip → push the air out and fold the strip from the trailing edge towards the leading edge 3–4 times → strap it, put it in the inner bag → put the harness and wing in the rucksack as the rucksack is designed, helmet on top.
- Reps: 3 times.
- Avoid: bending the rods; folding with sand or leaves still inside; lines pinched and sticking out; stuffing the wing into the rucksack without folding.
- Passed when: folds and packs alone within 15 minutes, rods straight, no lines sticking out.
5. Stage 2 exit standard
At the end of day 3 the instructor checks each line and signs the logbook. Any line not met is practised again before stage 3.
| # | Criterion | Checked by |
|---|---|---|
| 1 | Walks 20 m with the wing overhead, stops with brake | Drill 1 |
| 2 | 6 changes of direction on command in a row, wing overhead | Drill 2 |
| 3 | Forward slalom round 4 markers, wing overhead: 3 runs in a row | Drill 3 |
| 4 | Reverse slalom round 4 markers: 2 runs if reverse is the student's exit-check technique (depending on the wind); otherwise: familiarisation | Drill 4 |
| 5 | Reverse inflation and turning the correct way: 8 out of 10 if this is the student's exit-check technique; otherwise: familiarisation | Drill 5 |
| 6 | Decisive kill within 3 seconds of the call: 5 out of 5 | Drill 6 |
| 7 | Does the 4 steps correctly when dragged | Drill 7 |
| 8 | Gathers, folds and packs alone; rods not bent | Drills 8, 9 |
| 9 | Can explain: steering with brakes and feet, why kill early, what packing protects | Oral |
| 10 | Attitude: follows instructions, keeps clear of others, kills the wing when something is wrong | All day |
6. What to wear and bring, and slope rules
- As on days 1–2: ankle boots with grip, long sleeves, long trousers, sunglasses, sunscreen, plenty of water. Gloves matter even more today, as you haul in brakes and risers to kill the wing.
- During slalom, keep at least one wingspan from other students; only one person on the course at a time.
- No kill or dragging practice near rocks, fences, trees or paths. Helmet on and leg straps closed whenever you are clipped to the wing.
- If the wind goes beyond what the instructor allows, stop and pack the wing away; tired or dizzy: rest and tell the instructor.
7. The next stage
With stage 2 passed, you move on to stage 3 (day 4): your first low flights (P1) by hand tow, to about 5–7 m over flat ground. Everything learned today, from steering to killing the wing, is used straight away there.
Want to train on this roadmap? See the full P1–P2 fast-track course (5–7 days) at Khau Phạ, or book and ask an instructor directly.
Book · contact an instructor →
The P1–P2 course series:
- Days 1–2: ground handling
- Day 3: slalom, killing and packing (this article)
- Day 4: first flights by hand tow
- Day 5: hanging simulator and first high flight
- Day 6: P2 consolidation flights
Frequently asked questions
Do I fly on day 3?
No. Day 3 is still on the ground. Low flights by hand tow start on day 4, once stages 1 and 2 are passed.
Why practise killing the wing before flying?
Because the moments that need it happen on the ground: the wind picks up while you prepare to launch, or the wing is still full of air after landing. It has to be a reflex before you fly.
How do we slalom in calm wind?
In calm wind you have to walk briskly or run to give the wing airflow and keep it overhead, so the focus is forward slalom. Reverse slalom waits for some wind. The instructor may pick a gentle downslope to make it easier.
How long until I can pack quickly?
The first time usually takes 20–30 minutes. After about 5–6 supervised attempts, most students pack neatly within 15 minutes. Packing correctly matters more than packing fast.
What if I do not pass day 3?
You keep working on the lines not yet met before moving to stage 3. Everyone progresses by the exit standard, not by the calendar.
This is Mebayluon's student handout for stage 2 and does not replace training with an instructor. To book the P1–P2 course at Khau Phạ: learn to paraglide in Vietnam.