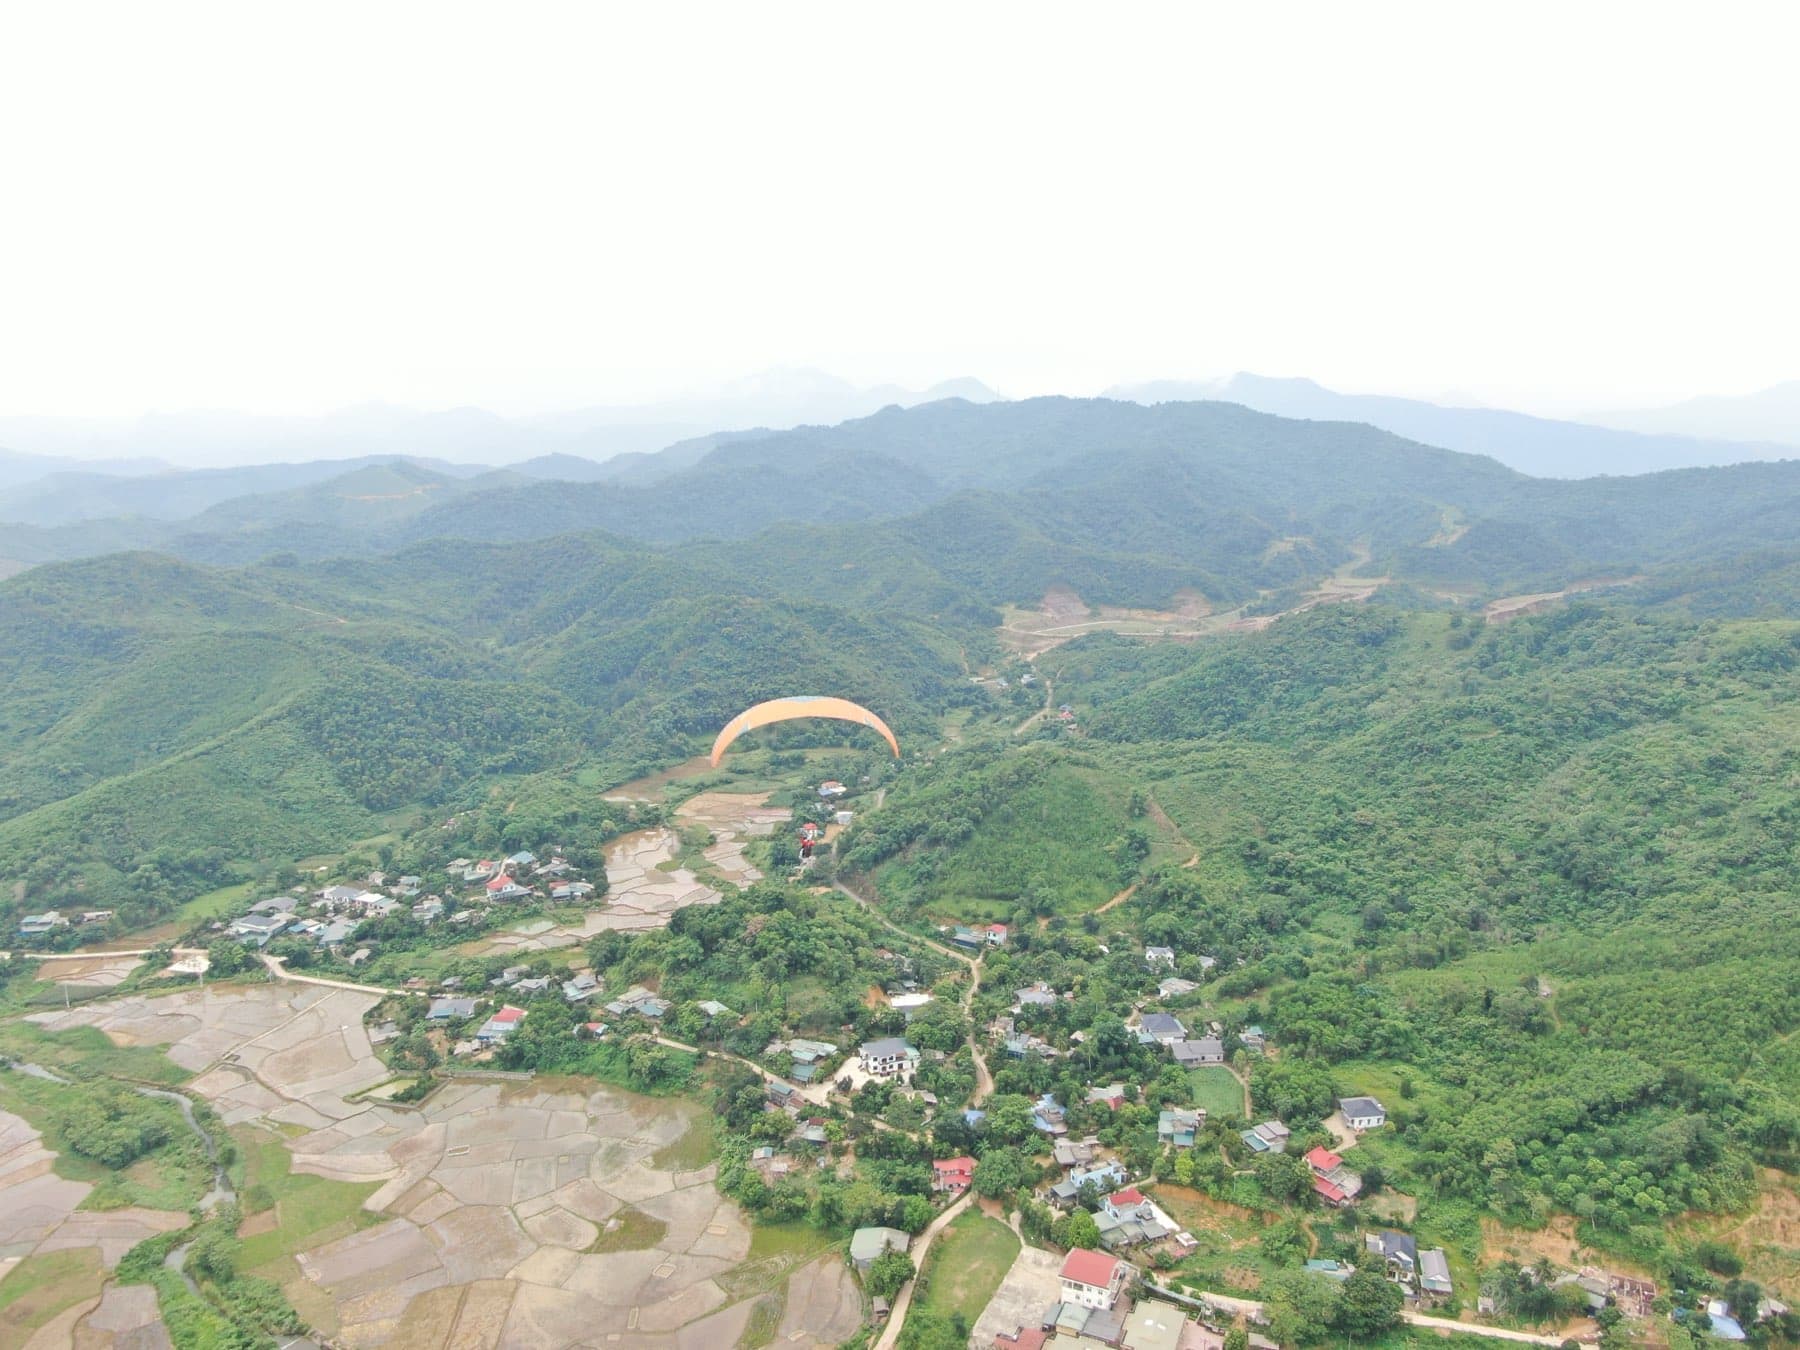
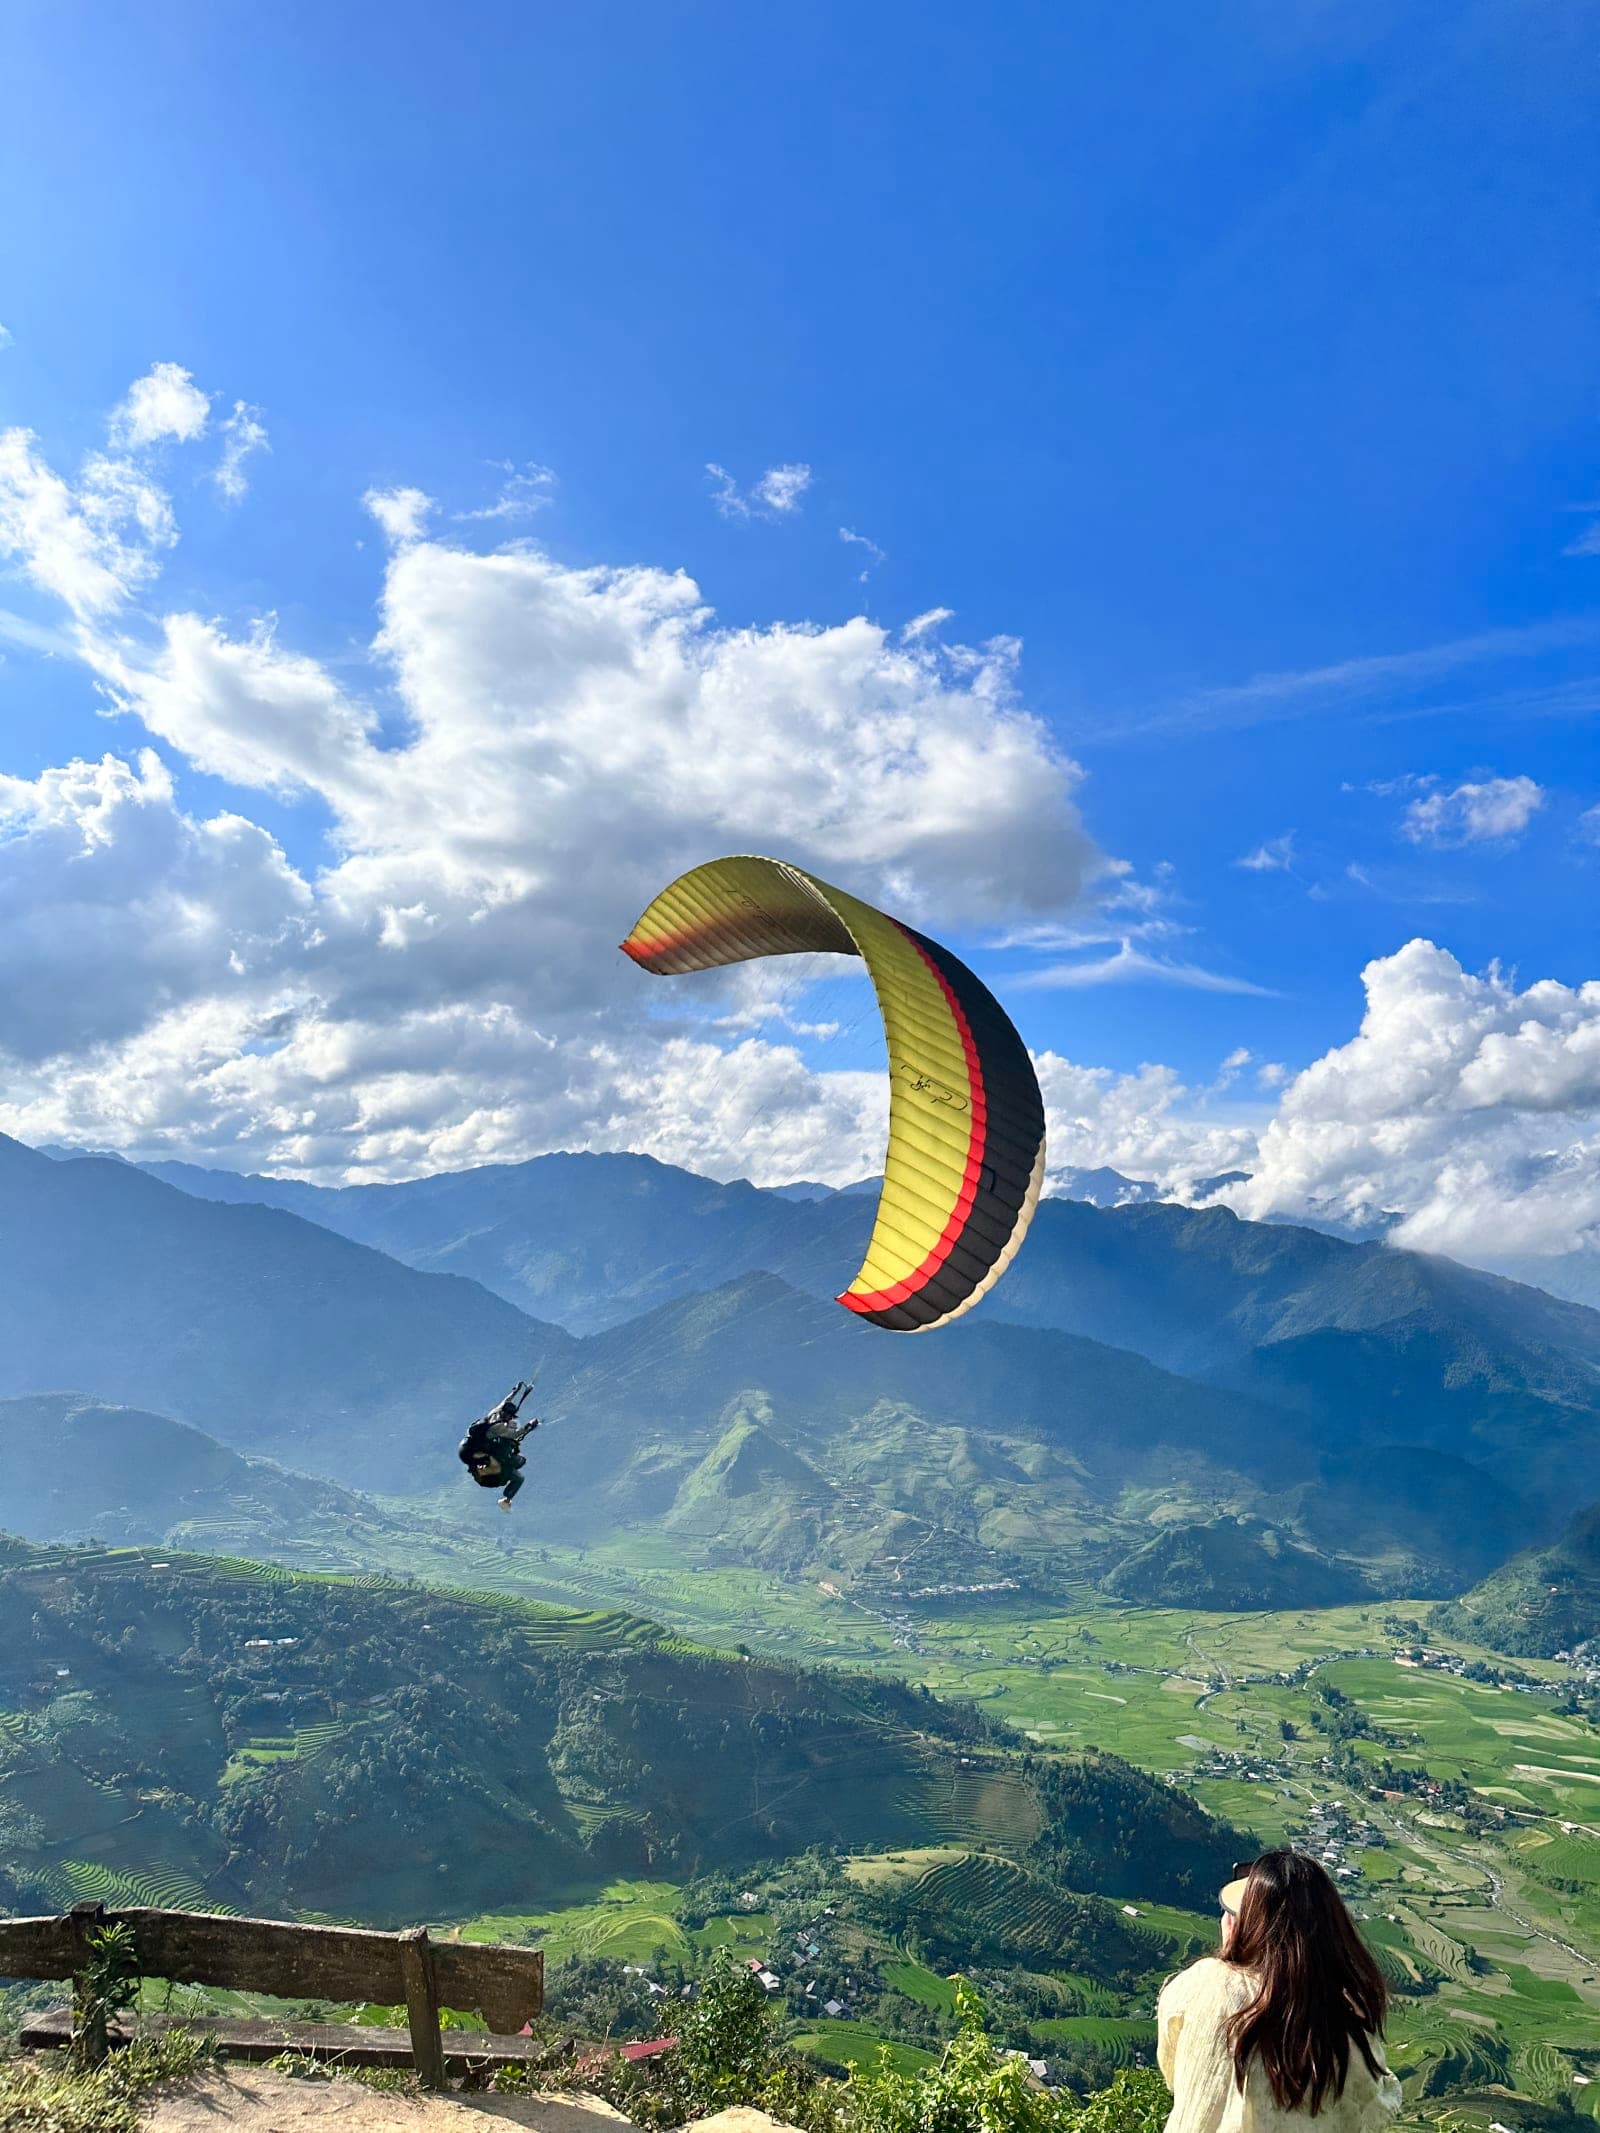
Hit a lift? The natural reflex for many is to pull the brakes and turn immediately. But wait! The secret to not wasting altitude on useless turns lies in staying calm. Below are the core principles to help you truly master thermals from your very first turns.
⏱️ 1. The 4-second rule: real lift or false lift?
When you feel the glider hit a lift, count to 4 in your head (equivalent to the glider traveling about 40m further). ✅ "Real" thermal (with energy): Gives a solid feeling; it's as if the glider grabs onto the airflow and is distinctly "pulled up". ❌ "Fake" thermal (thermal bubble or turbulence): You will feel the glider drop slightly and seem much more "bouncy" or inconsistent. 💡 Pro Tip: Sensing this subtle difference will help you avoid being fooled, saving you a ton of time and precious altitude by preventing useless 360-degree turns.
🌀 2. Starting the turn: smooth wins
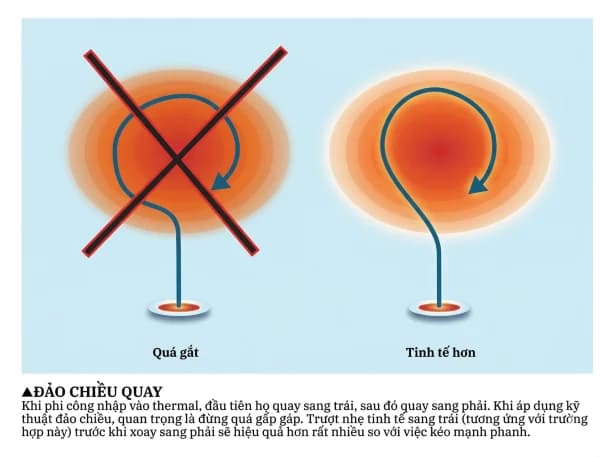
If the lift is still strong after 4 seconds, determine which side is lifting stronger to decide your turn direction. But don't forget these golden rules: ✅ Priority #1: Turn to avoid obstacles ✅ Priority #2: Turn towards the side with stronger lift ✅ Priority #3: Turn into the wind (upwind) How to turn: ✅ Weight-shift: Use your hips to apply a decisive force so that your hips are at a 90-degree angle to your spine. Don't slouch; keep your core engaged and balanced. The ideal posture is when your nose is parallel to the riser. ✅ Inside brake: Pull down smoothly (absolutely no jerking) at a rate of about 5 - 10cm per second until you reach the desired bank angle.
Weight-shift: The ideal posture is when your nose is parallel to the riser
🎵 3. The 4/90 rhythm: keeping your energy
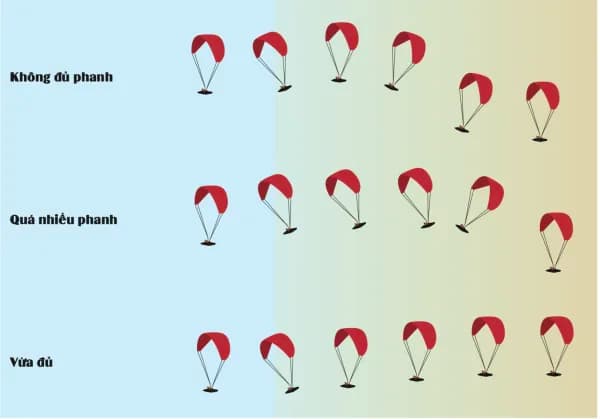
Sudden changes in direction will only make the glider pitch, pendulum, and lose altitude unnecessarily. Memorize this turning rhythm: ✅ The first 90 degrees: Takes about 5 seconds (because the glider slows down slightly as it enters the thermal). ✅ The subsequent 90-degree angles: Maintain a steady 4 seconds for each quarter turn.
🙌 4. What each brake hand does
Once the glider has established a stable turning circle, stop over-controlling it and let both hands do their respective jobs: ✅ Outside brake (The Performance Tool): Acts as a shock absorber. It controls the pendulum effect, preventing the glider from rocking too much and maintaining a smooth turning trajectory. ✅ Inside brake (The Steering Tool): Acts as the steering wheel. You ease up or pull the inside brake to open or tighten the turn, shifting the glider to sweep the area for better lift (this process is called Mapping).
🎯 In short: free up your mind
In free flying, smoothness is the "Golden Rule". Until you can execute the 4/90 turn rhythm so smoothly that it's embedded in your muscle memory, you shouldn't worry about advanced "centering" tactics. Only when your hands and feet are no longer clumsy with conscious reflexes will your mind be truly freed to feel the lift and master the sky!
Source: the book Làm Chủ Dù Lượn (Mastering Paragliding)
— Pilot: Dang Van My