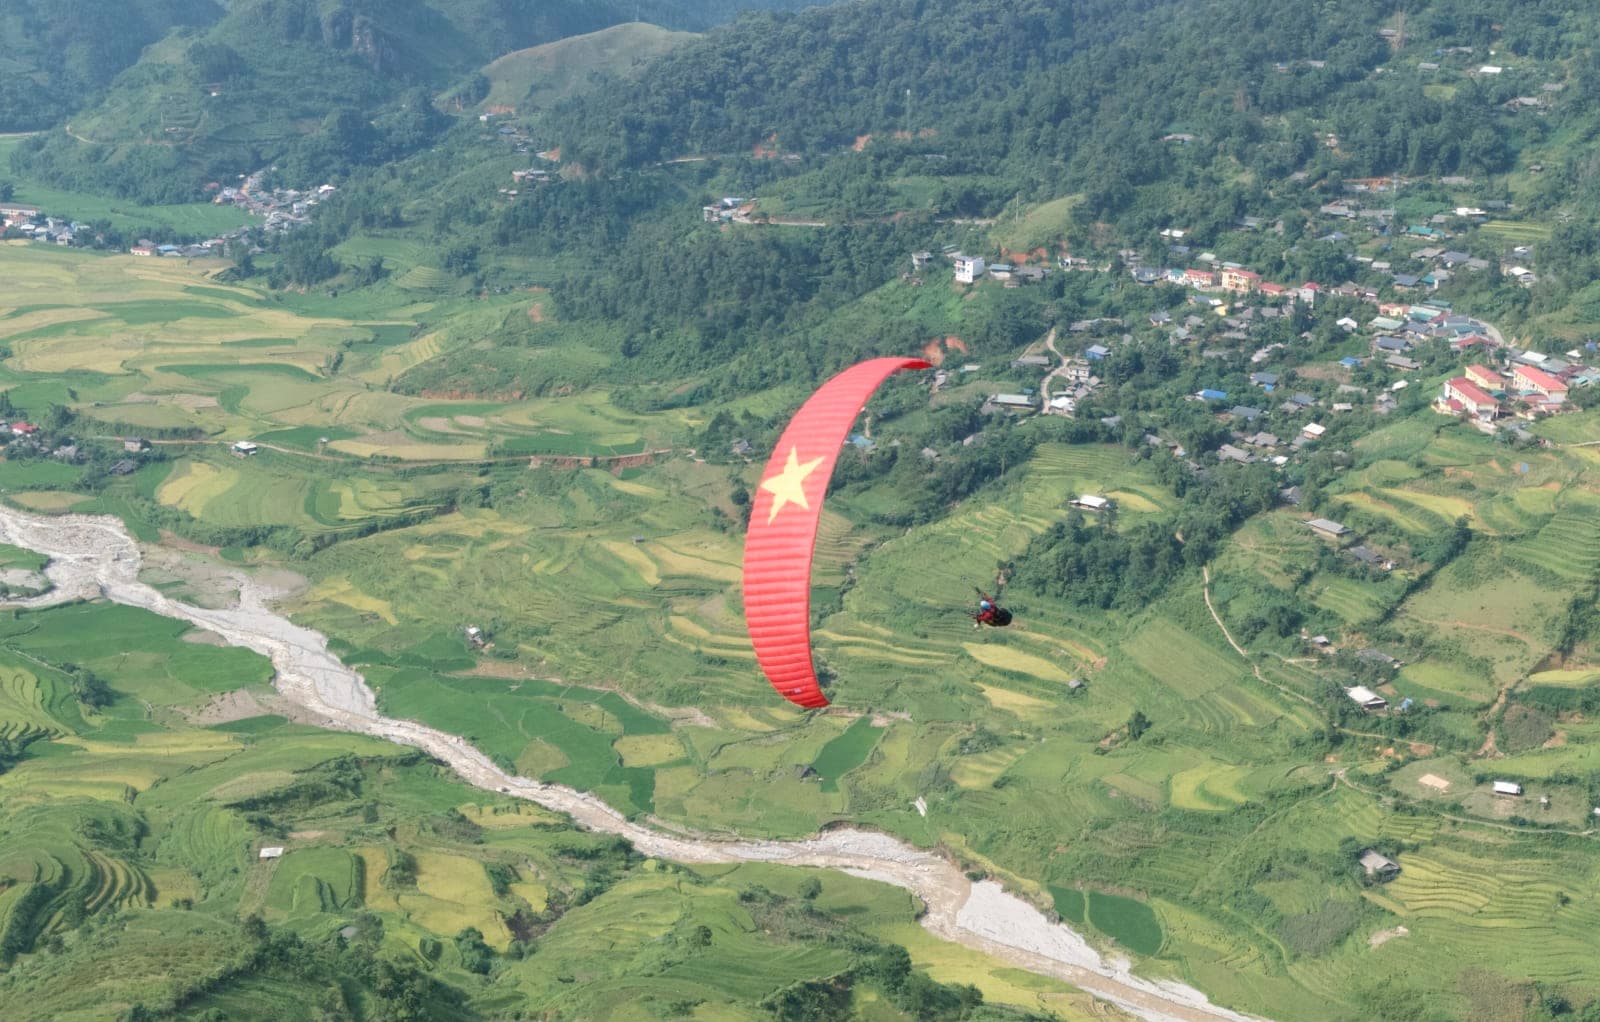
🔄 ROLL CONTROL
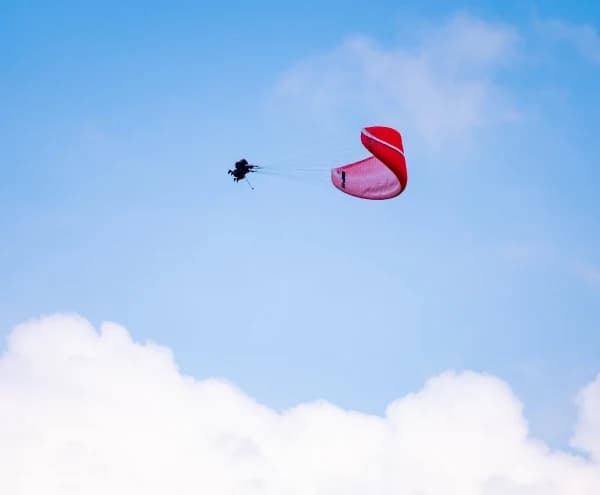
The roll control exercise is designed to help the pilot become familiar with roll amplitudes and learn how to actively manage them. Similar to the Pitch exercise, this content consists of two main parts: simulating roll motions and dampening roll motions. 📐 Characteristics of Roll: Unlike the clean and symmetrical pitch motion, roll motion is never isolated and is always accompanied by pitch and yaw components. Still, the pilot should focus primarily on the "roll" part of this complex movement. Again, creating roll motions is always much more difficult than dampening them. 🎢 Roll Simulation Mechanism: It starts with a sharp brake pull combined with a weight shift to one side, let’s say to the right. At this point, the wing turns to the right, changing its course by about 45° from its original direction. At the same time, the wing tilts, misbalancing the CP-CG pendulum system. The heavy center of gravity (CG - the pilot) swings to the right to follow the wing (CP). Due to inertia, the CG will overpass the vertical position under the CP like a clock pendulum. If left alone, after 2-3 oscillations, the CG would naturally return to its balanced position under the CP. But for training purposes, the pilot needs to execute a switch-of-direction turn to properly roll the glider to the opposite side. 🎯 Switch-of-direction and Timing: The switch starts early, during the swing, somewhere between the lowest CG position and the highest point of the roll amplitude—where the body begins to lose speed and prepares to swing back. The moment of turning to the other side requires precise timing: 🛑 Too early: (Around the lowest position) The pilot cannot fully harvest the lower pendulum swing. 🛑 Too late: (Around the highest point) Speed is lost, the glider feels weightless, loses maneuverability, and cannot produce an energetic turn. The switch-of-direction begins with an energetic weight shift to the left. Even though shifting weight in the opposite direction to the left, the pilot continues to swing to the right by inertia. Then, just before the highest point (of the roll amplitude) causing a loss of speed, the pilot pulls the left brake sharply to turn the wing 90° left, amplifying the left roll.
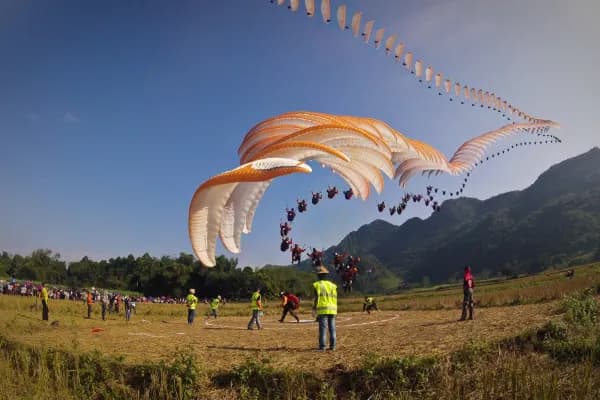
🚀 Wingover Technique and Inductive Ability: Brake pulls, weight shifts, and roll swings cause an overall loss of airspeed and lift. The glider sinks deeper, and the increased airflow from underneath allows us to use its inductive ability to accelerate the wing further. For example, after the switch-of-direction brake pull, an additional secondary brake pull can be applied to turn the wing a further 45° or 90° from the original course. This secondary pull lets the wing dive with its leading edge symmetrical to the airflow from below, accumulating massive extra speed which is then converted into a more powerful turn. This is how the Wingover technique is executed. ⚠️ Note: The build-up-speed dive must meet the air head-on. Wingovers are quite joyful but can be deceivingly stable, and can cause a massive asymmetric collapse if you lose internal pressure or dive sideways. You need to apply a bit of "outside brake" when the wing dives to maintain pressure.
🎷 Variations and Training Conditions
Wing Class: Sensitive sports wings can combine the two brake pulls into one because they roll very easily. Beginner wings are more stable and require a stronger pull and more precise timing. Conditions: This must be practiced in calm air, as thermals or wind gusts can disrupt the roll rhythm. Advanced Exercises: Try rolling the wing using only one brake to focus on feeling the CG pendulum swing. An extreme version is the asymmetric spiral (rhythmic spiral)—it is safer than classic wingovers, but save it for after you have mastered the Active Flying course.
✋ DAMPENING ROLL MOTIONS
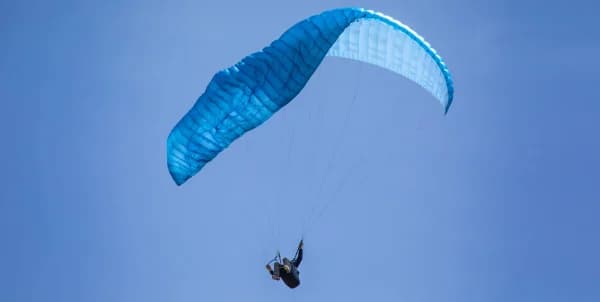
The canopy is prone to rolling when flying in turbulent air or in crosswinds. The large wingspan self-dampens roll motions quite quickly, but the pilot can accelerate this stabilization process. ✅ Basic Method: Simply pull and hold both brakes at shoulder level for a while. This slows down the wing and reduces its responsiveness; the lower pendulousness will handle the rest. ⚖️ Active Countering: A strong roll motion can make the wing dive sideways and cause an asymmetric collapse. Remember that the horizontal projection of the canopy is what creates lift. When the wing rolls (dihedral arc), the upper half is more horizontal and carries most of the weight. Golden Rule: When the wing rolls to one side, weight shift to the opposite side. Why? The lower half of the wing is unloaded, softer, and can collapse at any moment. We do not want to put our load on an unreliable structure.
🛡️ Combining Brakes and Weight Shift: The opposite weight shift can be combined with the outside brake to prevent a heavy dive and increase the canopy's internal pressure. Dosage: The outside brake should be just a short pulse at the beginning of the roll. Weight shift is primary, and the brake is complementary. Posture: An opposite weight shift with hands at shoulder level is usually enough. Avoid pulling too much brake as it can stall or spin the wing.
Mantra: "Hands up. Let it fly!" – Let the wing recover its airspeed. Roll oscillations often end with a pitch motion; dampen it with a gentle pull of both brakes to stabilize the glider. 🏆