One of the greatest hazards Paraglider pilots face is getting blown behind a ridge or mountain. Once you get into a blow-back situation, the penalties include power lines, extreme rotor turbulence, tree landings, and possible death or injuries from any of these. Prevention is the best way to avoid such a scenario. Avoiding launching on windier days is a good practice, but blow-backs occur from other situations and factors. At some sites, the launch is at a lower point than an adjacent cliff, ridge, or mountain and there can be a great difference in wind speed between different levels. In addition, the wind can change velocity at any time after you have launched. 🚩 Prior to launching, check to make sure the wind speed is within your ability level at the site you are flying. It is far better to use the more objective tool of a wind speed indicator (anemometer), as it is simply too difficult to tell with the feel of your skin. 🔍 Gathering site information is also vital. Are there any venturis to be aware of? Are there locations near the site where the wind tends to be stronger? What is the day’s forecast and what are the locals saying? If you are not in the habit of gathering this information before you fly, it is time to start. ⚙️ It should go without saying that if your glider has a speed system, always fly with it ready for use. This means the speed system is correctly adjusted and connected properly. If the winds were light at the time of launch and later increase to the point where the speed bar is needed, there will not be time then to hook it up. 📈 After launching, it is essential to continue to use your senses and observations to monitor the wind-speed. At ridge soaring sites (including “combo” – thermal + ridge lift sites), there are two main observations you need: your crab angle and the speed at which you can traverse along the ridge. On light days your crab angle will be smaller than on windy days. As the wind speed increases, two things will happen: ▶ Your Crab Angle will need to be increased (pointing more into the wind). ▶ Your ability to traverse parallel to the ridge will decrease.
Keeping tuned in to these two factors at all times will help you manage wind increases. ⛰️ At some sites, you will launch at a point well below higher cliffs or mountains. When ascending, you must continually monitor the wind speeds and your ability to penetrate. It is best to stay further in front of the cliffs when it is moderately windy. As you fly higher, increase your "padding distance" from the cliff. If the wind increases suddenly at a higher level, this extra distance will aid you in getting back below the stronger winds. Never fly above and behind the high cliffs; it simply is not a safe place to be.
💨 If You Fly On A Windy Day
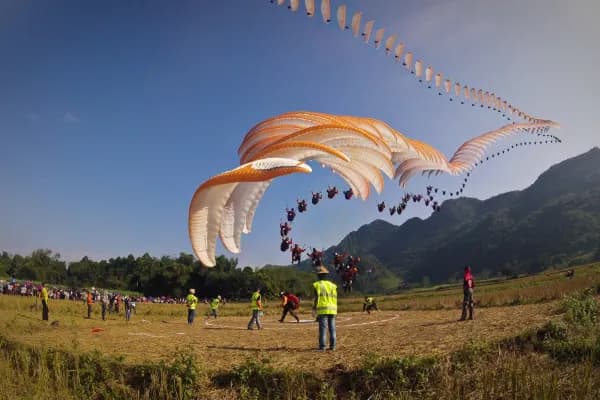
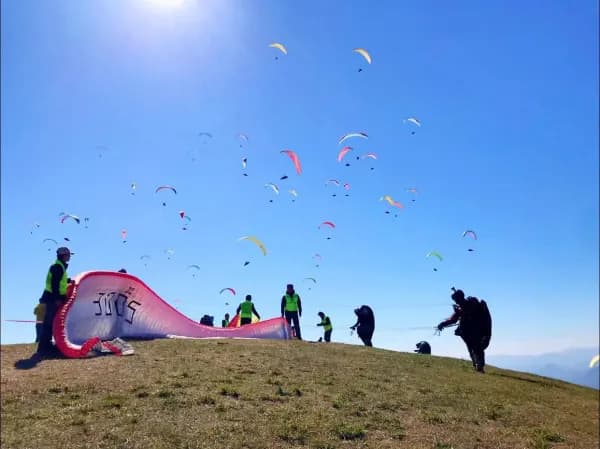
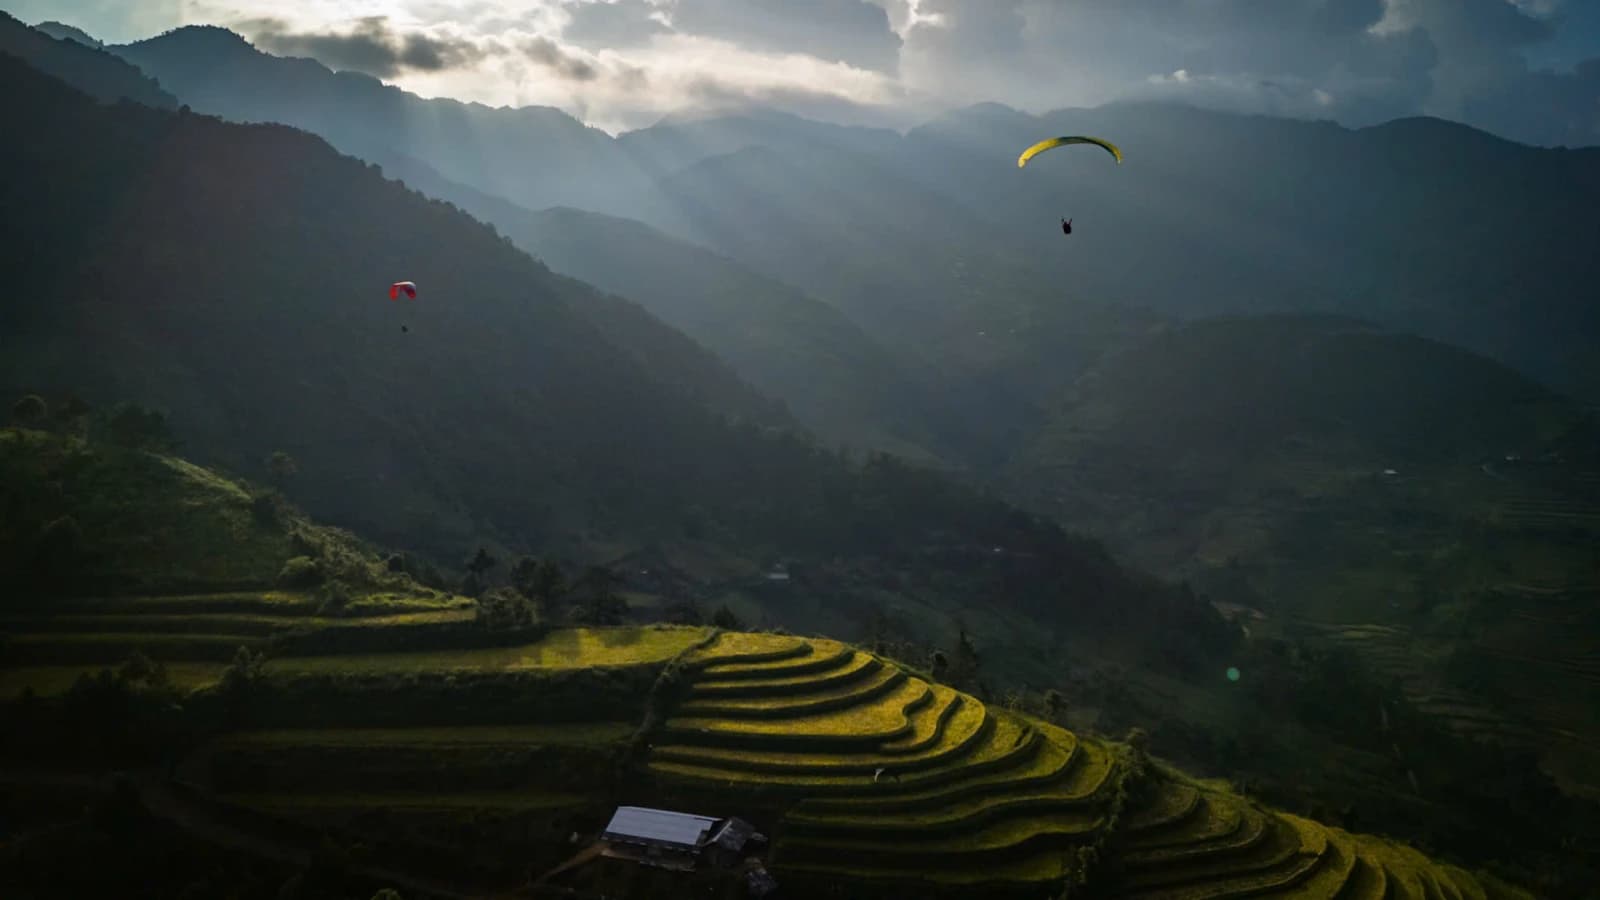
Notice that the gliders in the photo stay out further as they fly higher to maintain a safety margin. (Photo Provided by Andy Stocker)
When your crab angle is increasing and you need to point more into the wind, you are being warned that the winds are getting stronger. If you notice your ability to penetrate is being compromised, take action right away. As you rise higher, there is normally more wind. Awareness of these signs will keep you out of trouble. ⚠️ When you realize the wind is blowing stronger, fly immediately upwind away from the cliff and descend to winds where you have better penetration. Point straight away from the mountain and combine the use of your speed bar and Big Ears to achieve both rapid descent and forward speed. If the wind is not straight in, the principle remains the same. For example, on a day with a Southwest wind (on a West-facing ridge), better penetration can be achieved by pointing slightly toward the Northwest. Adjust your angle to find the one that gets you away from the cliff most effectively.
🌡️ At thermal sites, it is necessary to adjust where you fly based on wind strength. On a very light day, you might drift with a thermal at a 1:1 angle behind the ridge. On a day with manageable winds above 10 MPH, it is much better to fly no further back than the top of the mountain. If it is so windy that you lose penetration above the peak, you have already flown too high or too far back! Once you learn to judge the wind speed with these techniques, you can adjust early, before the situation becomes dangerous. Using the speed bar alone will help you penetrate, but a better approach is to fly well below wind levels where you would ever need to use it. If you have the proper padding in front of a cliff, the speed bar will almost always give you 5+ MPH of extra speed. If you can penetrate without climbing, the speed bar alone may suffice. But if you are penetrating with the speed bar and still climbing into stronger winds, use the combination (Speed Bar + Big Ears) immediately. 📉 At any site, the wind just above and behind the top of the mountain will increase by 5–7 MPH on a windy day due to specific factors. Virtual Venturi + Horizontal Winds = Higher Perceived Winds 🌪️ The illustration above shows a side profile of a ridge soaring site. Although it depicts a coastal site, the same principle applies to any ridge site with ridge lift. Air has weight; the combination of upward moving air and the weight of the air above it creates a virtual venturi above and behind the ridge edge. Because a larger volume of air is trying to fit through a smaller area, it must move faster. 💨 On a windy day, your ability to penetrate will drop by about 5–7 MPH above the cliff for two reasons: The virtual venturi effect. The transition from rising air (where penetration is easier because the wind is deflected up) into horizontal winds (where the full force of the wind hits the wing). ⚠️ If you reach a point of zero penetration right in front of this area on a strong day, you are a prime candidate for blow-back. Even a speed bar may not help then, as the loss of penetration can exceed the speed bar's gains. Drifting back into this area on a strong wind day is risking your life! There are always warning signs, such as a large crab angle and low lateral groundspeed. If you find yourself above a ridge and unable to penetrate back to the front, the solution is tricky and site-specific. One option (at some sites) might be to fly downwind of the mountain if there is a safe landing zone reachable without flying through a dangerous rotor. As stated, prevention is the best way. Being afraid of blow-back and taking action before you are in a critical position is the mark of a smart pilot.
📝 SUMMARY:
▶ If you are new to a site, get a full introduction from the locals. ▶ Check wind speeds with an anemometer before you fly. ▶ Have your speed system ready—connected, adjusted, and ready for use. ▶ Understand that winds can be dramatically stronger and dangerous as you ascend. ▶ Continuously monitor wind speeds via your crab angle and lateral groundspeed. ▶ Avoid flying higher on windy days. ▶ If you fly higher in strong winds, stay well upwind of the cliffs. ▶ Know how and when to penetrate forward and how to descend to lower wind layers. ▶ Penetrate and get down as soon as you notice the wind is strengthening. Use the speed bar to get down, not to try and stay up in the blow. ▶ Always avoid the zone directly above and behind the top of the cliff. About the author: Jeff Greenbaum has been flying paragliders since 1988. He is an advanced paragliding instructor, observer and tandem instructor. by Jeff Greenbaum